Support Center.
Get Started or Become a Pro. Browse our support articles to learn how to get the best out of PeopleGoal.
Peoplegoal Section
To start this Zapier integration process open and log into PeopleGoal and start on the dashboard.
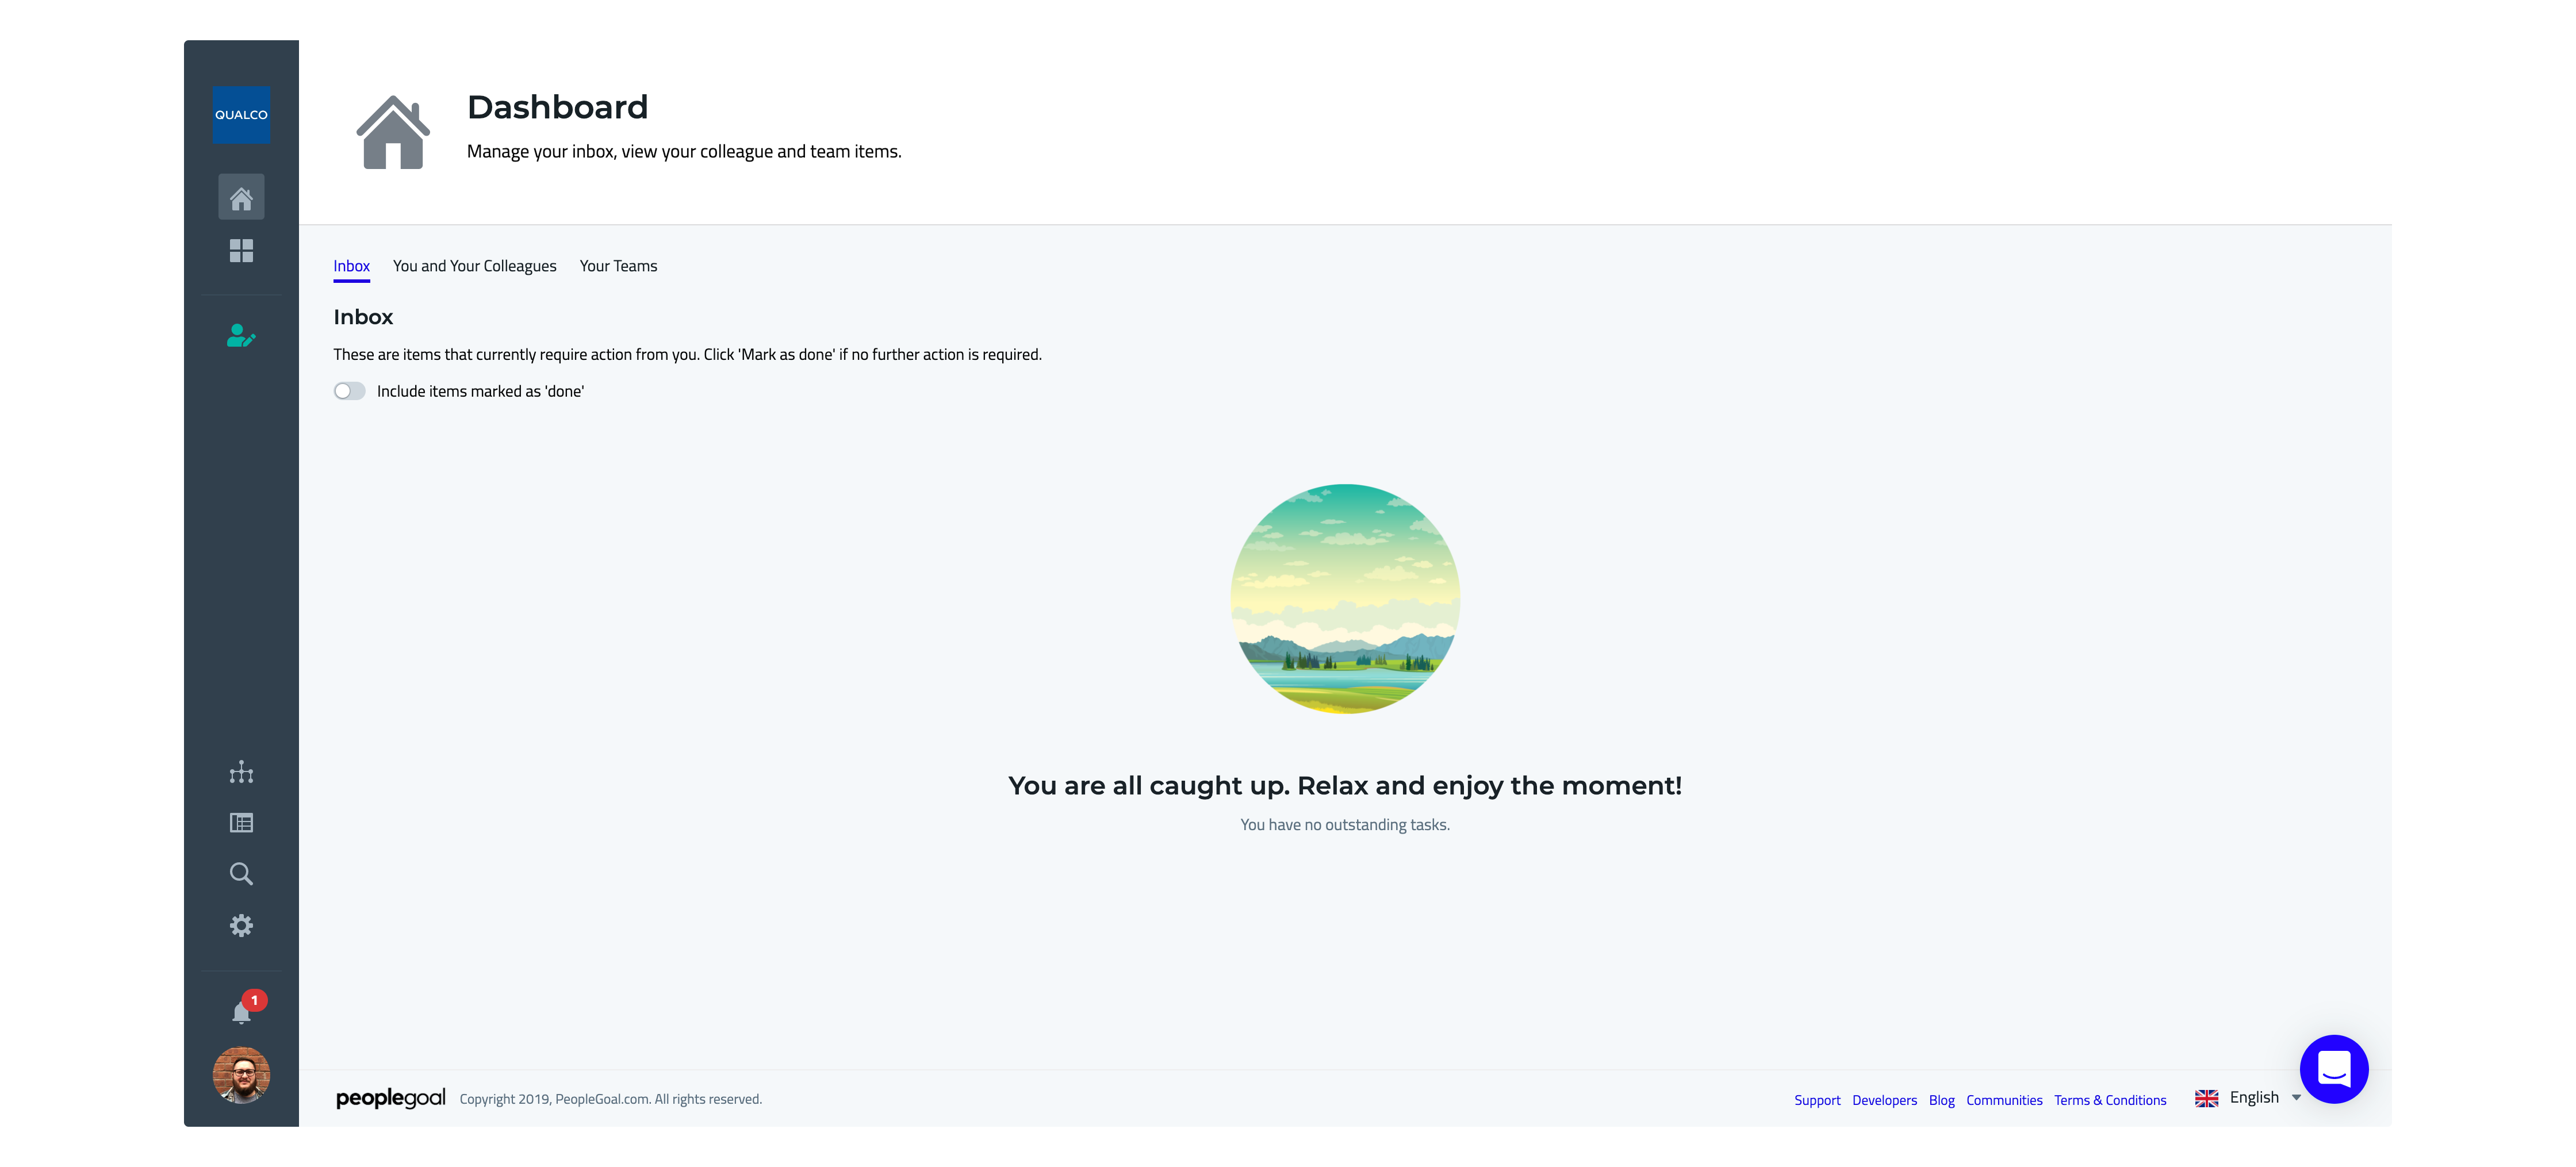
From the dashboard navigate to the workspace which holds the app you have created for the integration.
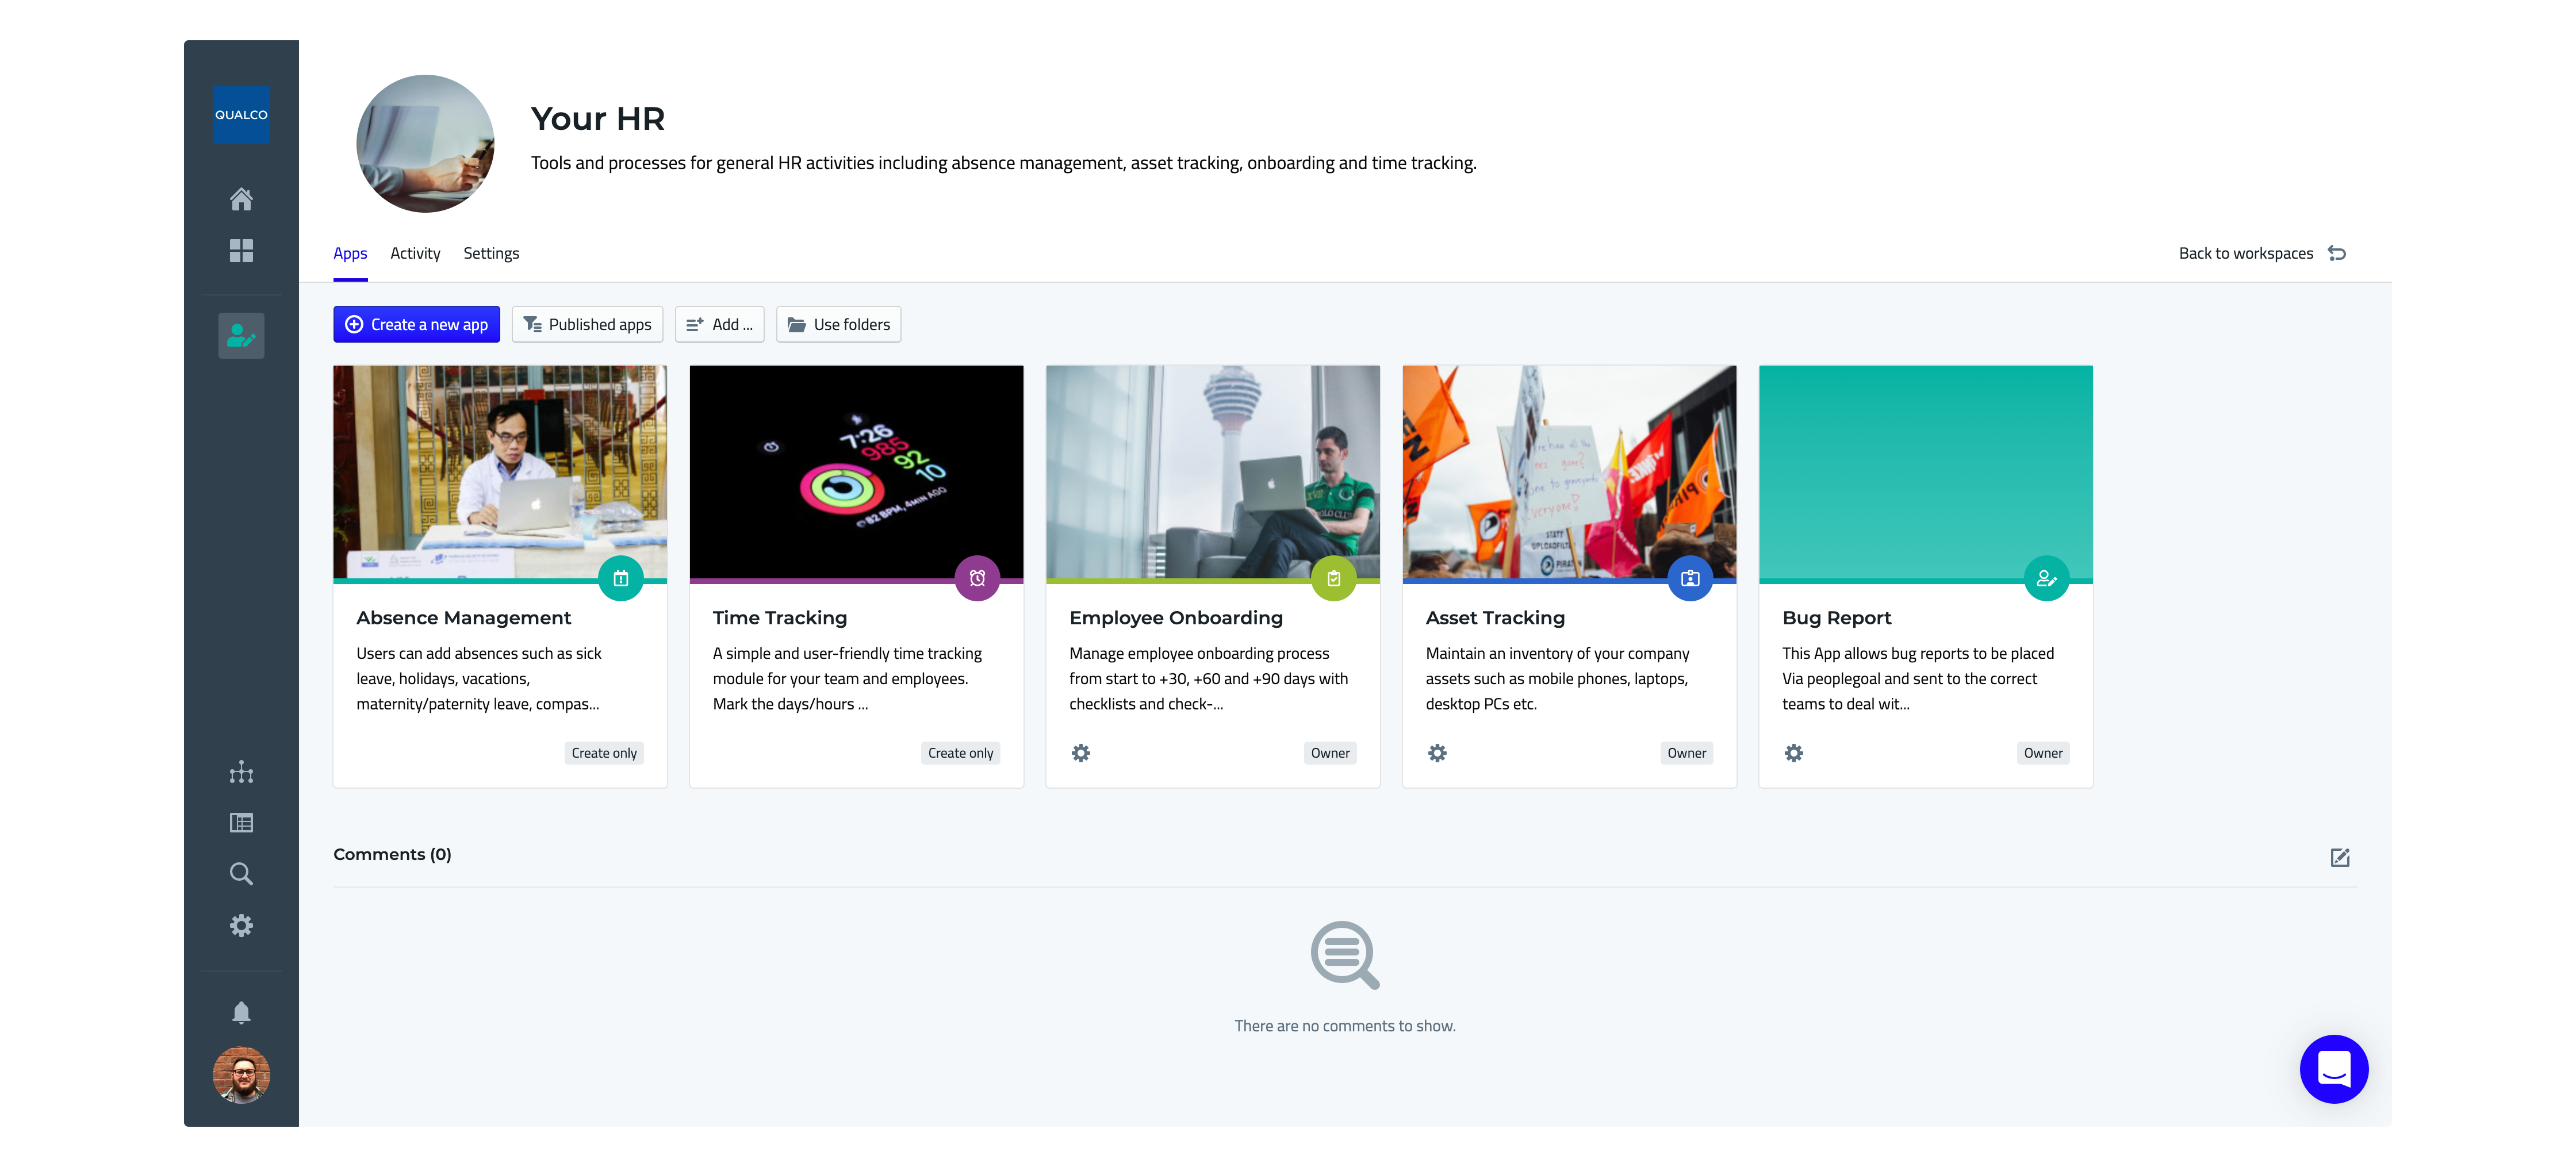
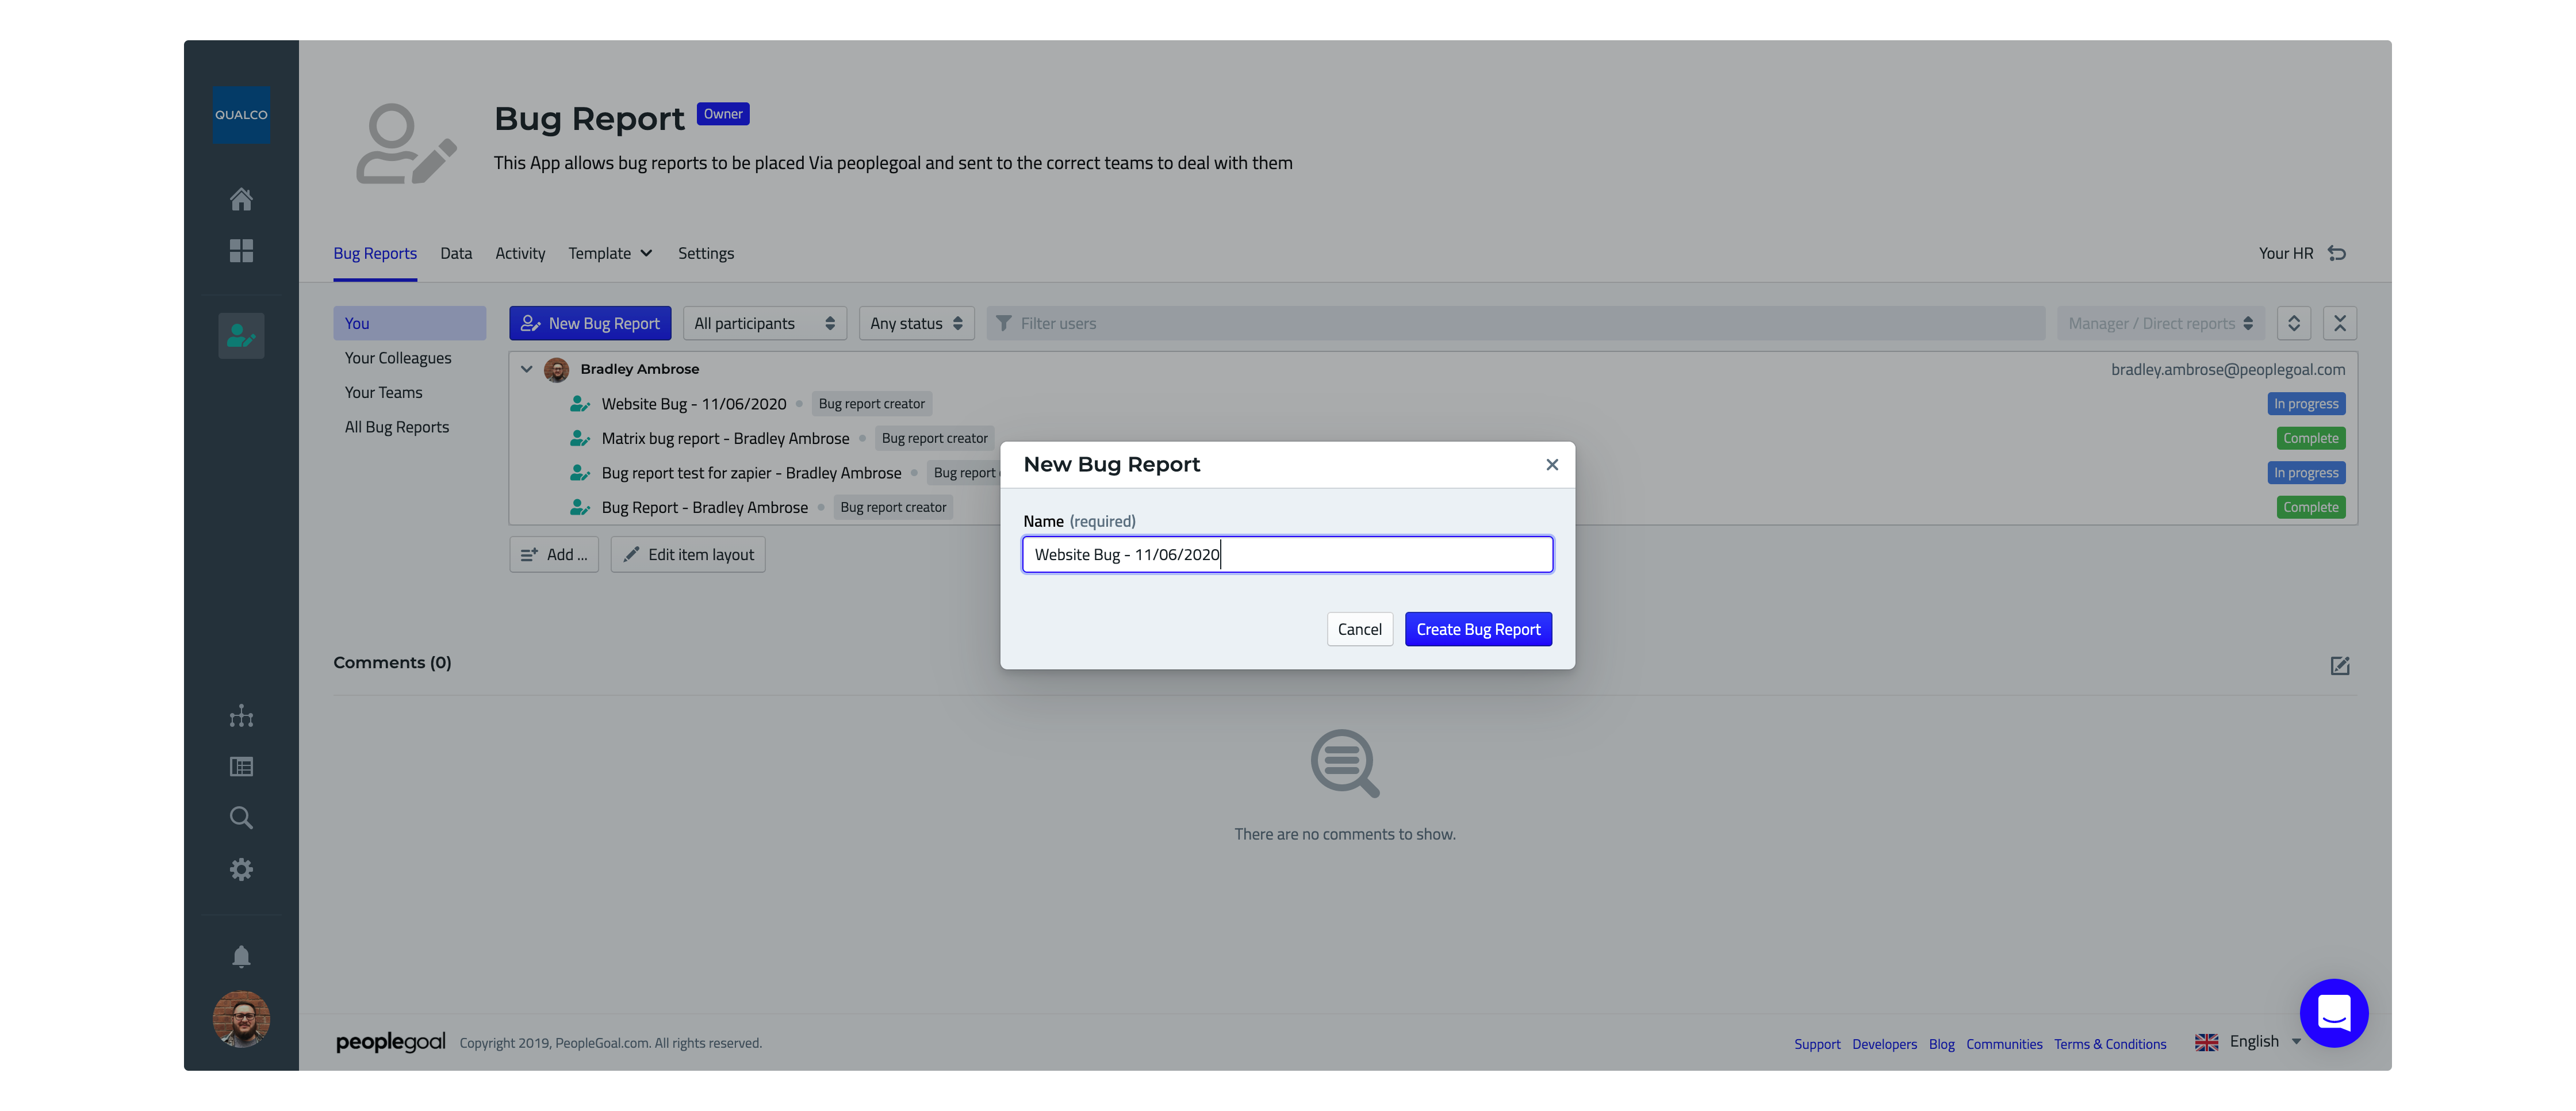
Select the app being integrated and open to the item view, for this example a bug report app is used to submit a new bug report issue in Jira.
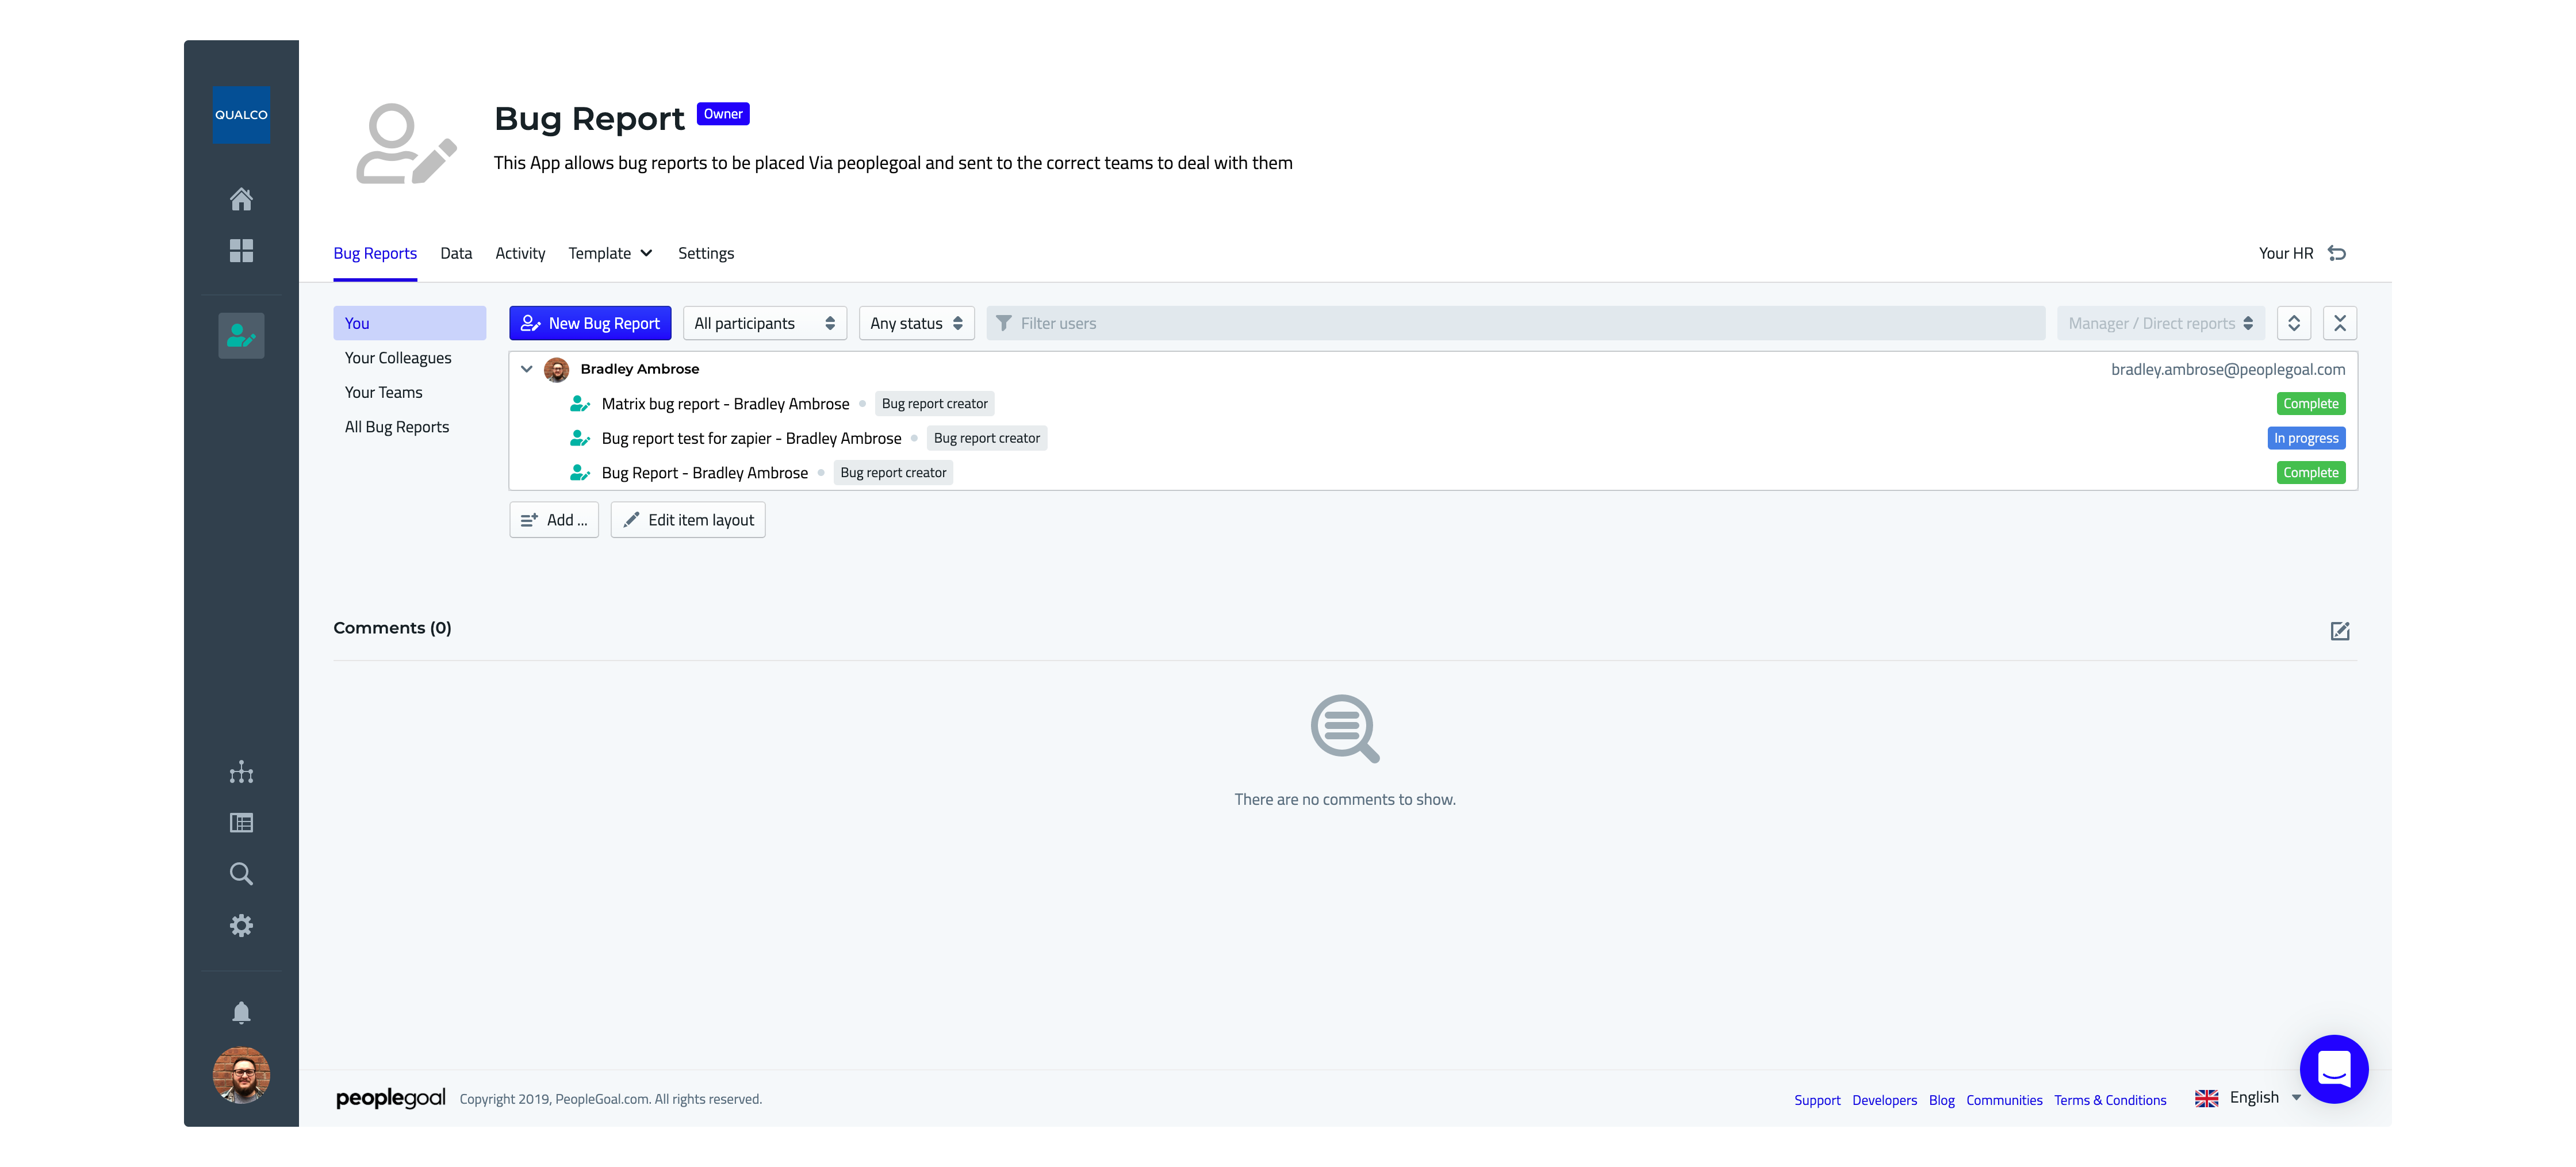
Create a new instance of the App, name it and open it. Once open fill out all infomation needed to
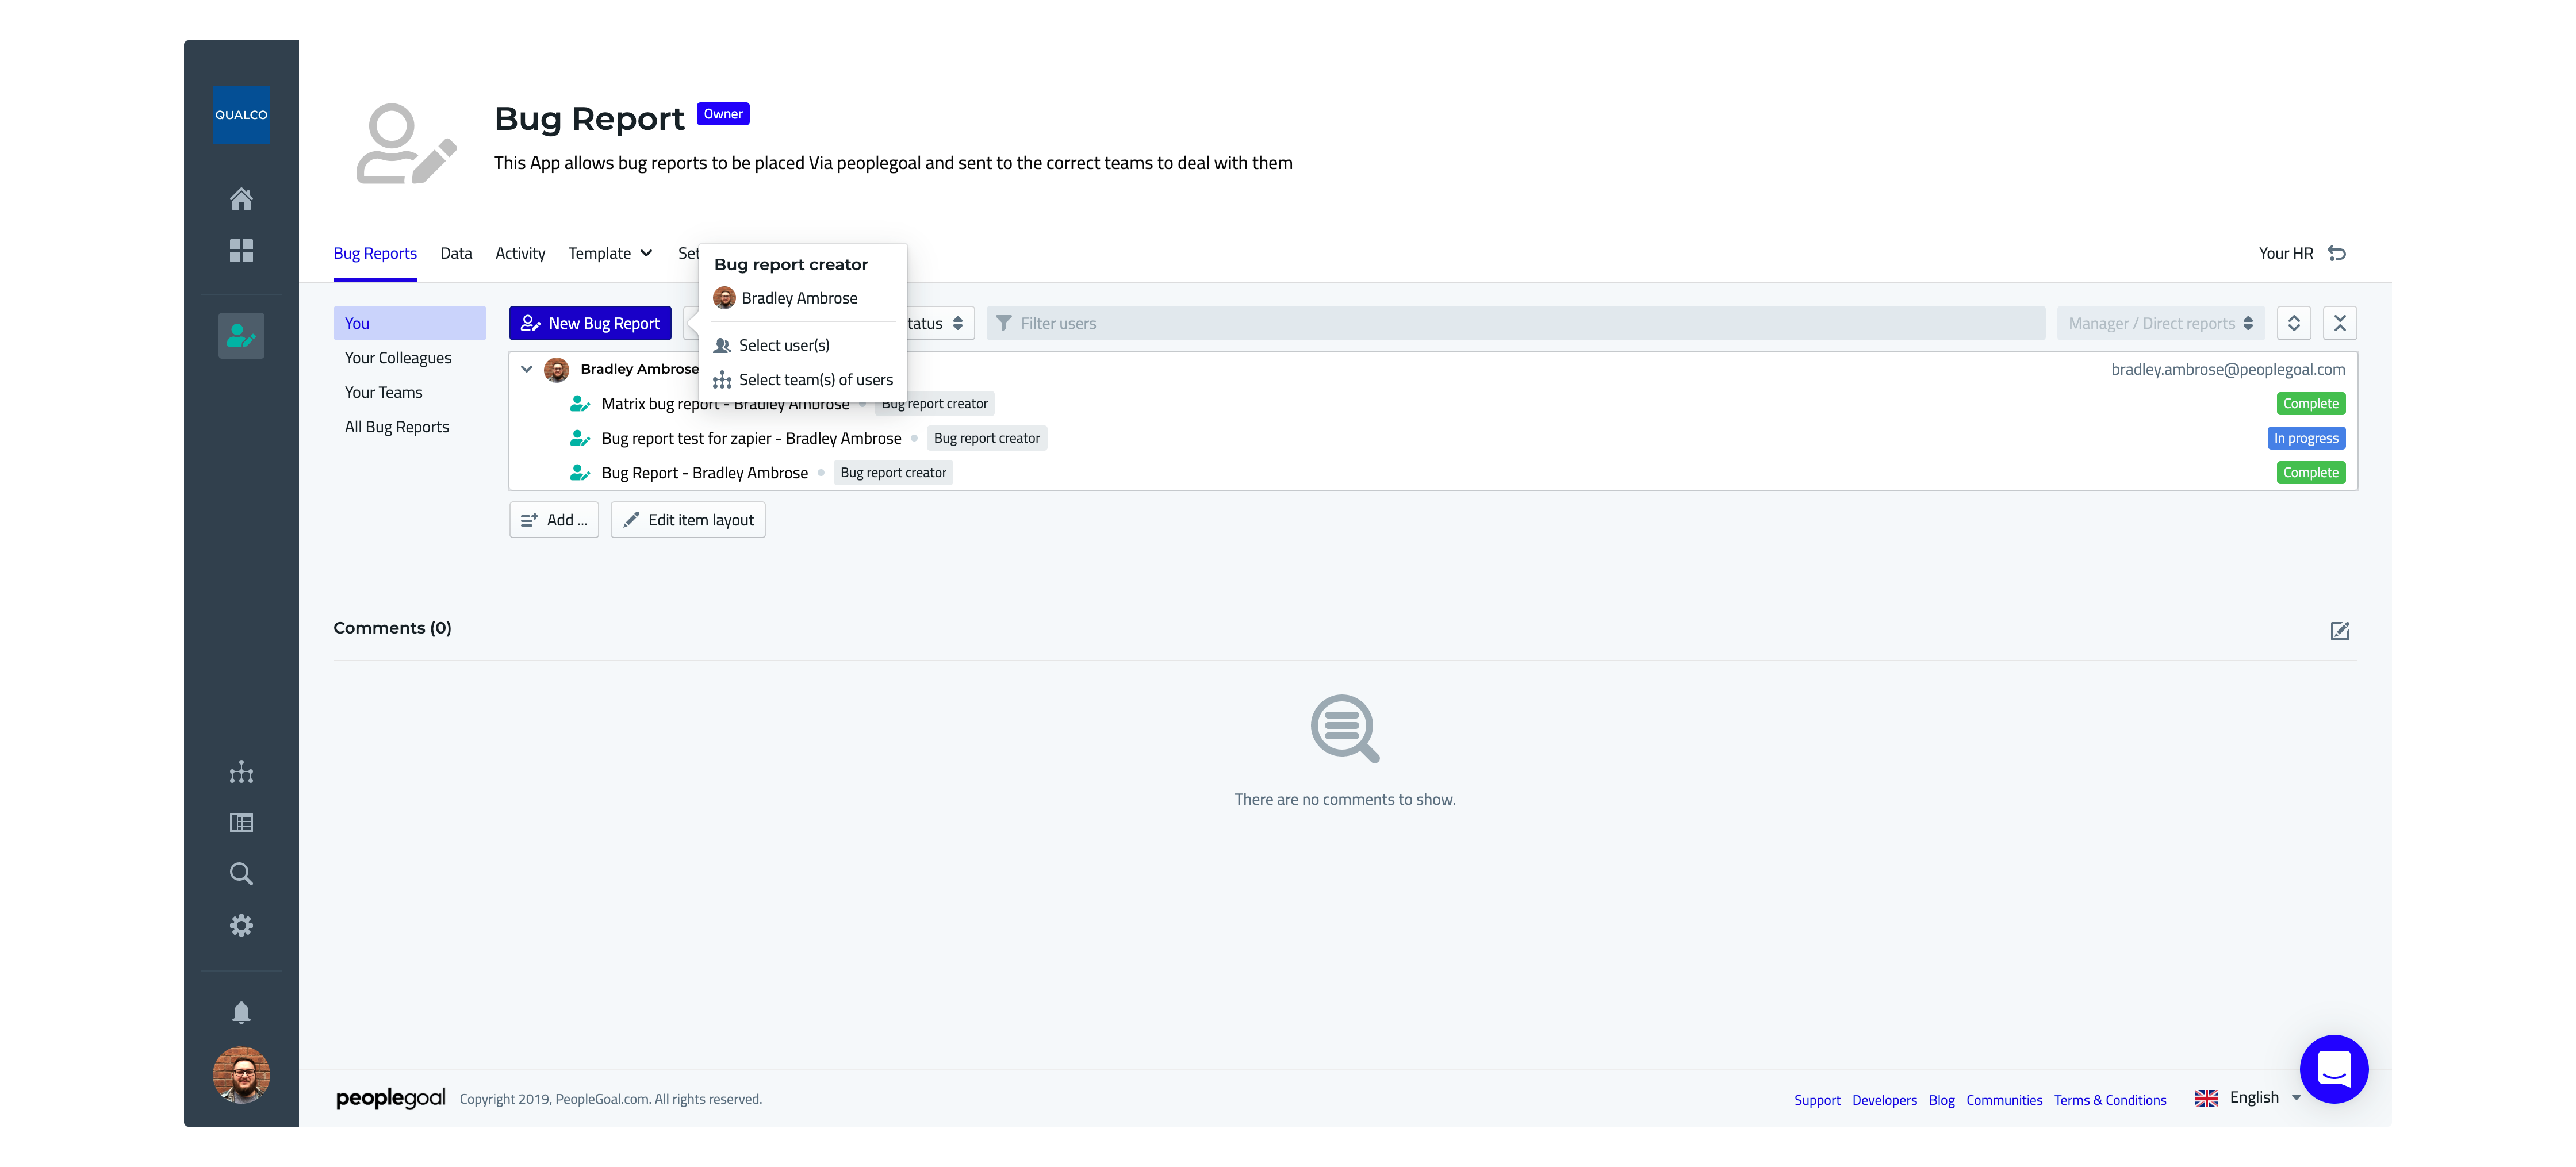
As shown in the gif below, In this app we have used a text option, Team Selection, User Selection and Date picker to log the infomation about the bug found.
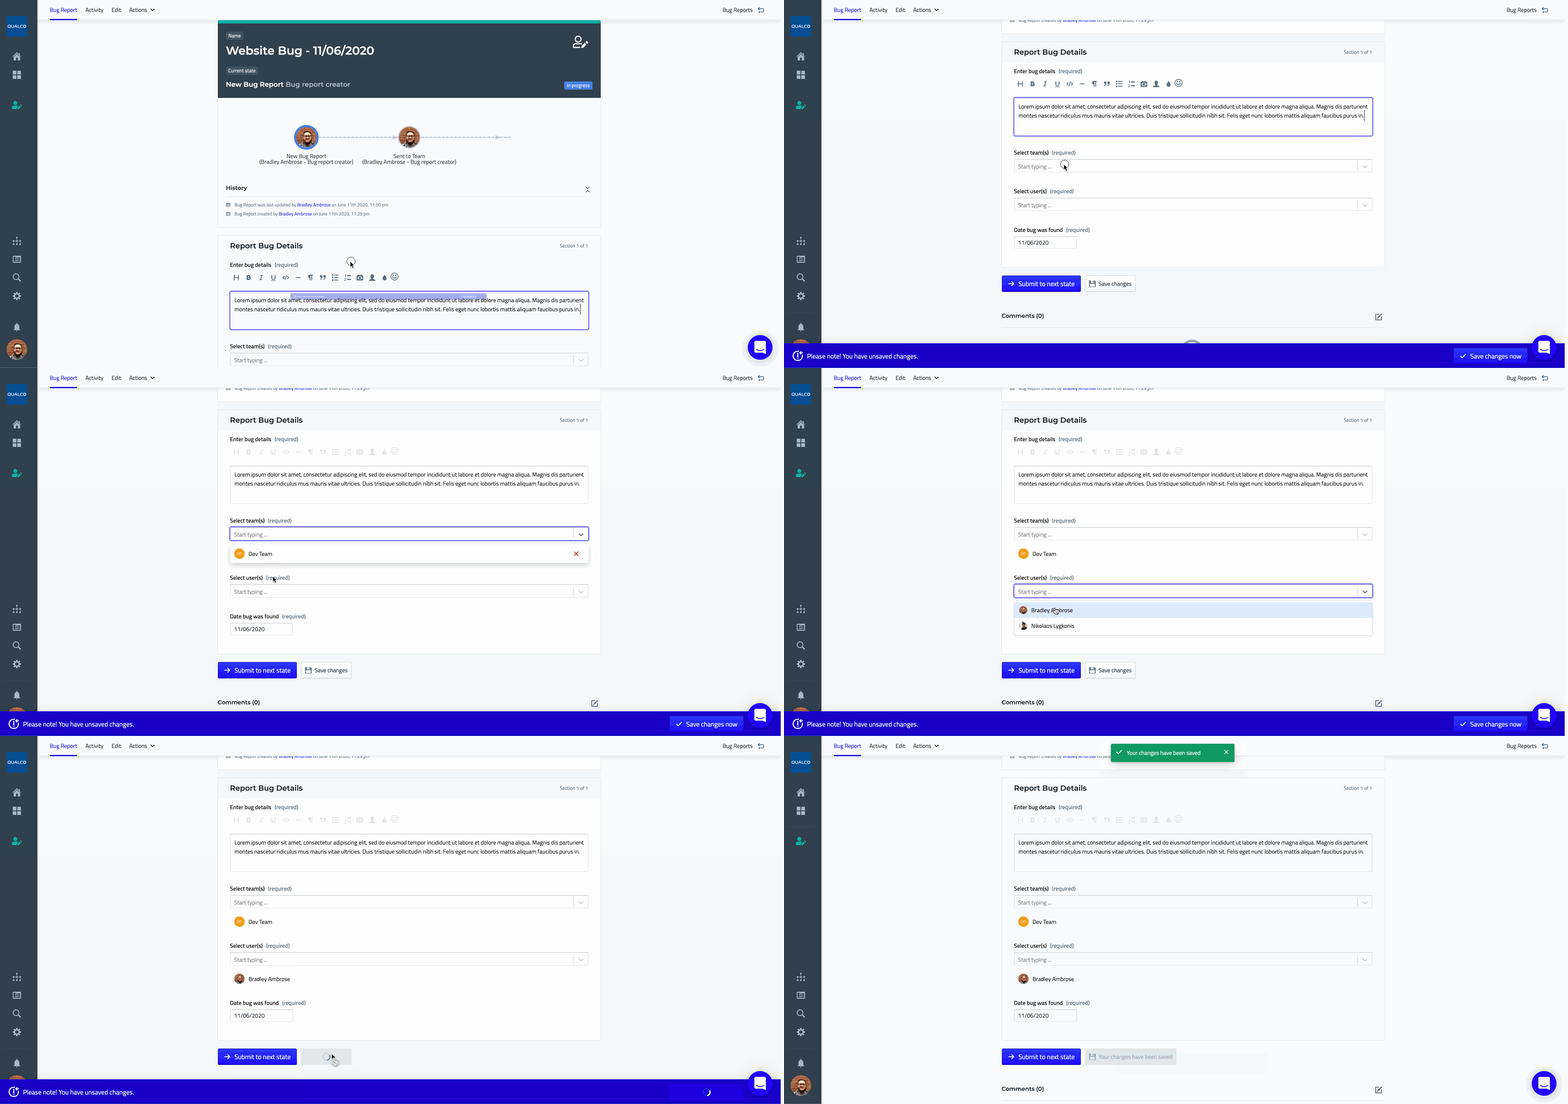
Once the app is filled out with the infomation submit the app and open Zapier.
Zapier Section
PeopleGoal Zapier Section
Once the PeopleGoal app has been created and saved we will move onto connecting Peoplegoal to Zapier. Once you log into your zapier account navigate to the dashboard and click on the button in the top left "MAKE A ZAP".
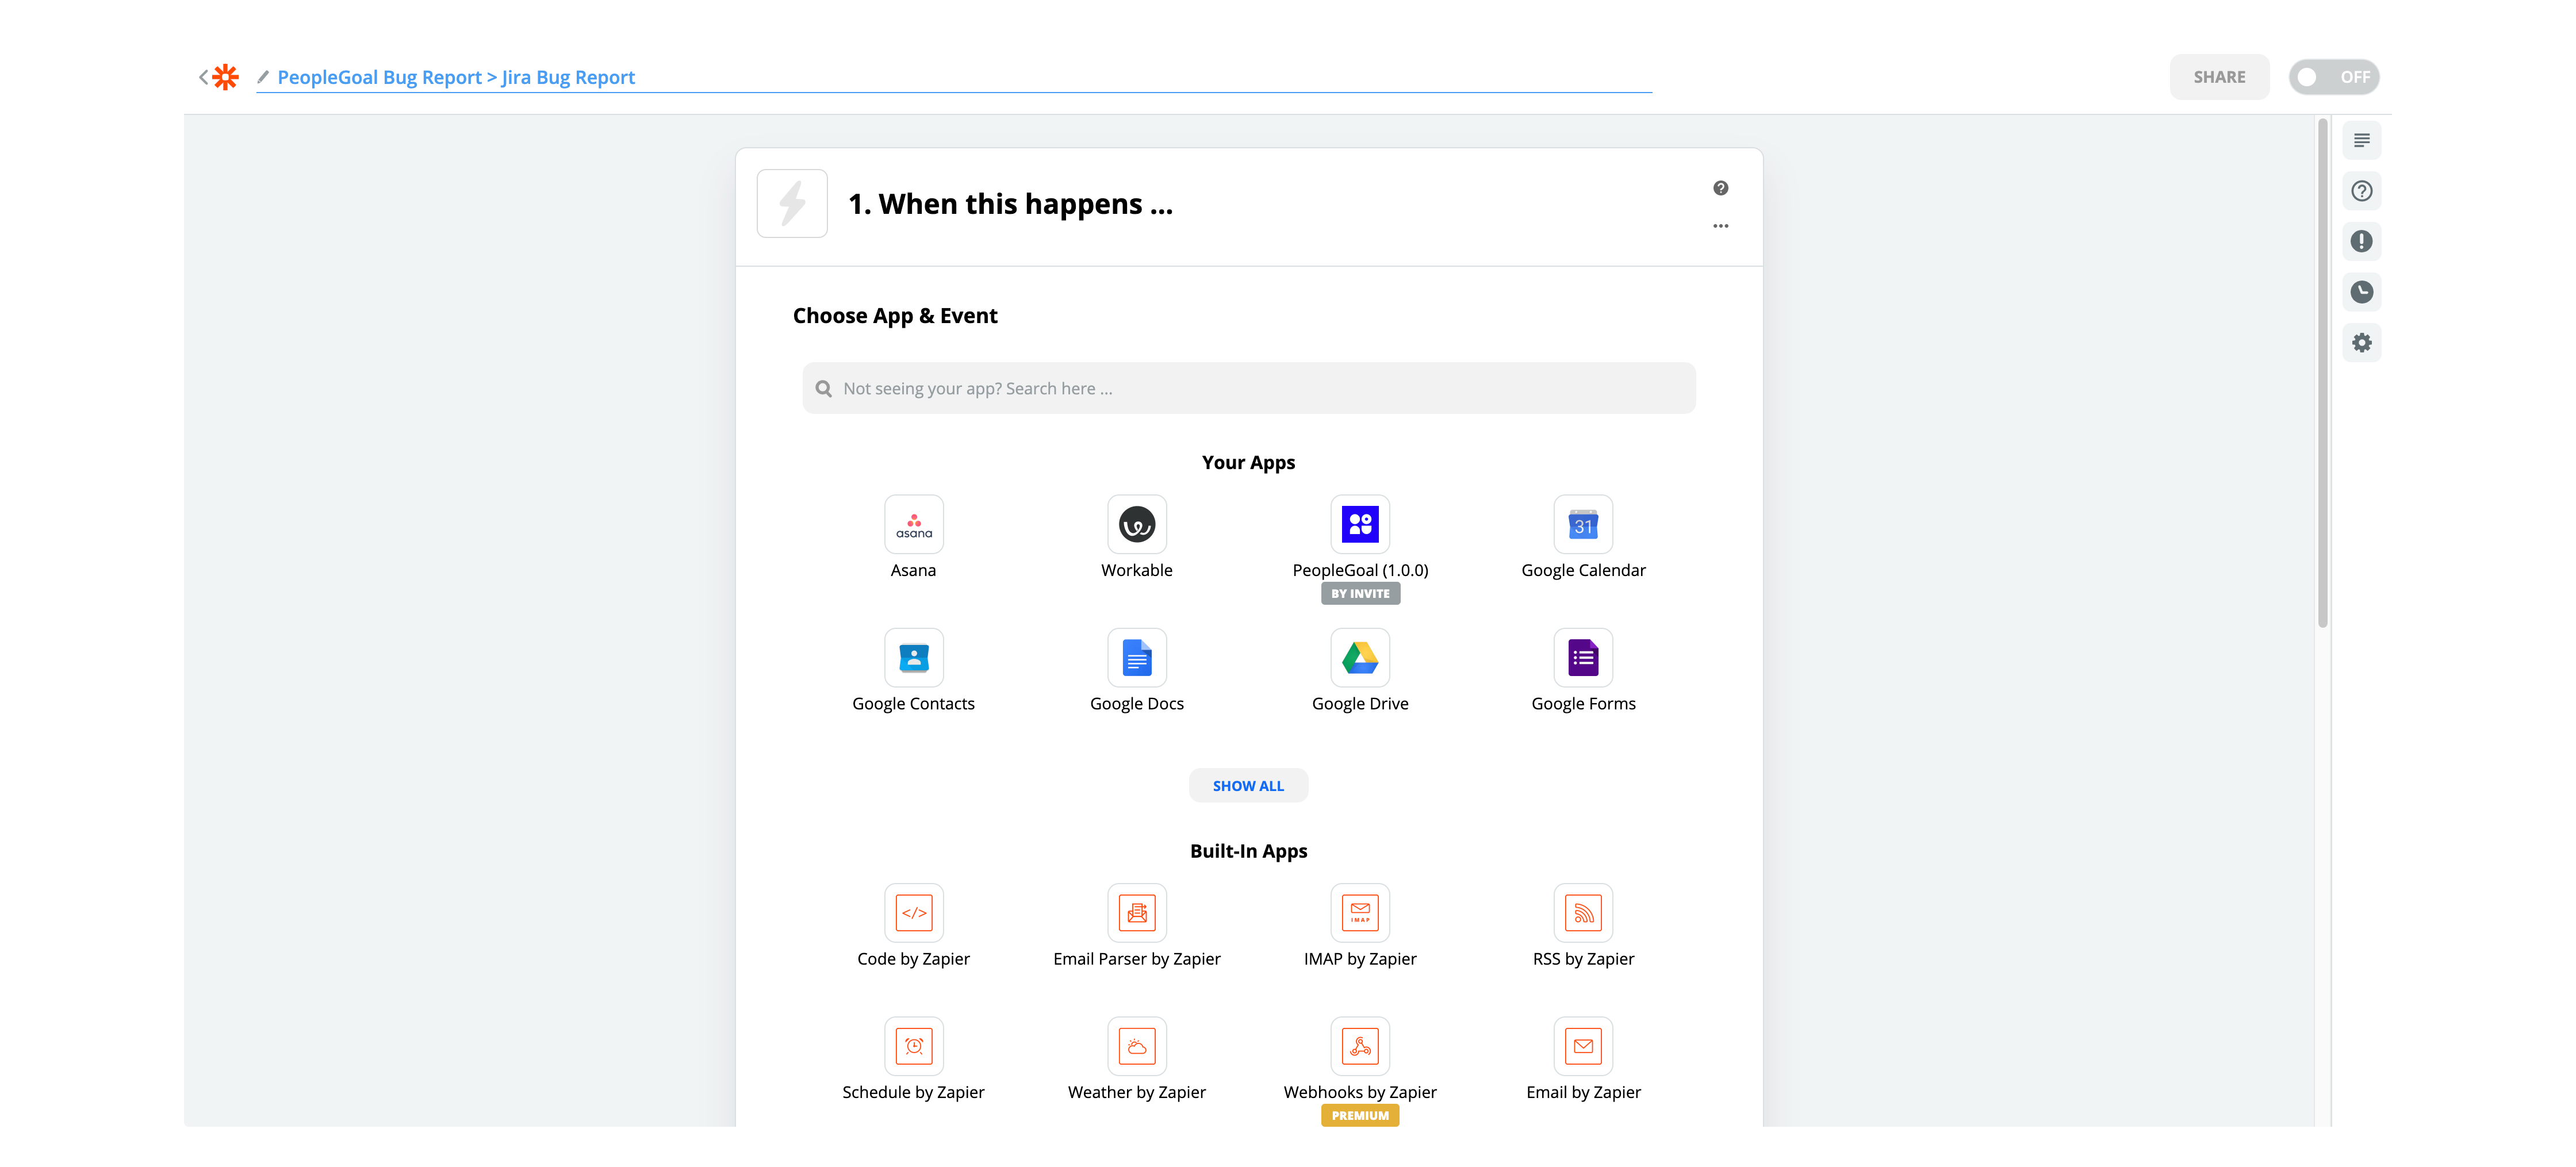
This will create a template for a new zapier integration. In the top left of the screen you can click on the text to rename your Zap. This helps to show what the Zap integrates with and is recommended that going into as much detail as possible can help differentiate between zaps if your account holds mutiple zaps between two of the same apps.

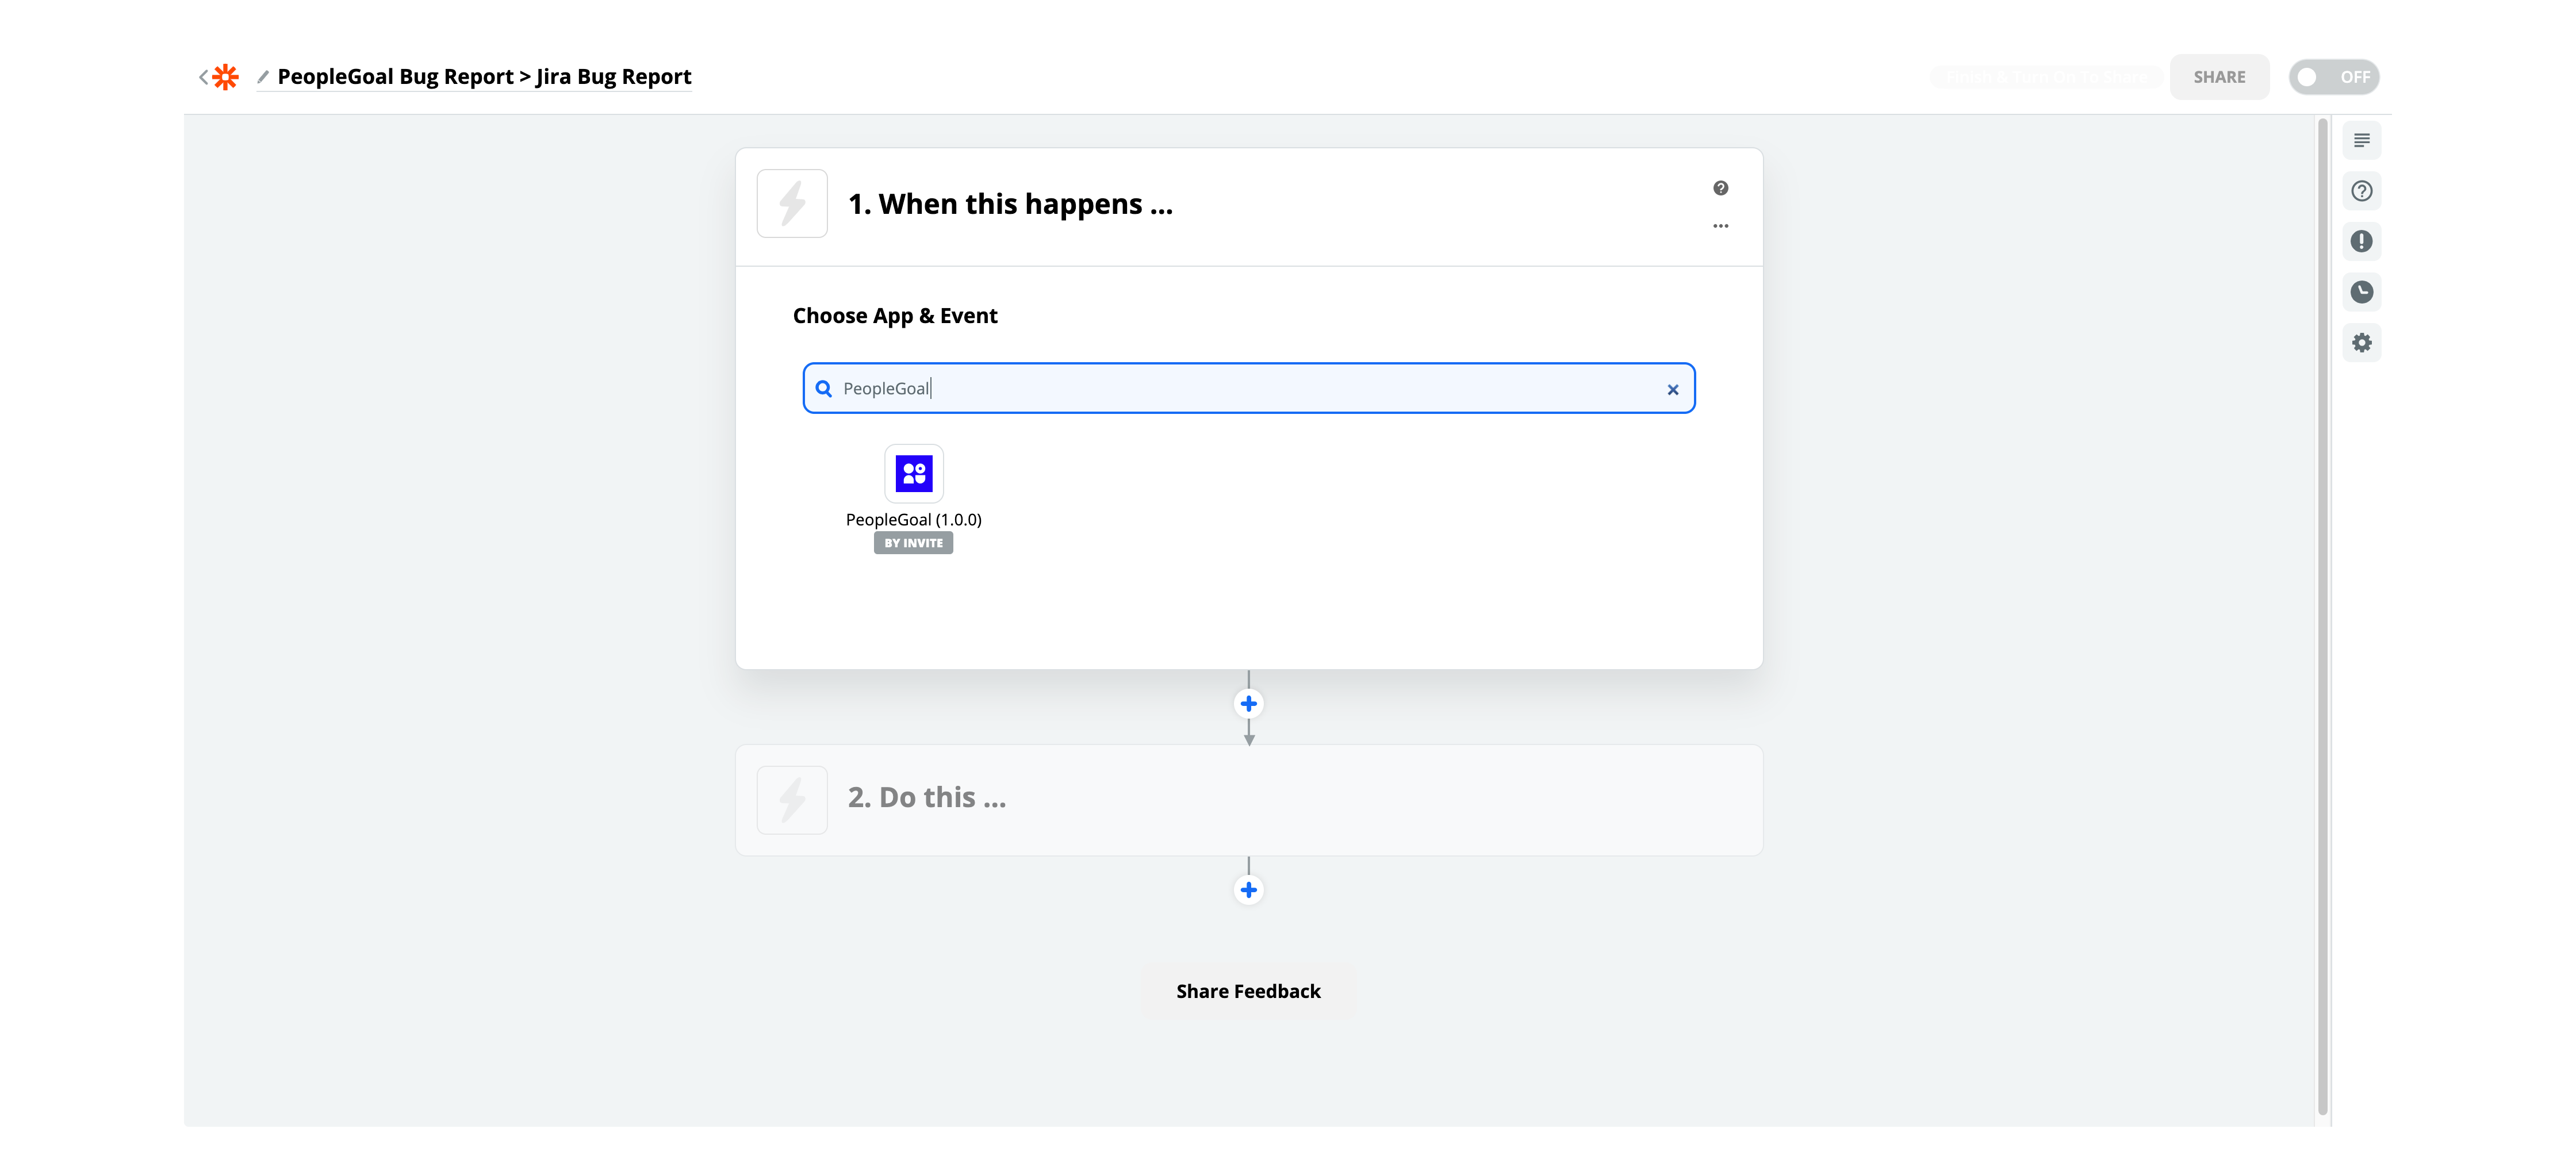
Once you have named your Zap, select the seach box and type in PeopleGoal and then select PeopleGoal (1.0.0). This feature is Invite only so if this isn't shown in your search bar please contact (email here) to gain access via our Development Team. This process can be shown (insert link to connecting to zapier account here).
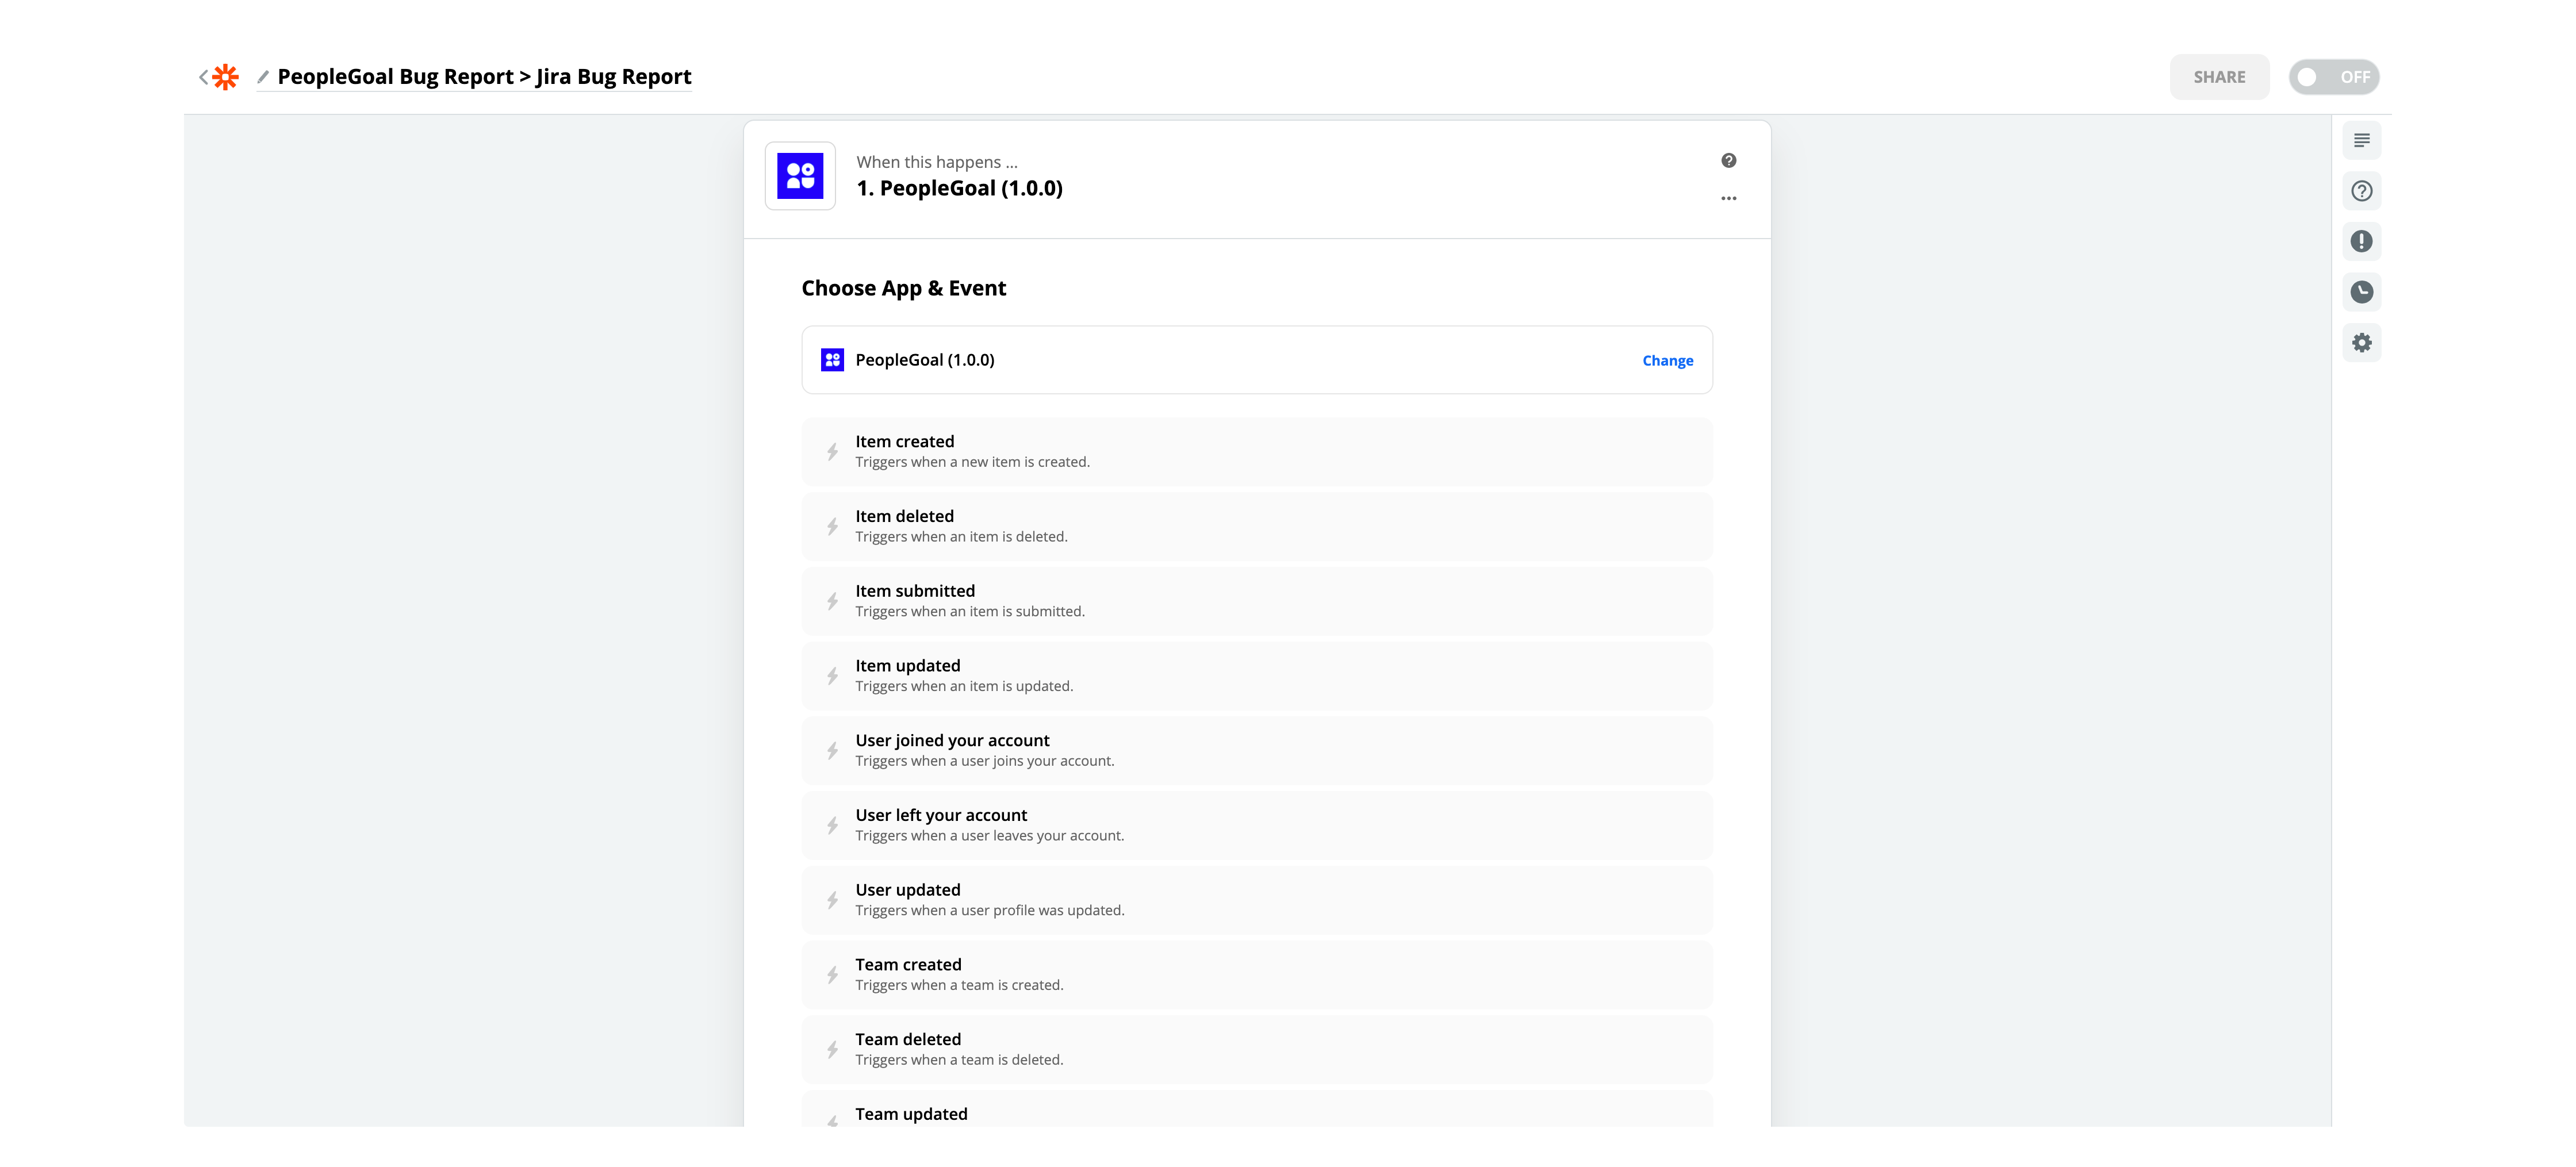
Once the PeopleGoal app has been selected we need to choose an event that we want to trigger this integration. For this example want to create a new bug ticket in Jira everytime a bug report is submitted in, so for this example we will use Item Submitted. Once selected click continue to choose account and event.
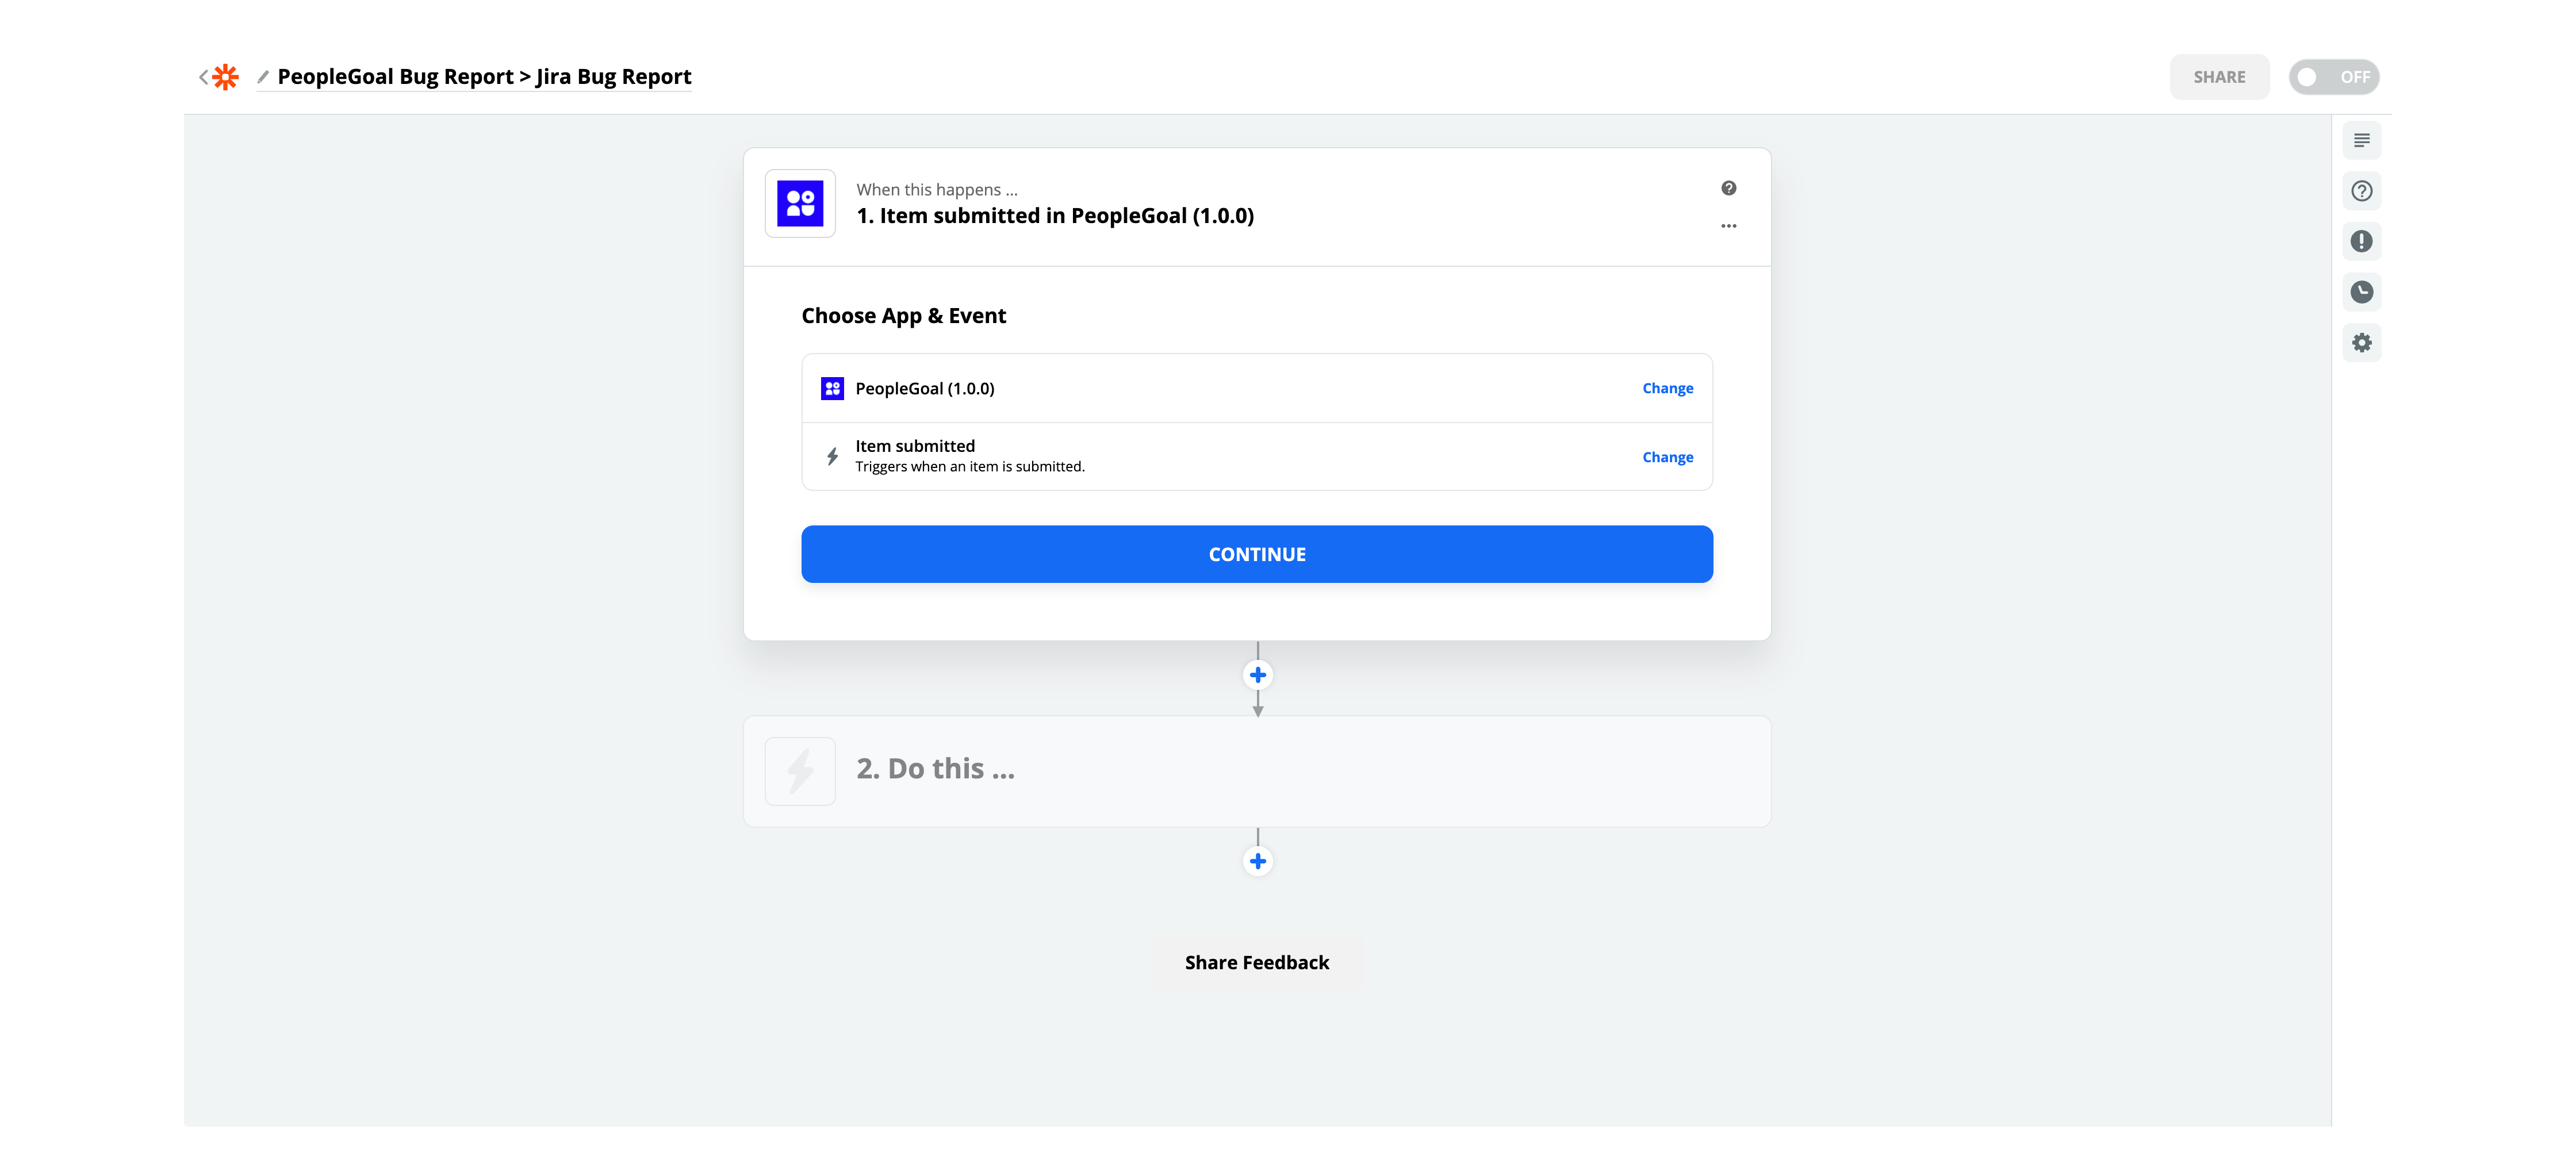
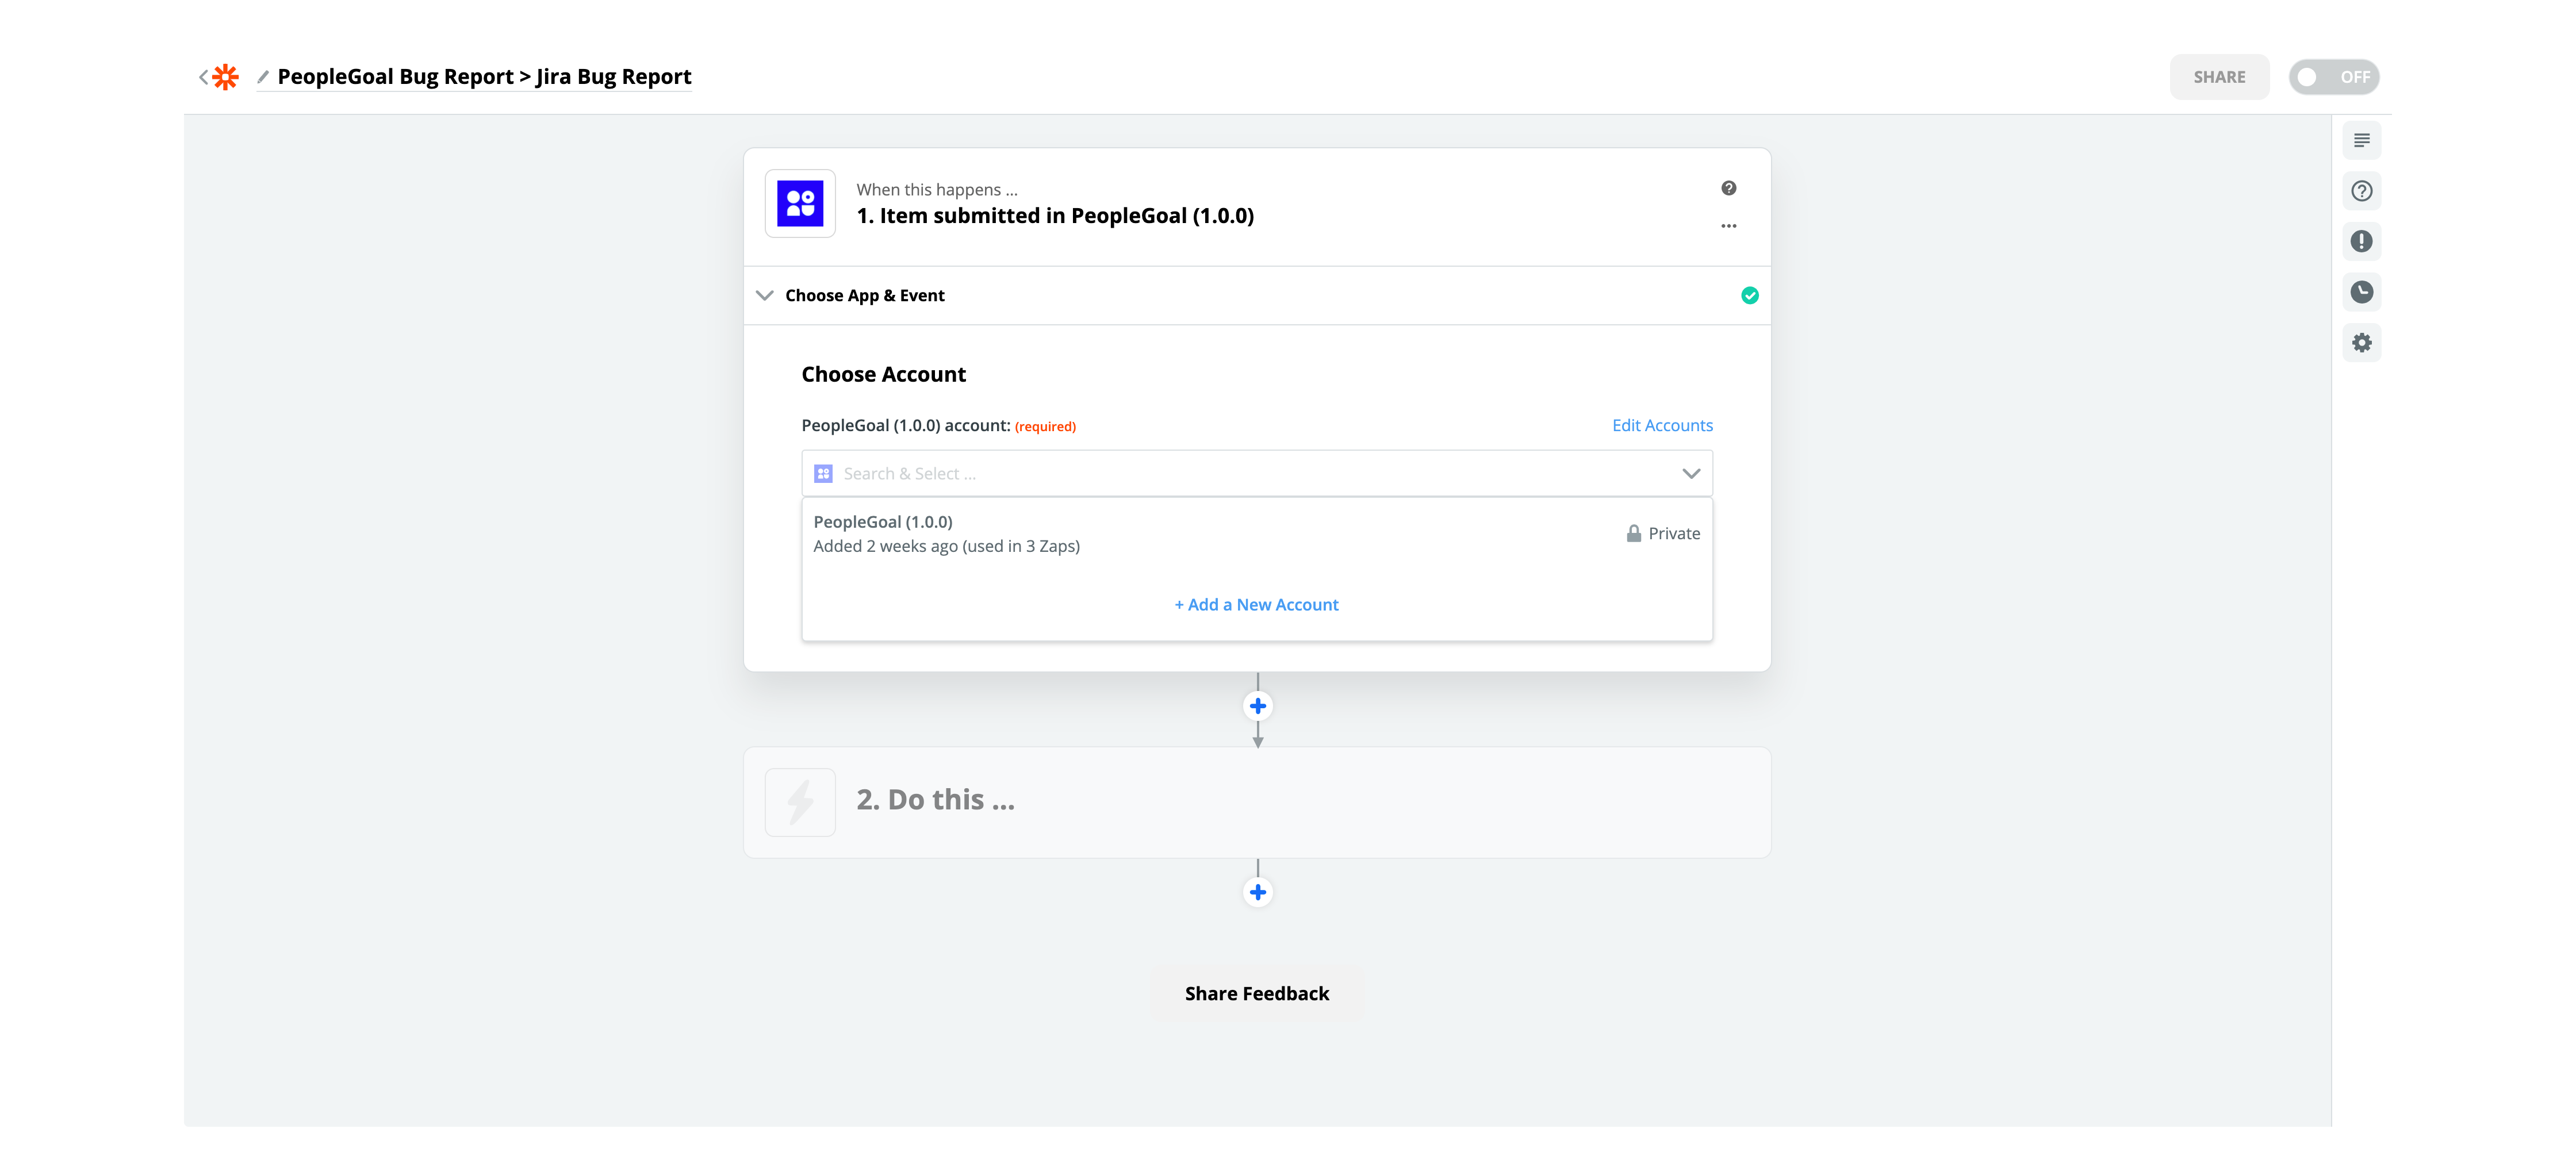
Here you will log into your PeopleGoal account which will give you access to link your PeopleGoal account to Zapier. A popup will open with a page to login, use the same login you use to access your PeopleGoal Account. This connection can be disconnected at any time via My Apps from the Zapier. Once the account is selected click continue.
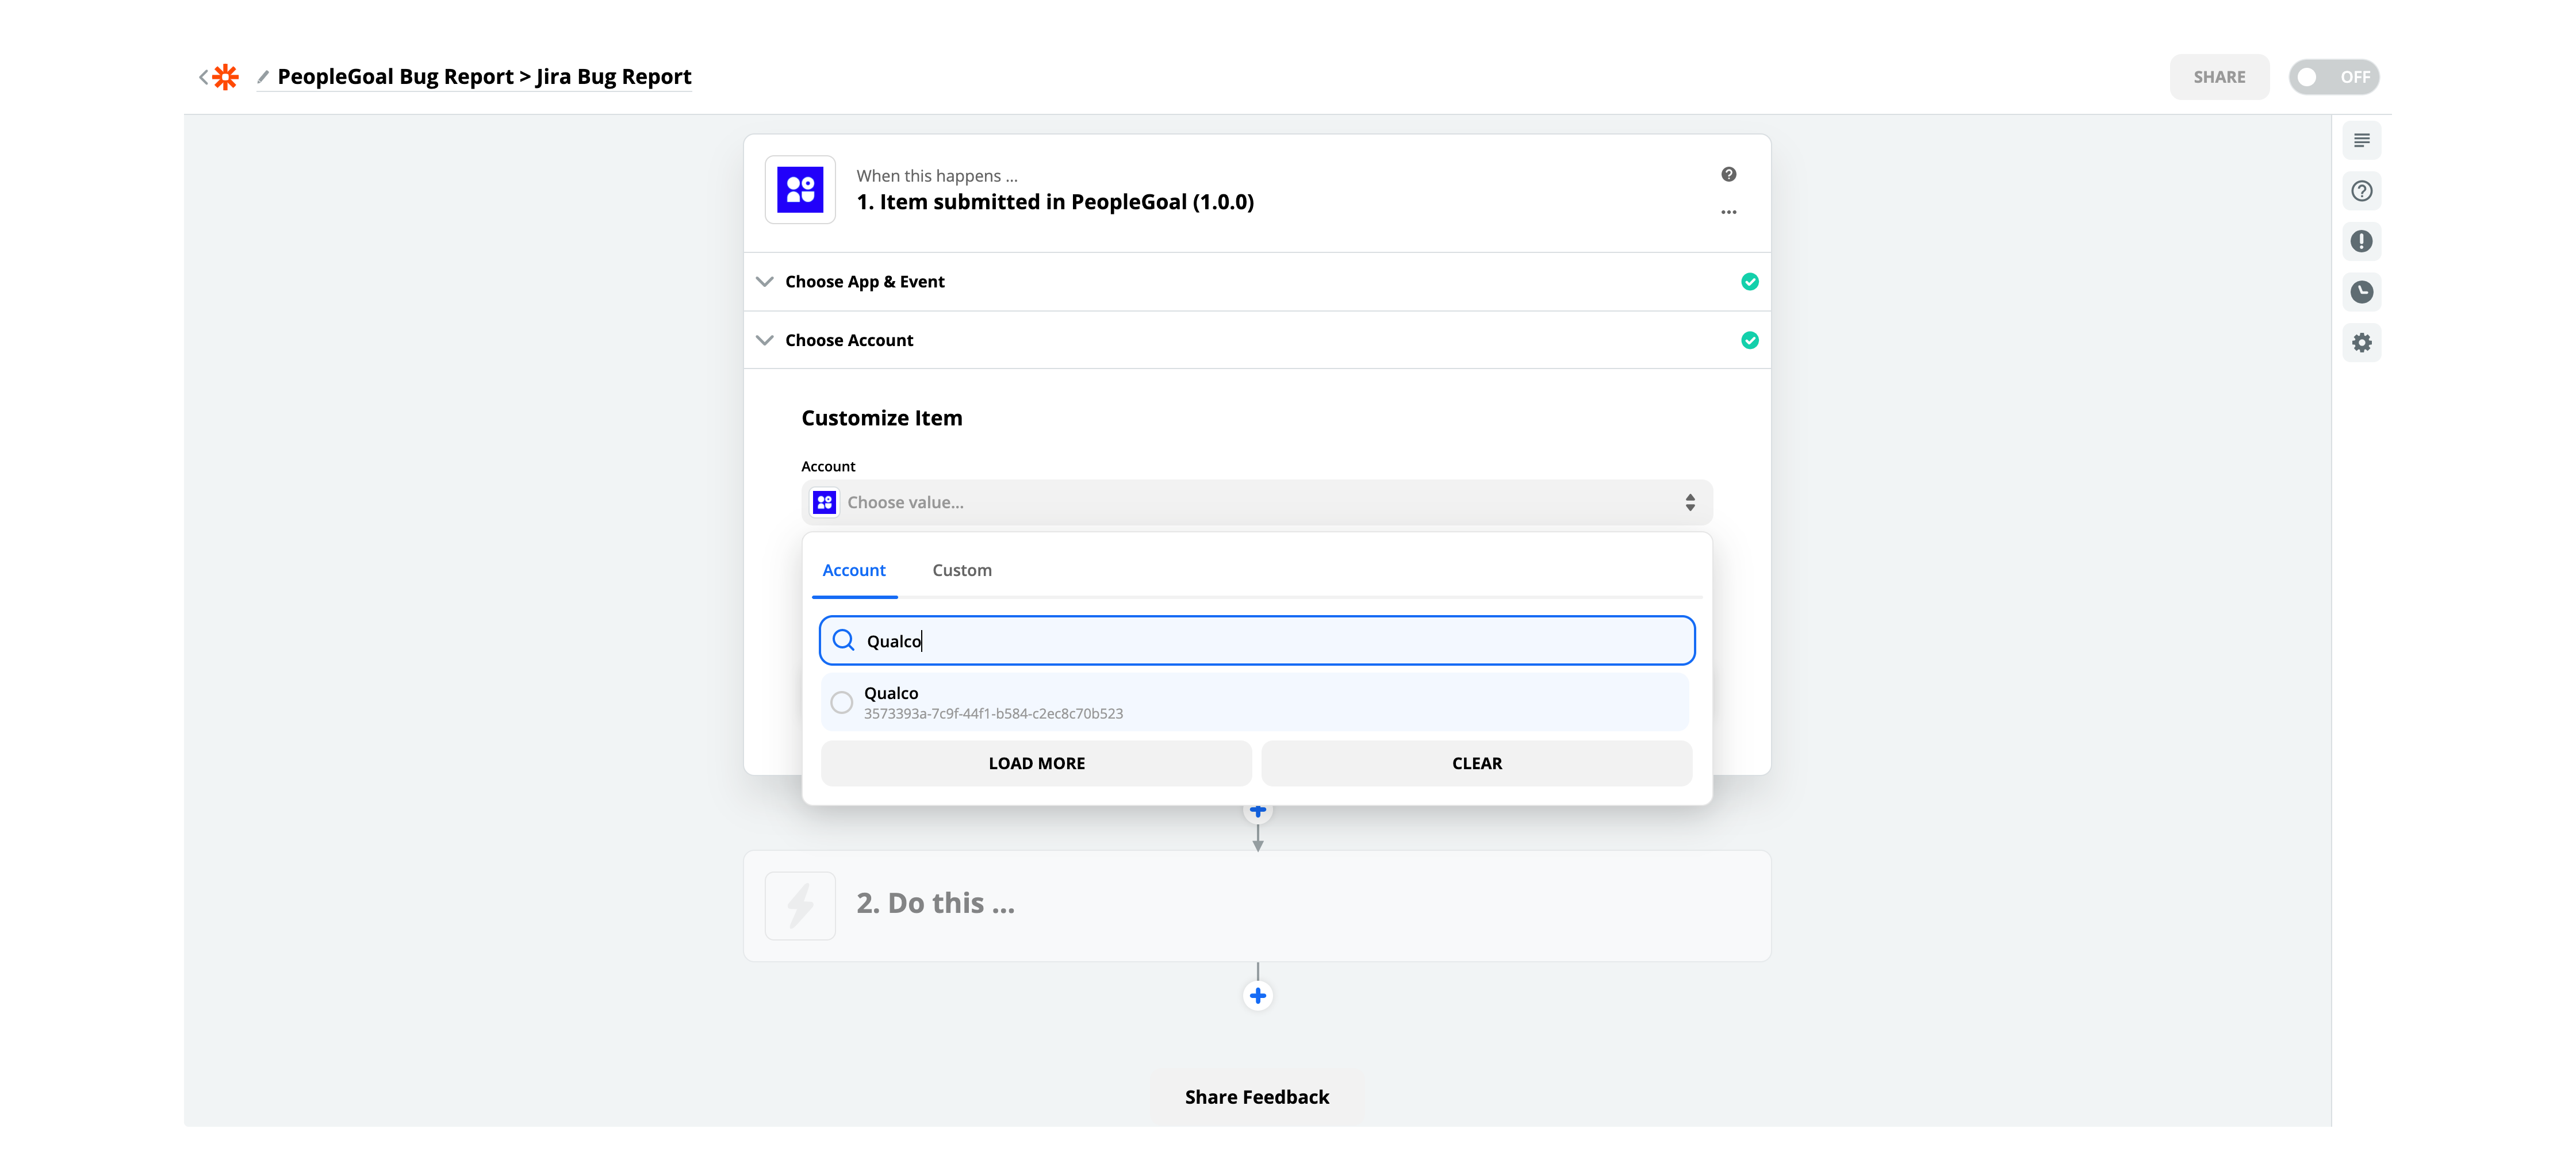
Once the PeopleGoal account in logged in you will be asked to pick which company account you want to associate Zap. This dropdown option helps with accounts that have access to mutiple company accounts like HR managers and Consultants. As an indvidual you will only have access to see and select the company accounts you have access to in PeopleGoal. You can search the company account that is needed and select it, once the account it selected Click continue.
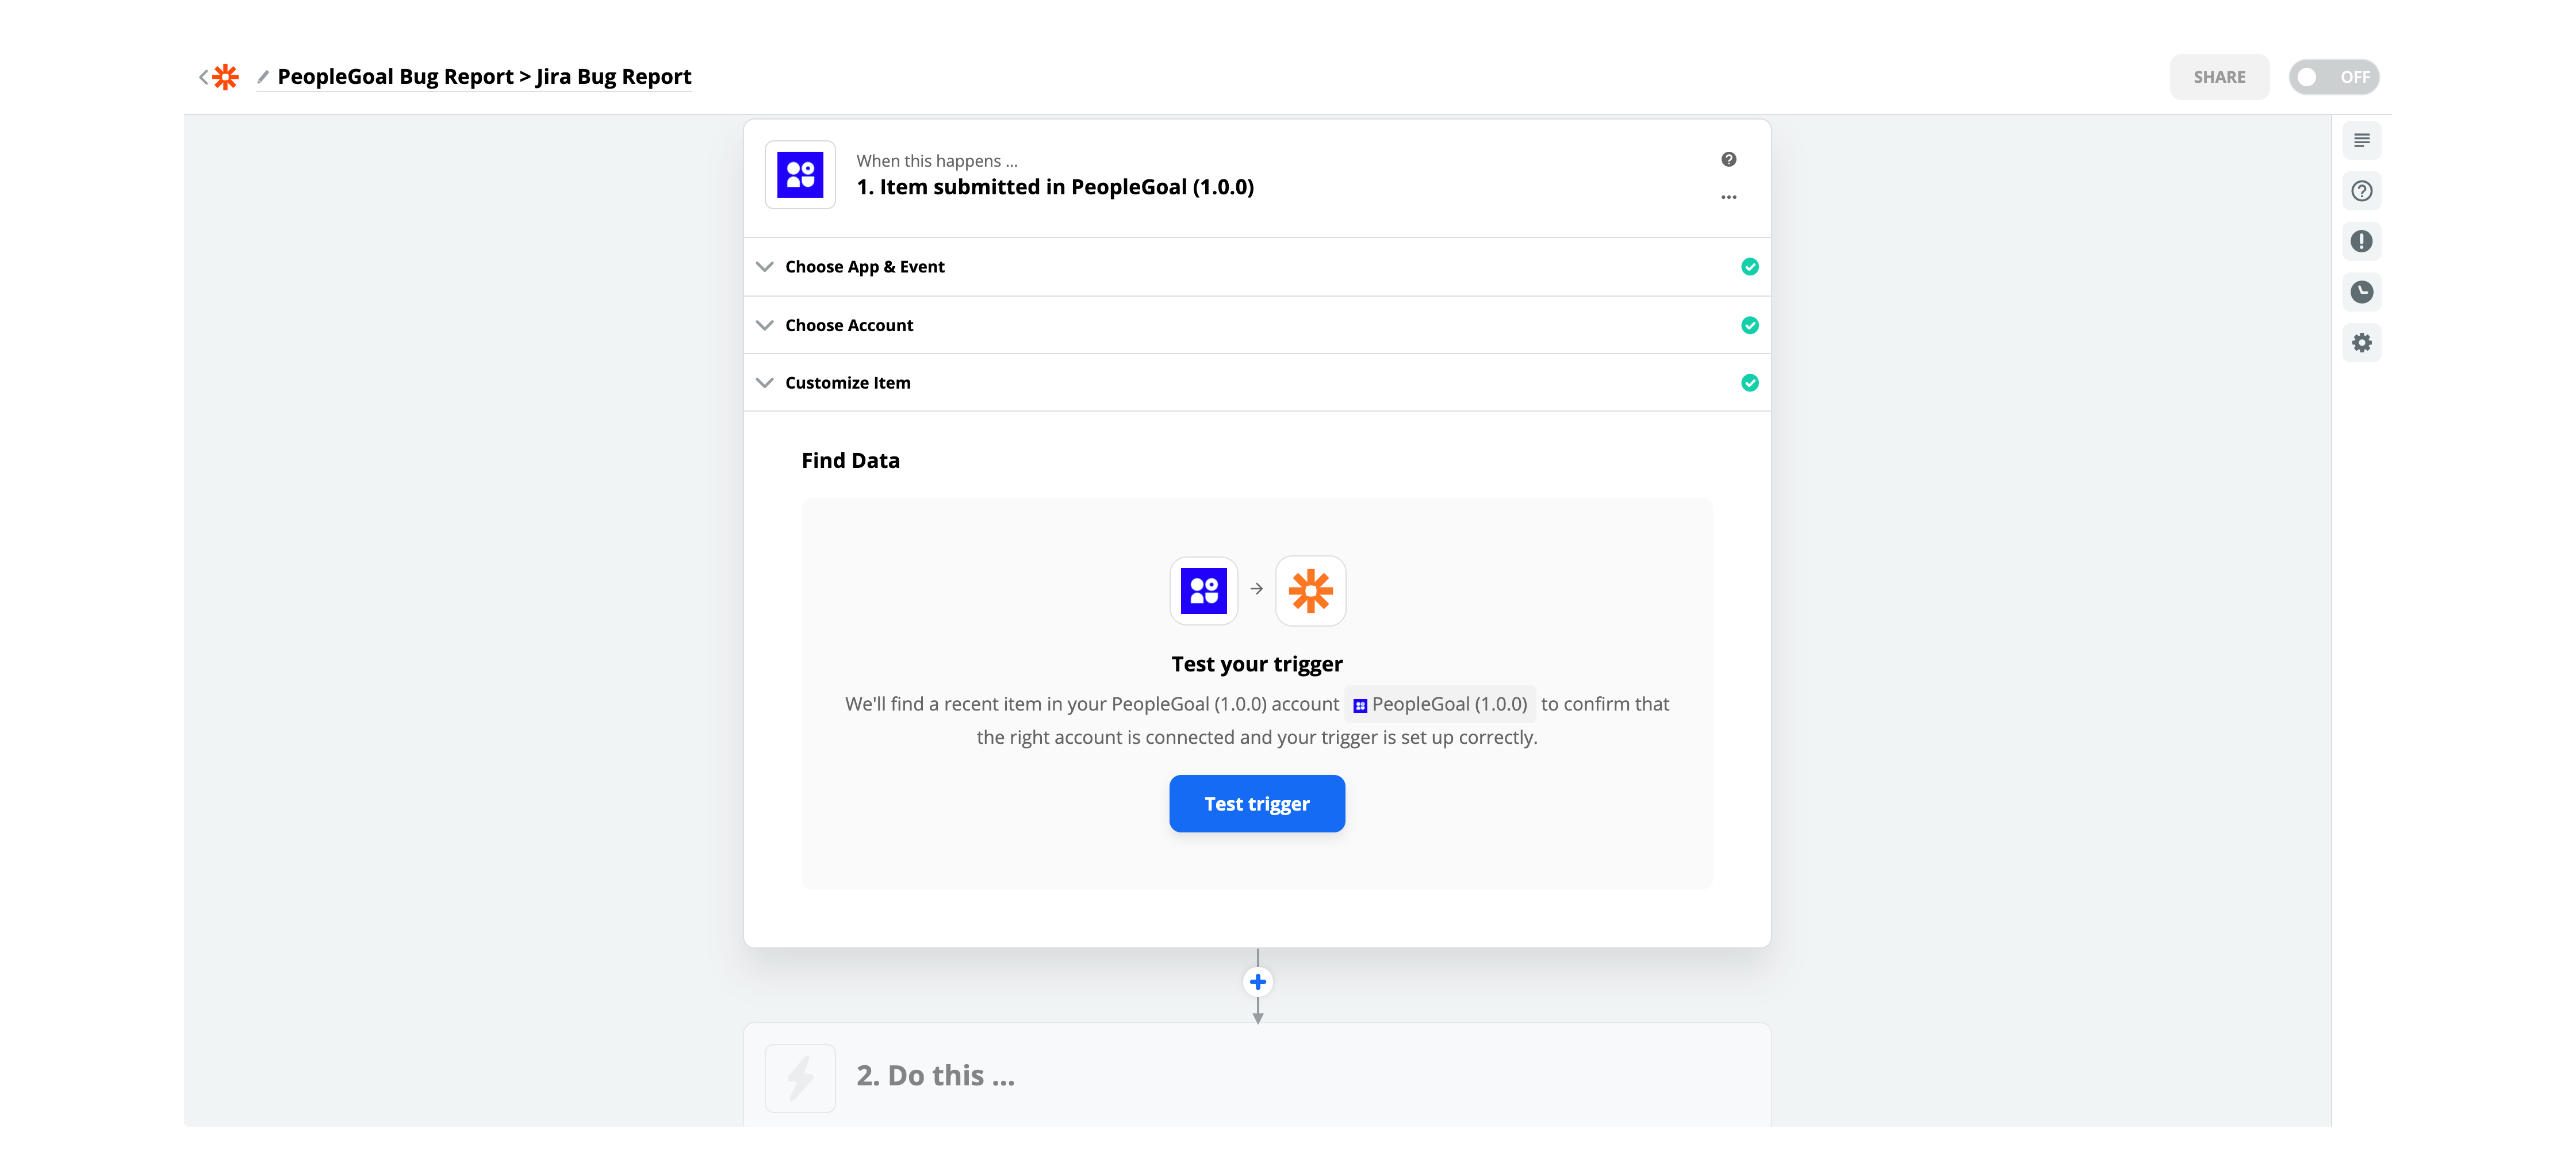
Now the company account has been selected you can test your trigger integration with Zapier. Click test and wait for the Item list to be loaded.
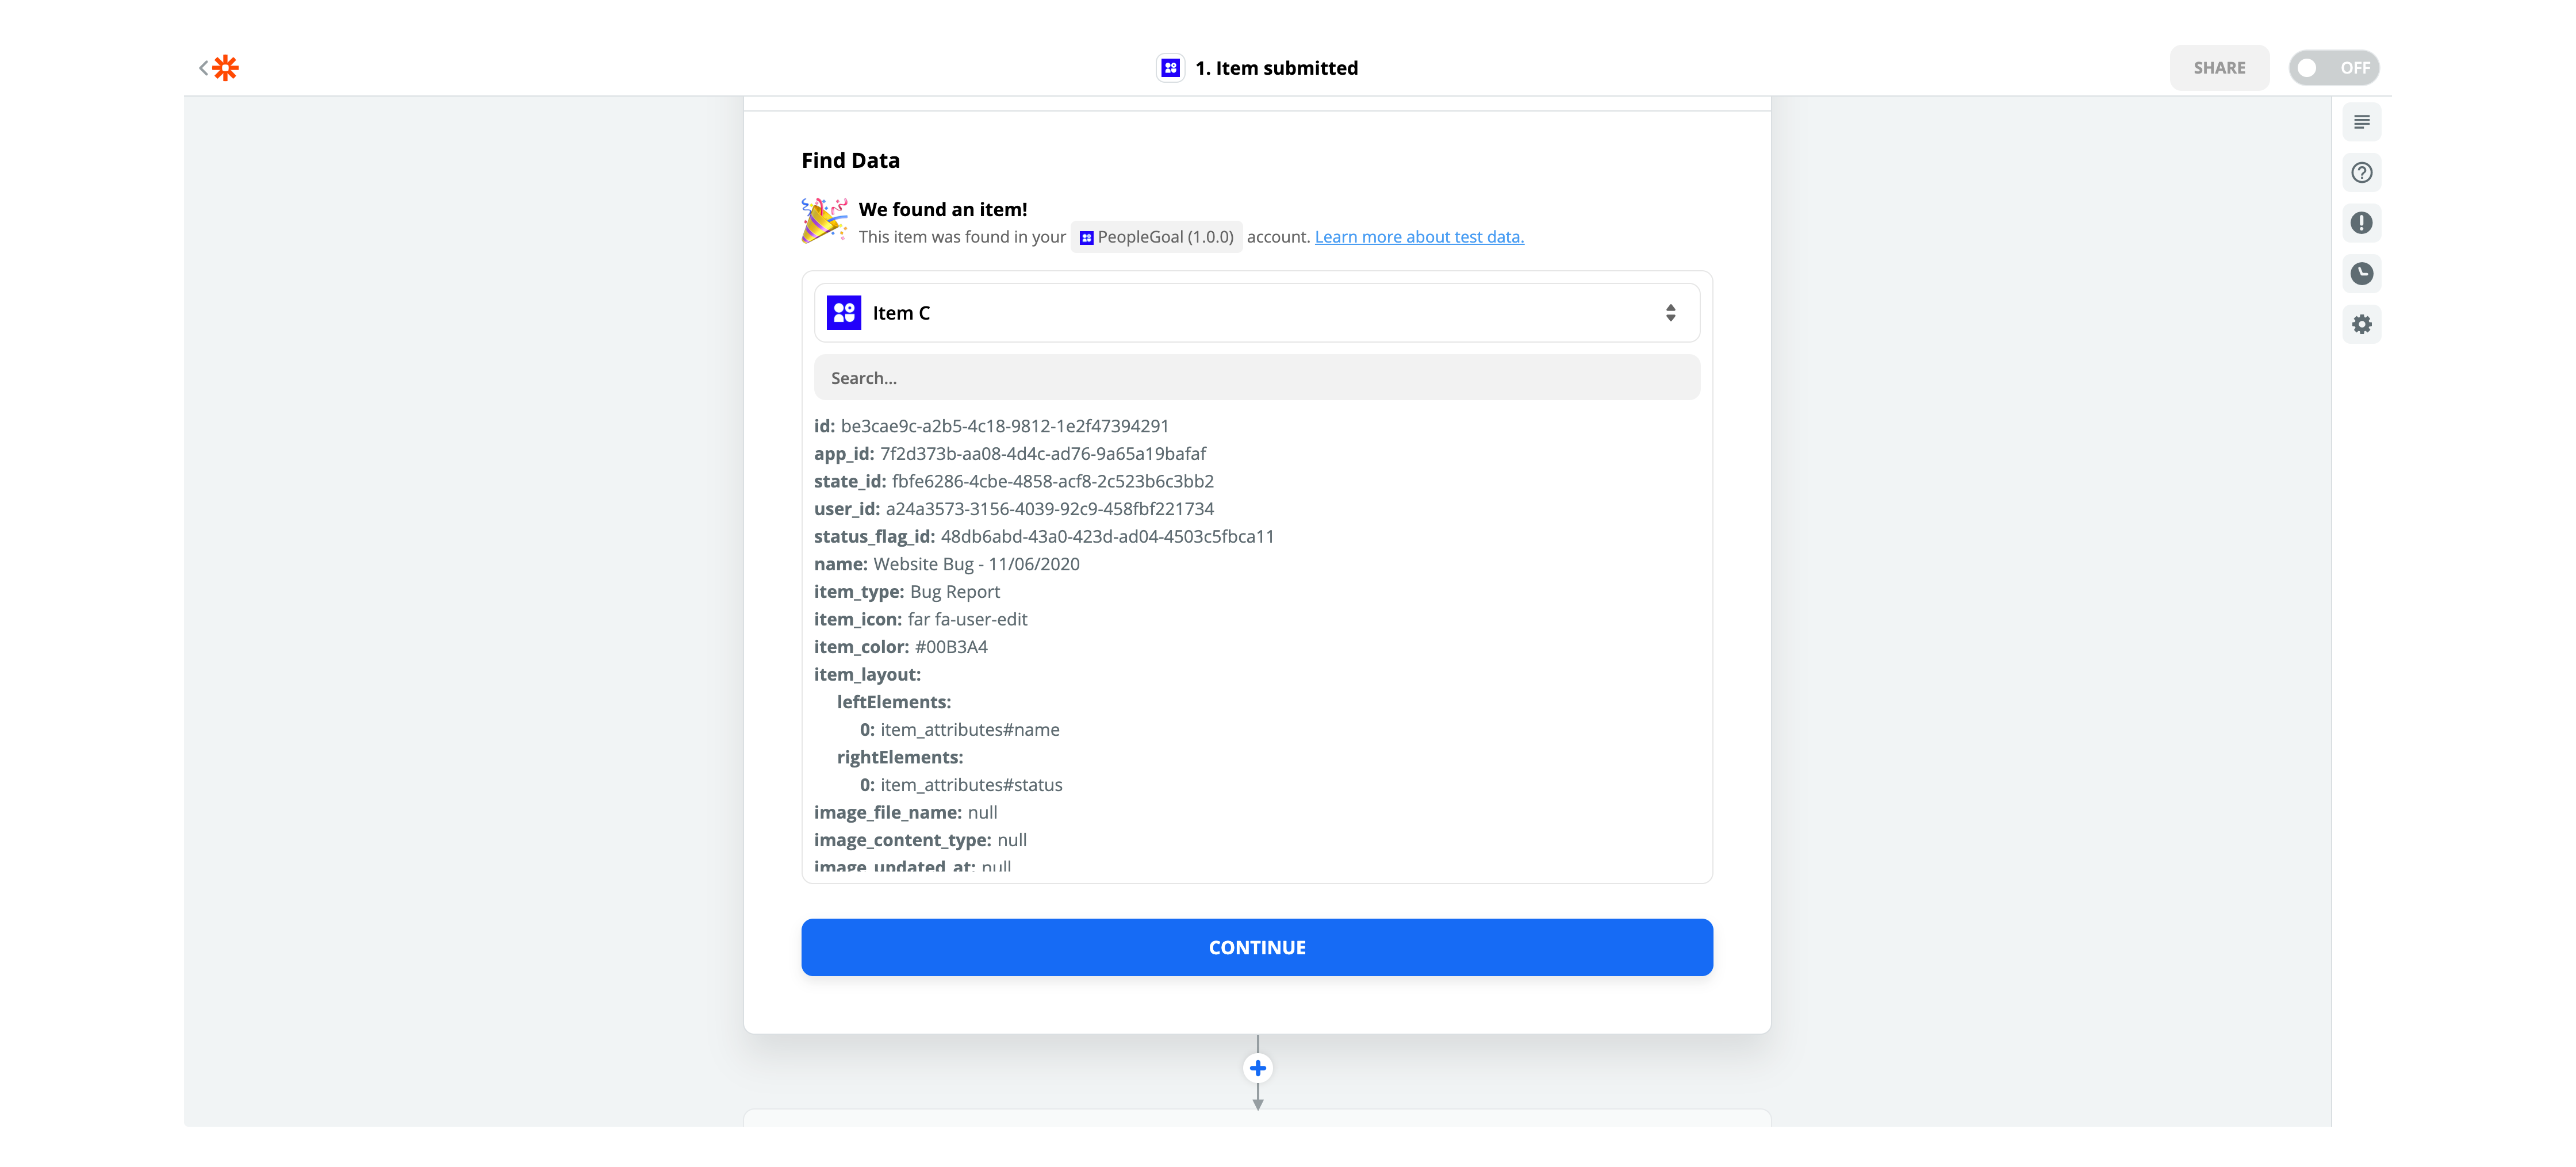
When the data is found a list of available items to select from will appear. In this list the test item created from the PeopleGoal app from earlier can be found. The search feature can be used to check if the data matches the test app created earlier. Using the search feature is recommended because of the large amount of data shared by the PeopleGoal API. Using the search feature simplifies this and helps to find what data is provided in the item that has been selected.
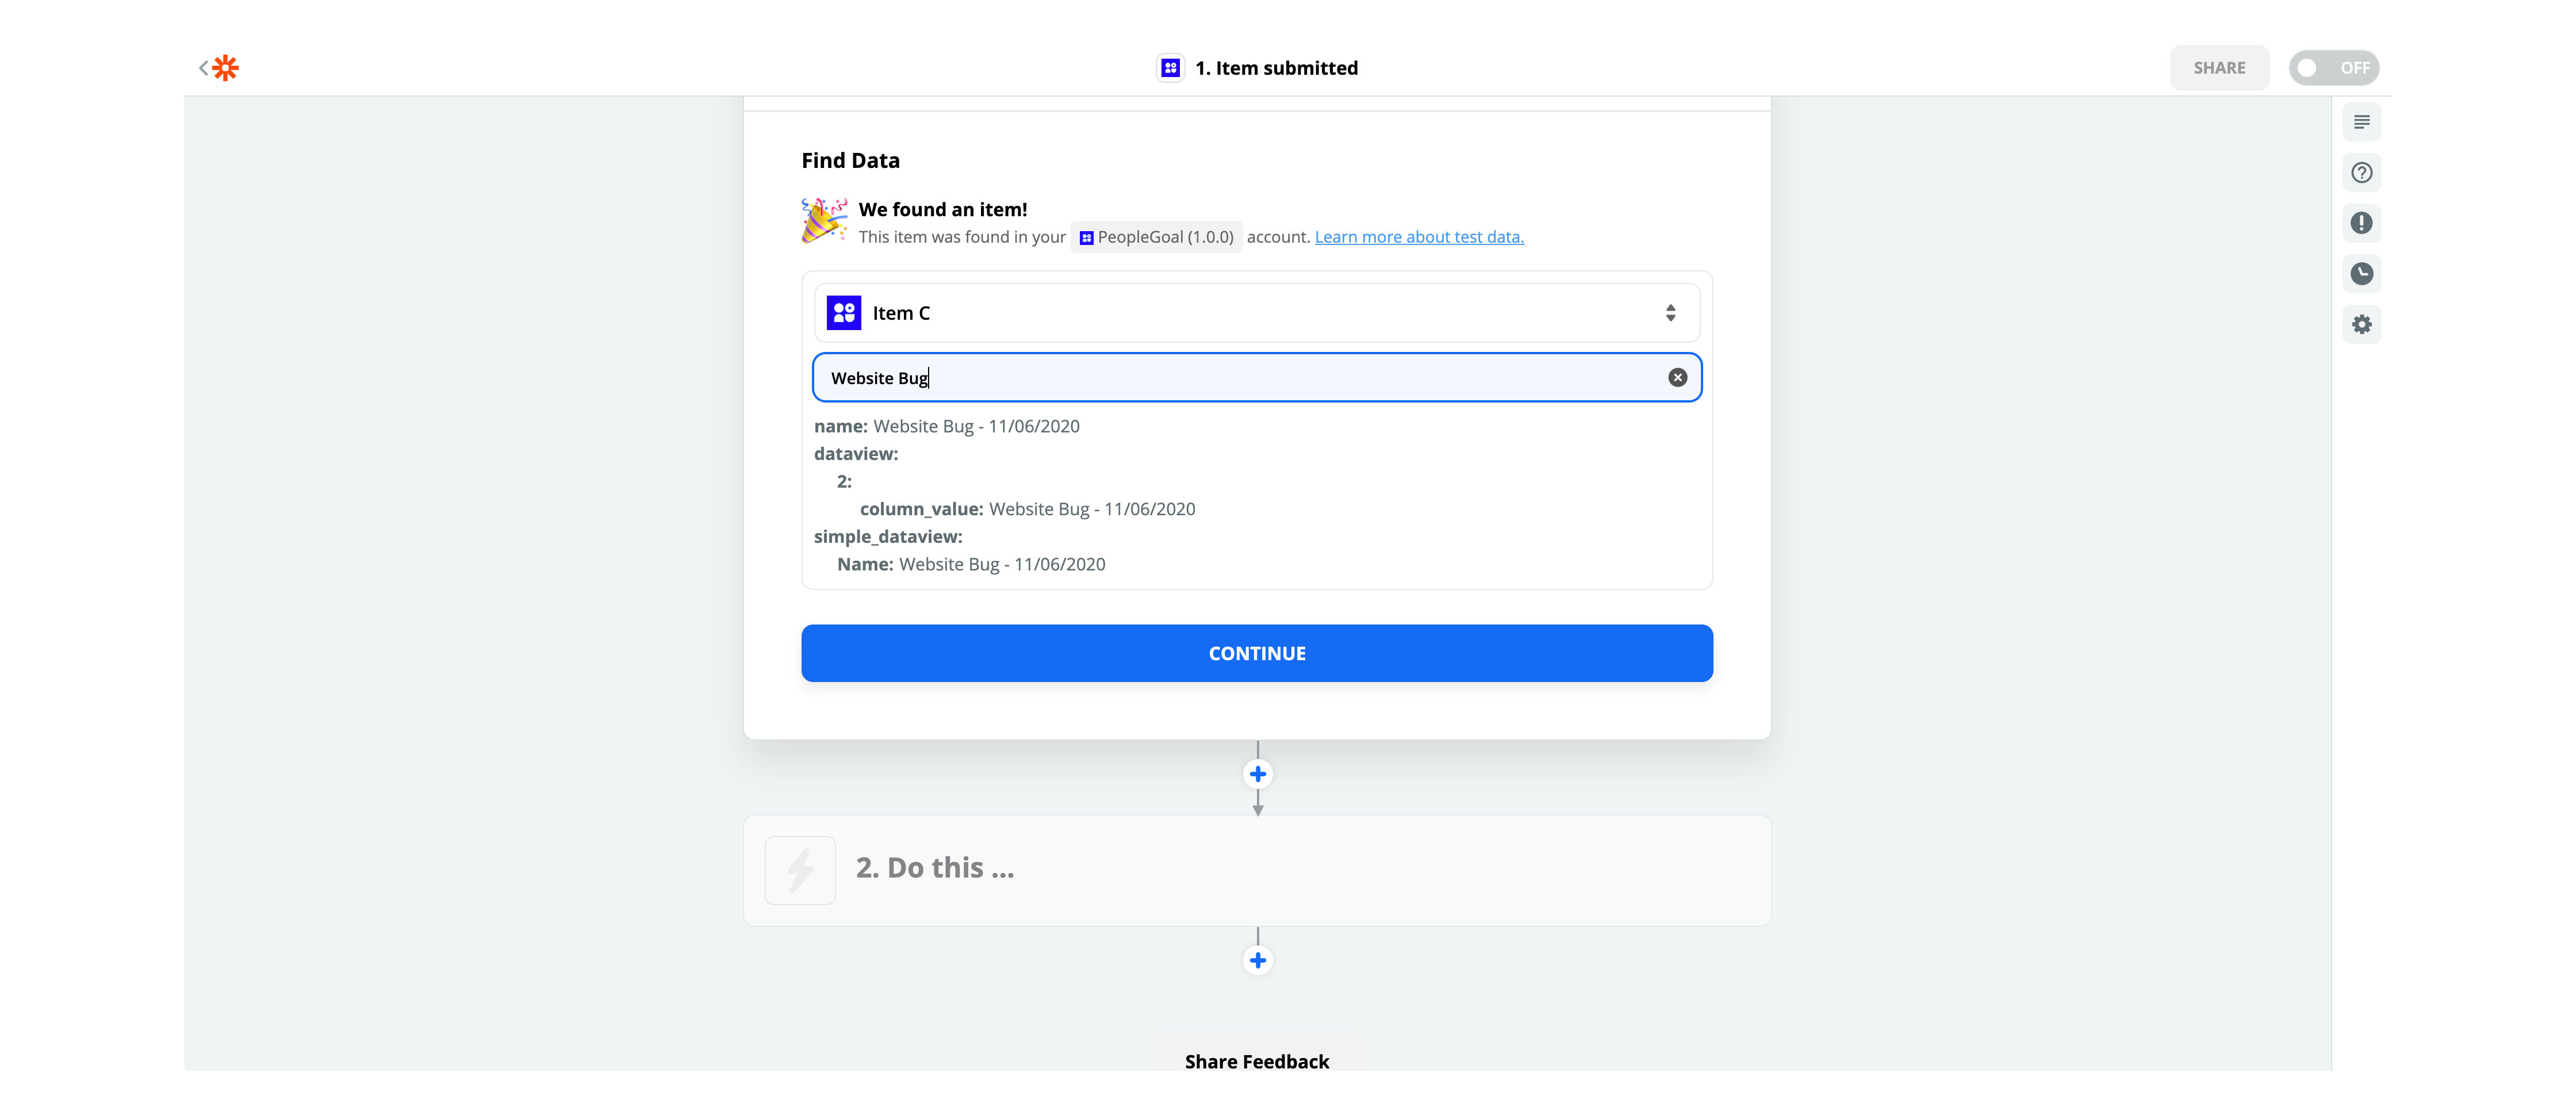
Once the correct item has been selected click continue to move onto the Jira section of this zap.
Jira Zapier Section
This finished the PeopleGoal section of this integration. Now we are shown another App & Event Selection list. Search for Jira Software Cloud and select the app.
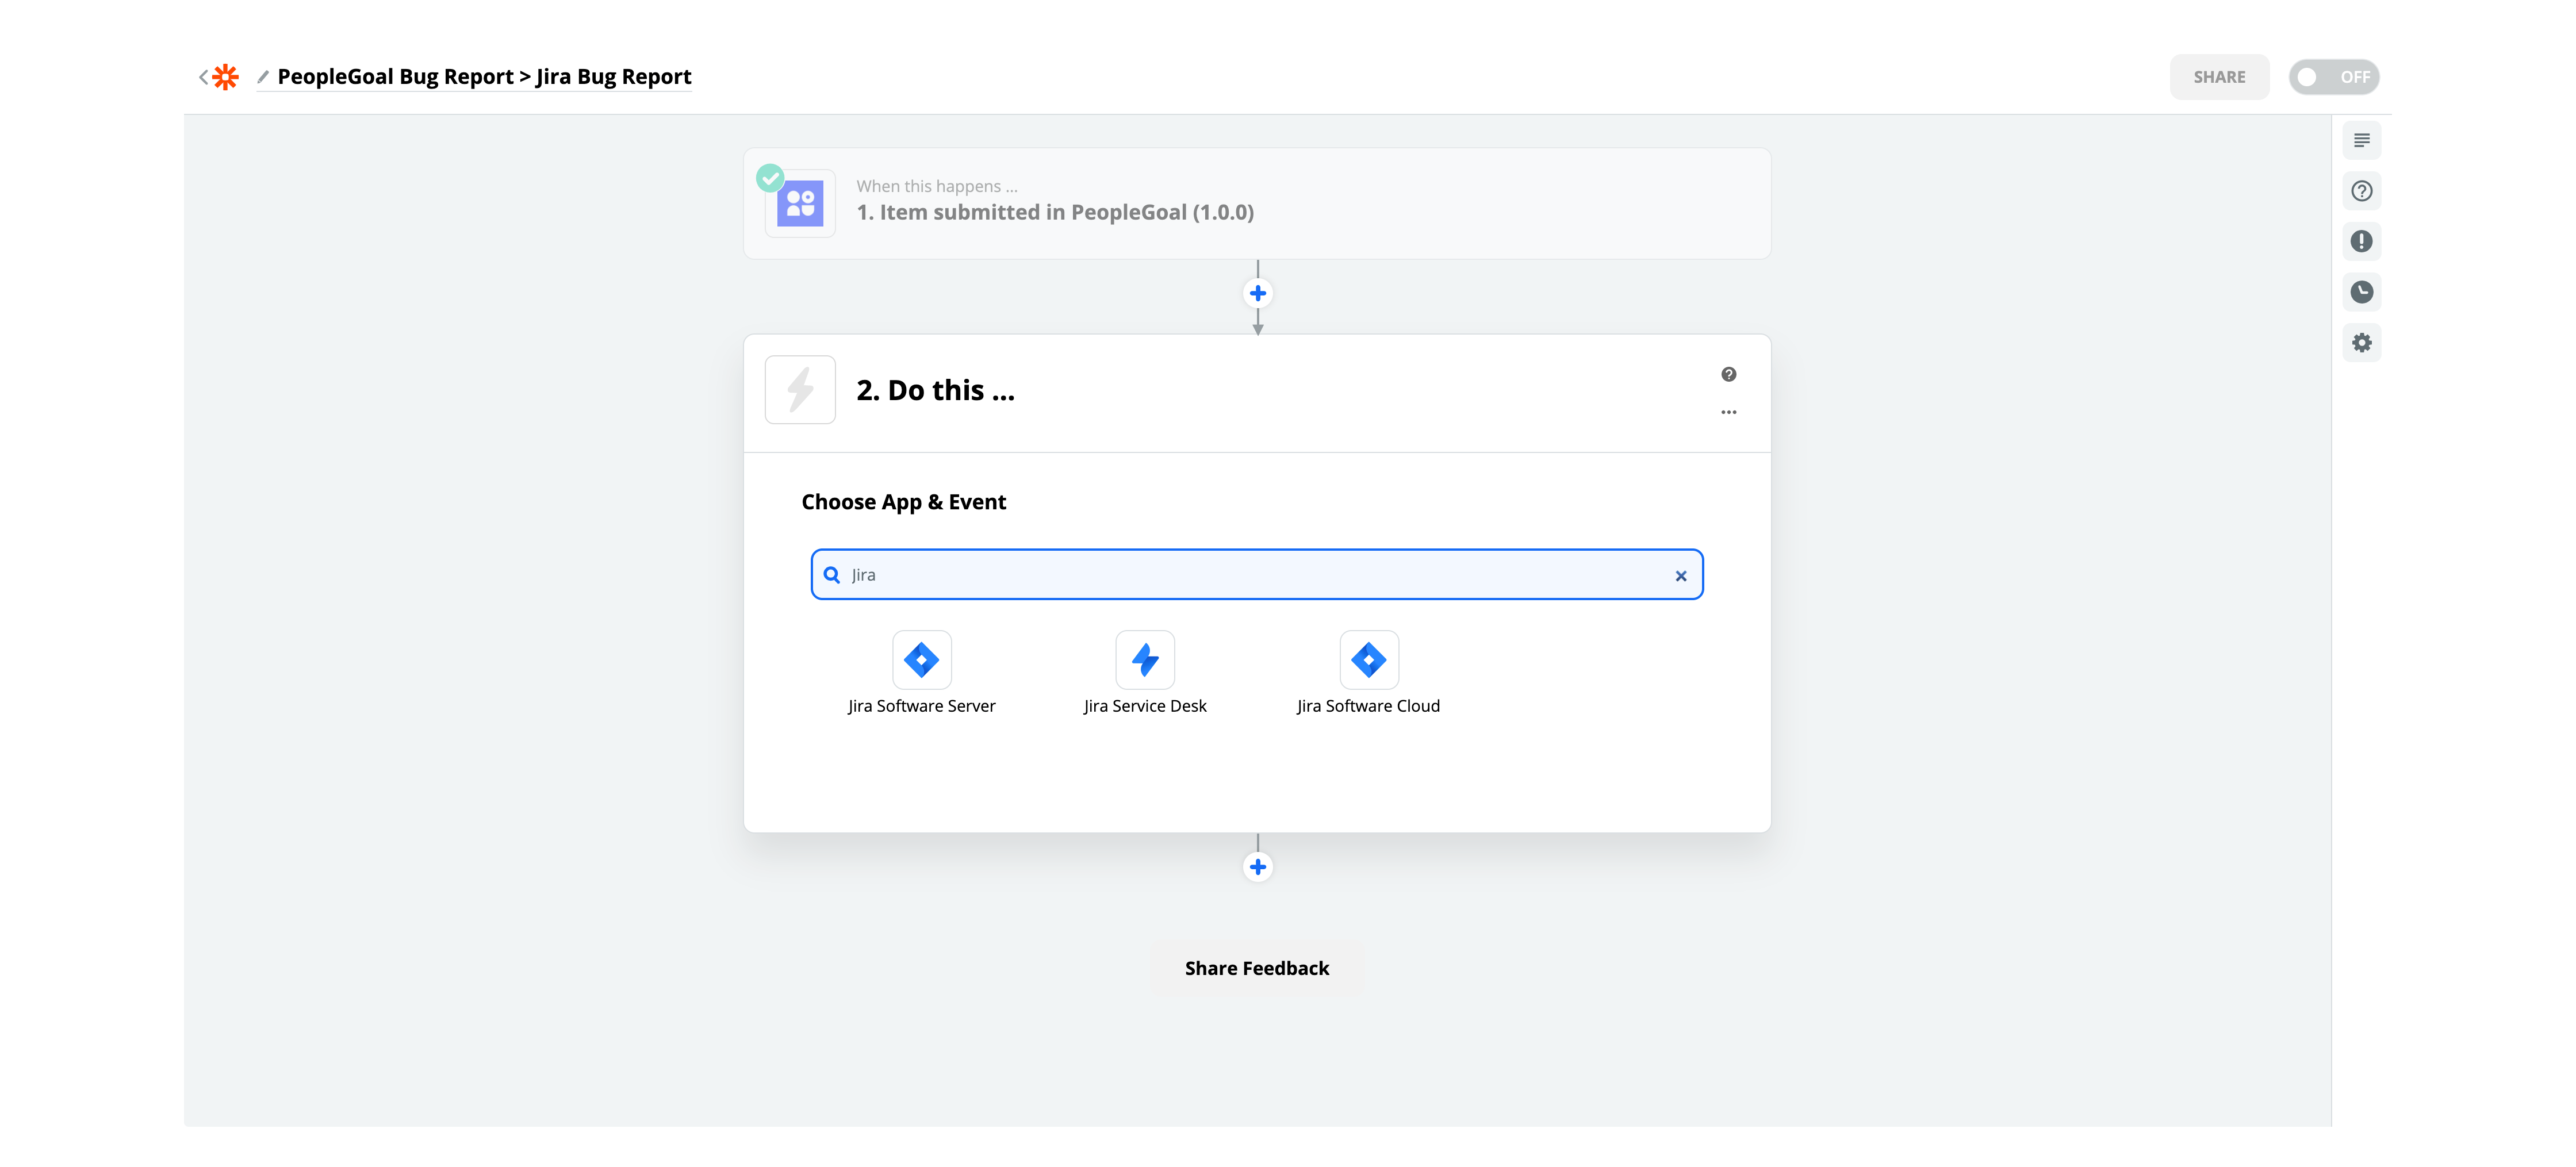
In this example integration a bug report is being created in PeopleGoal which will trigger a new bug report issue in Jira, this means "Create Issue" will be selected as the event trigger.
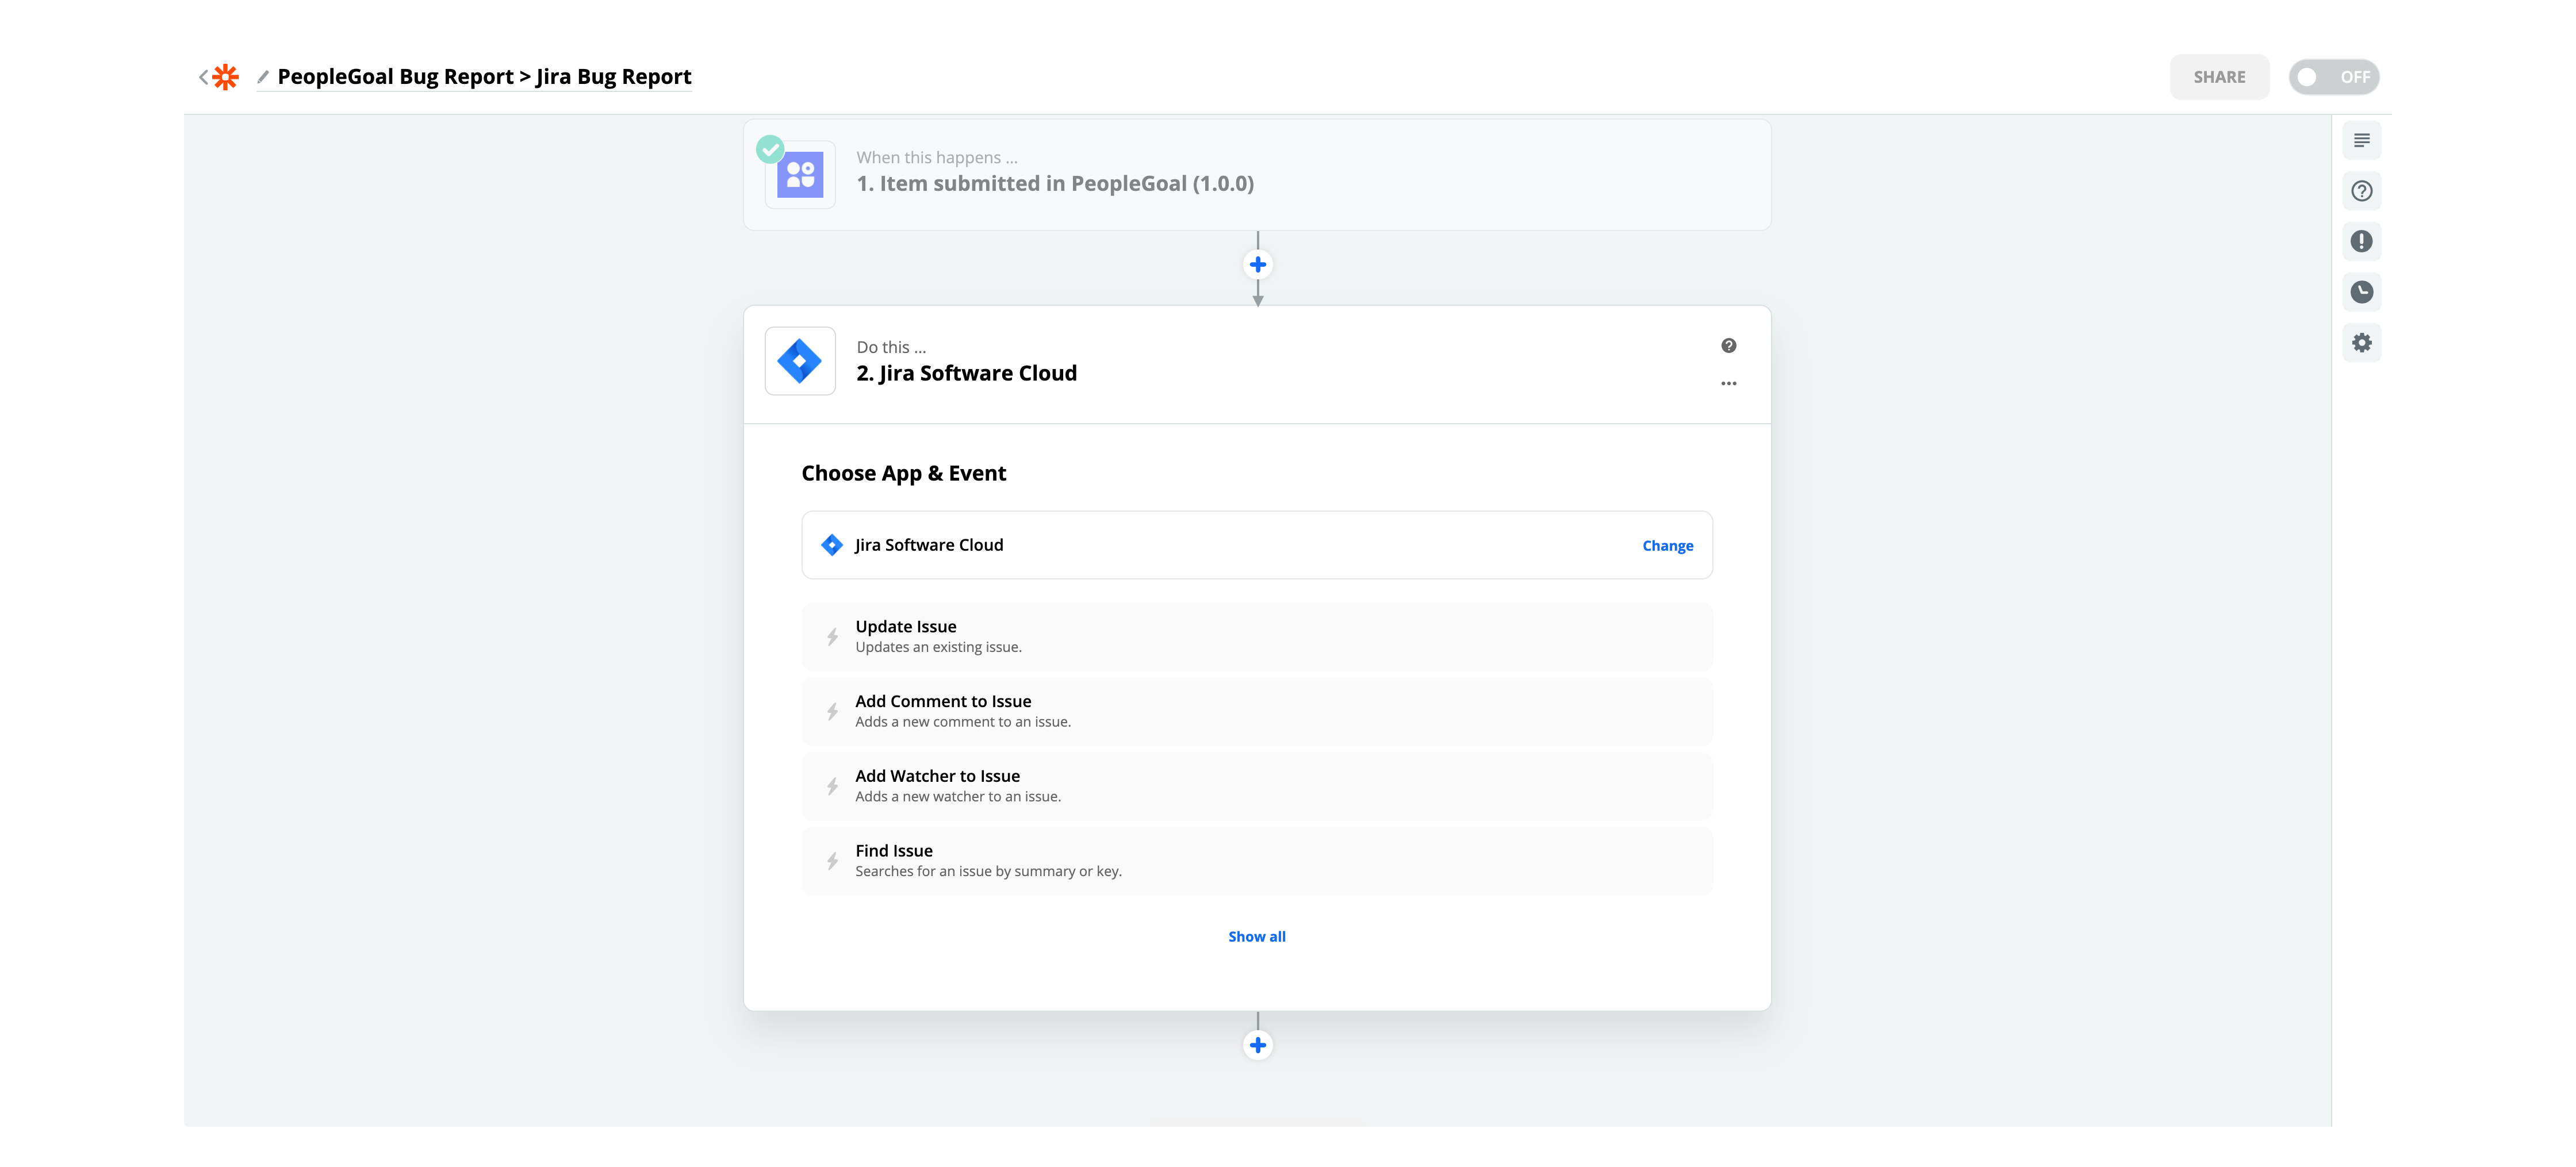
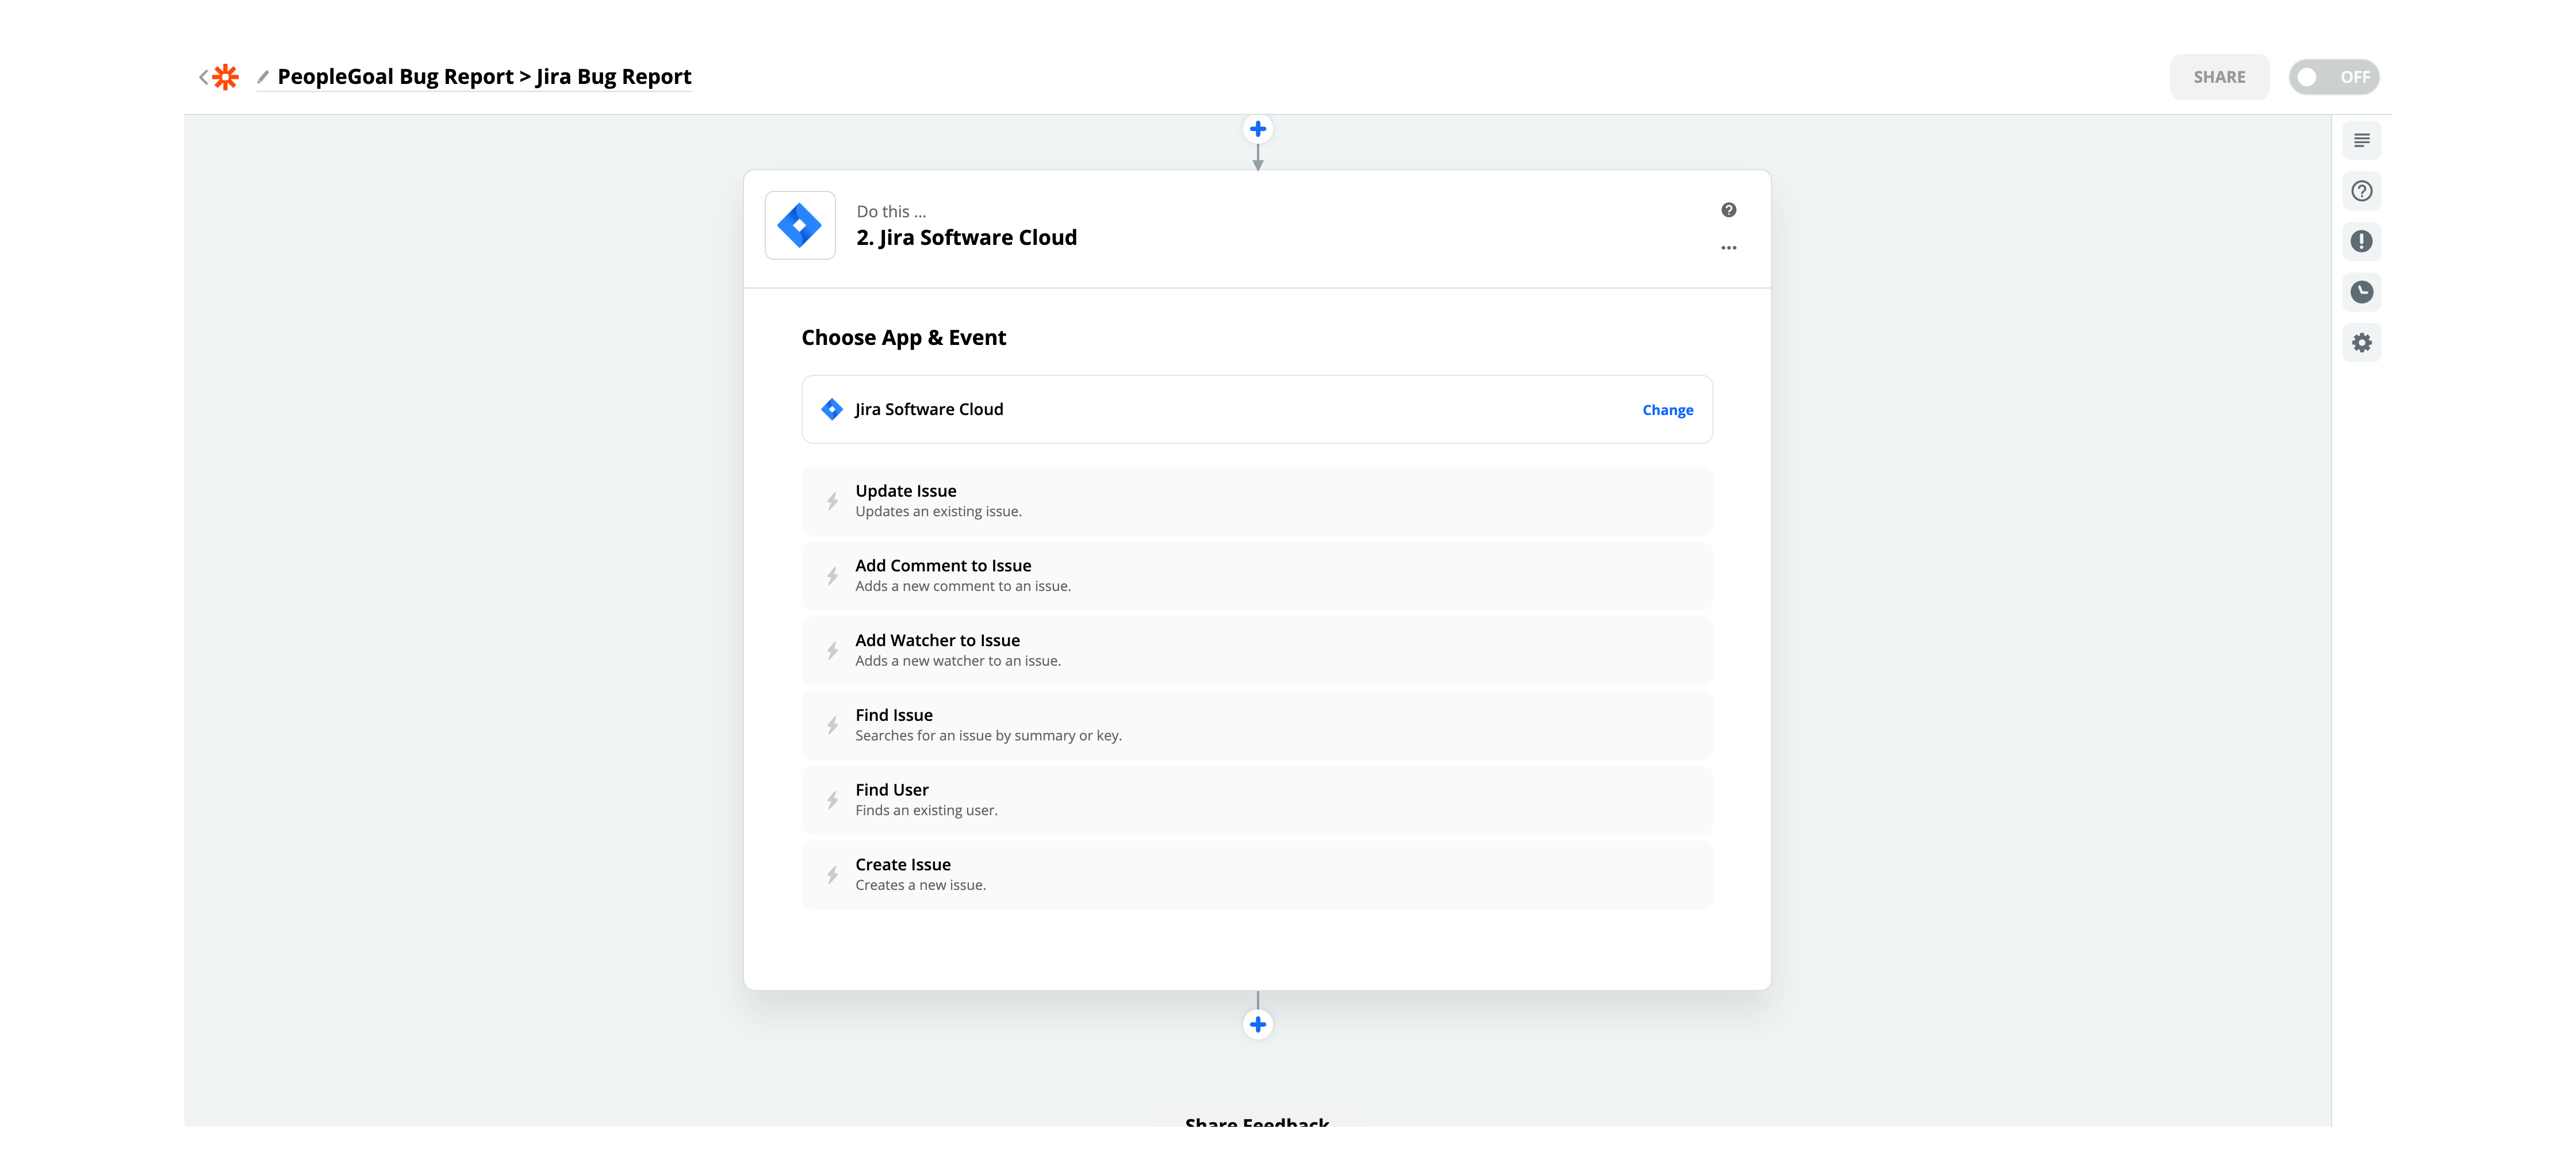
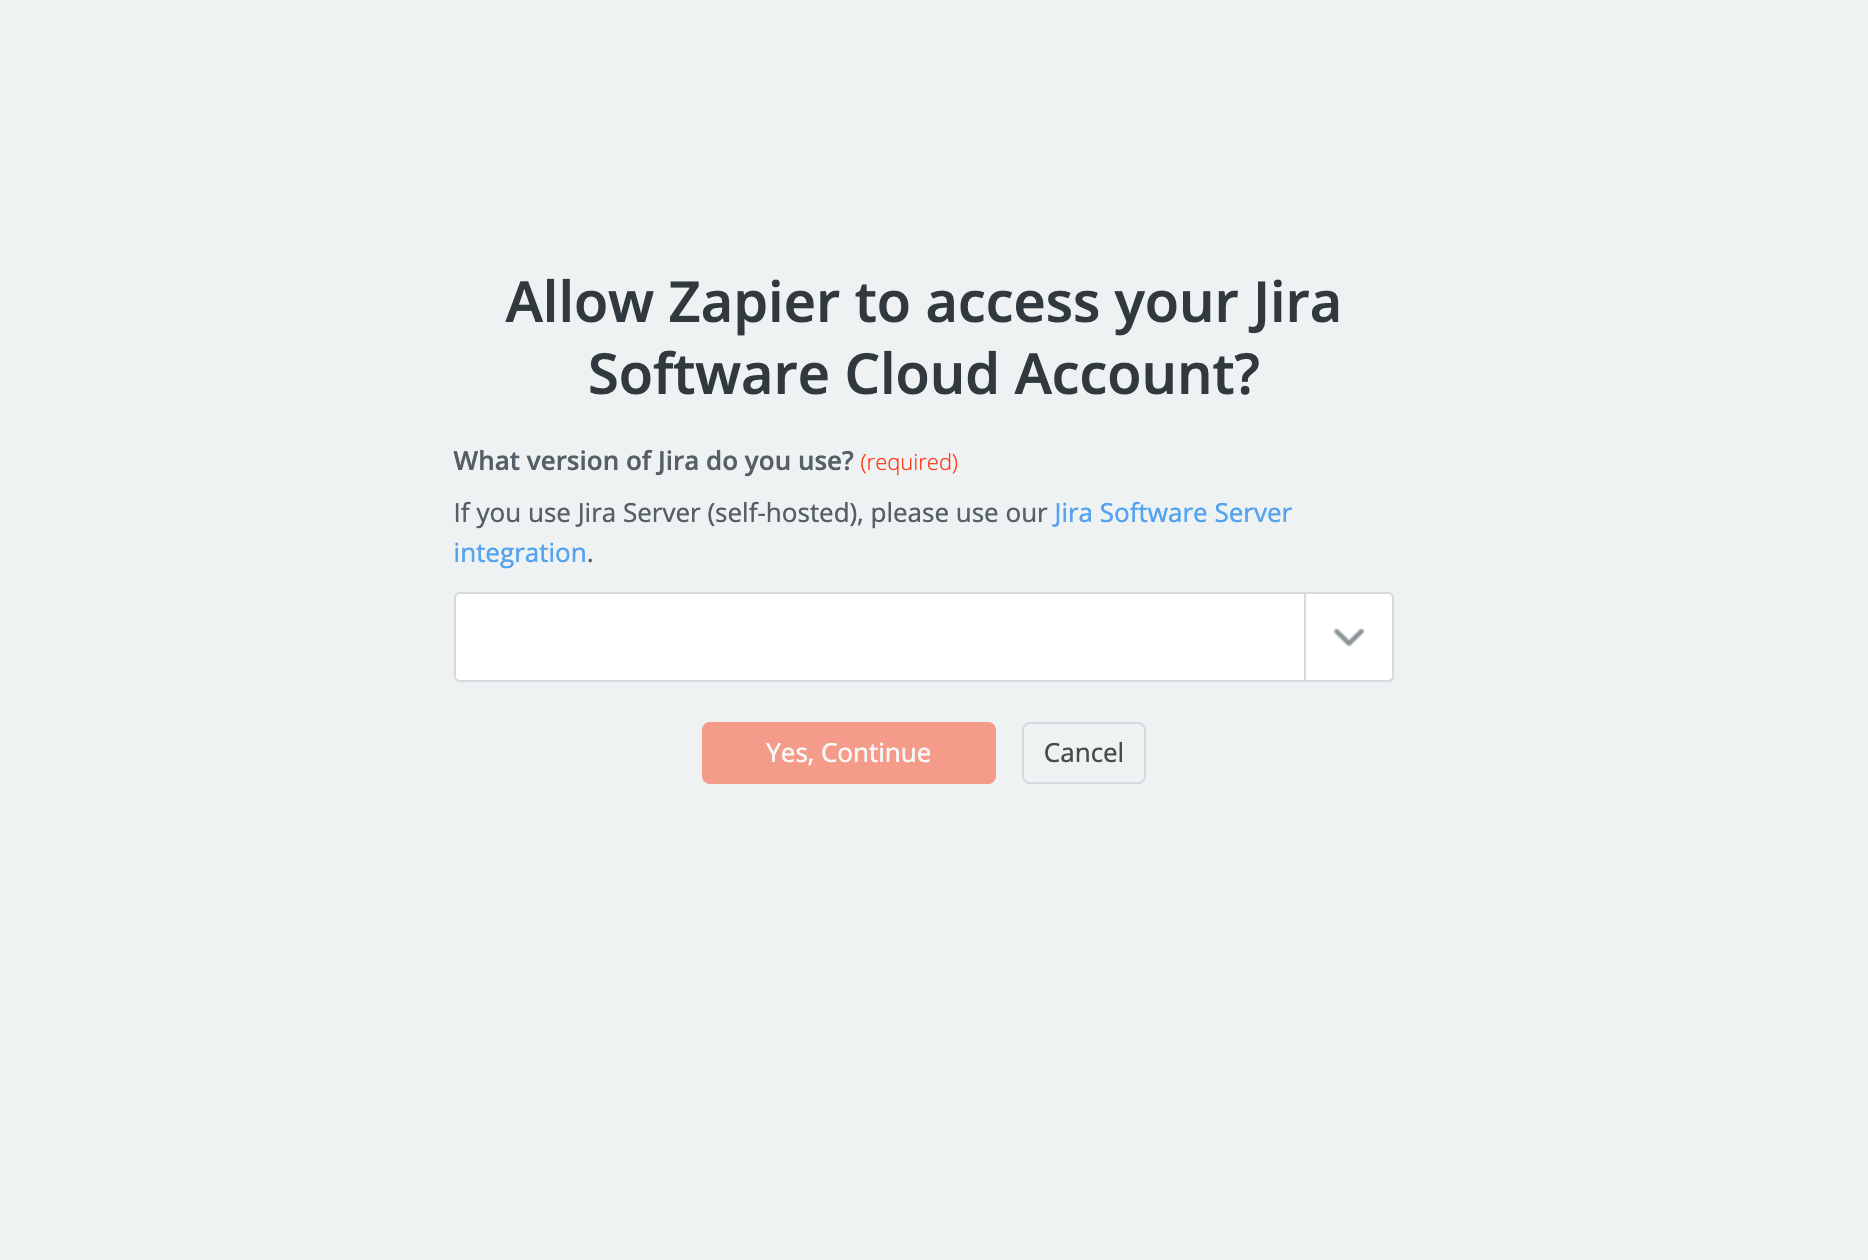
After the App and Event are chosen zapier will prompt a Jira account sign in. If a Jira account hasn't already been linked your account in zapier, this will prompt a pop up screen to login in.

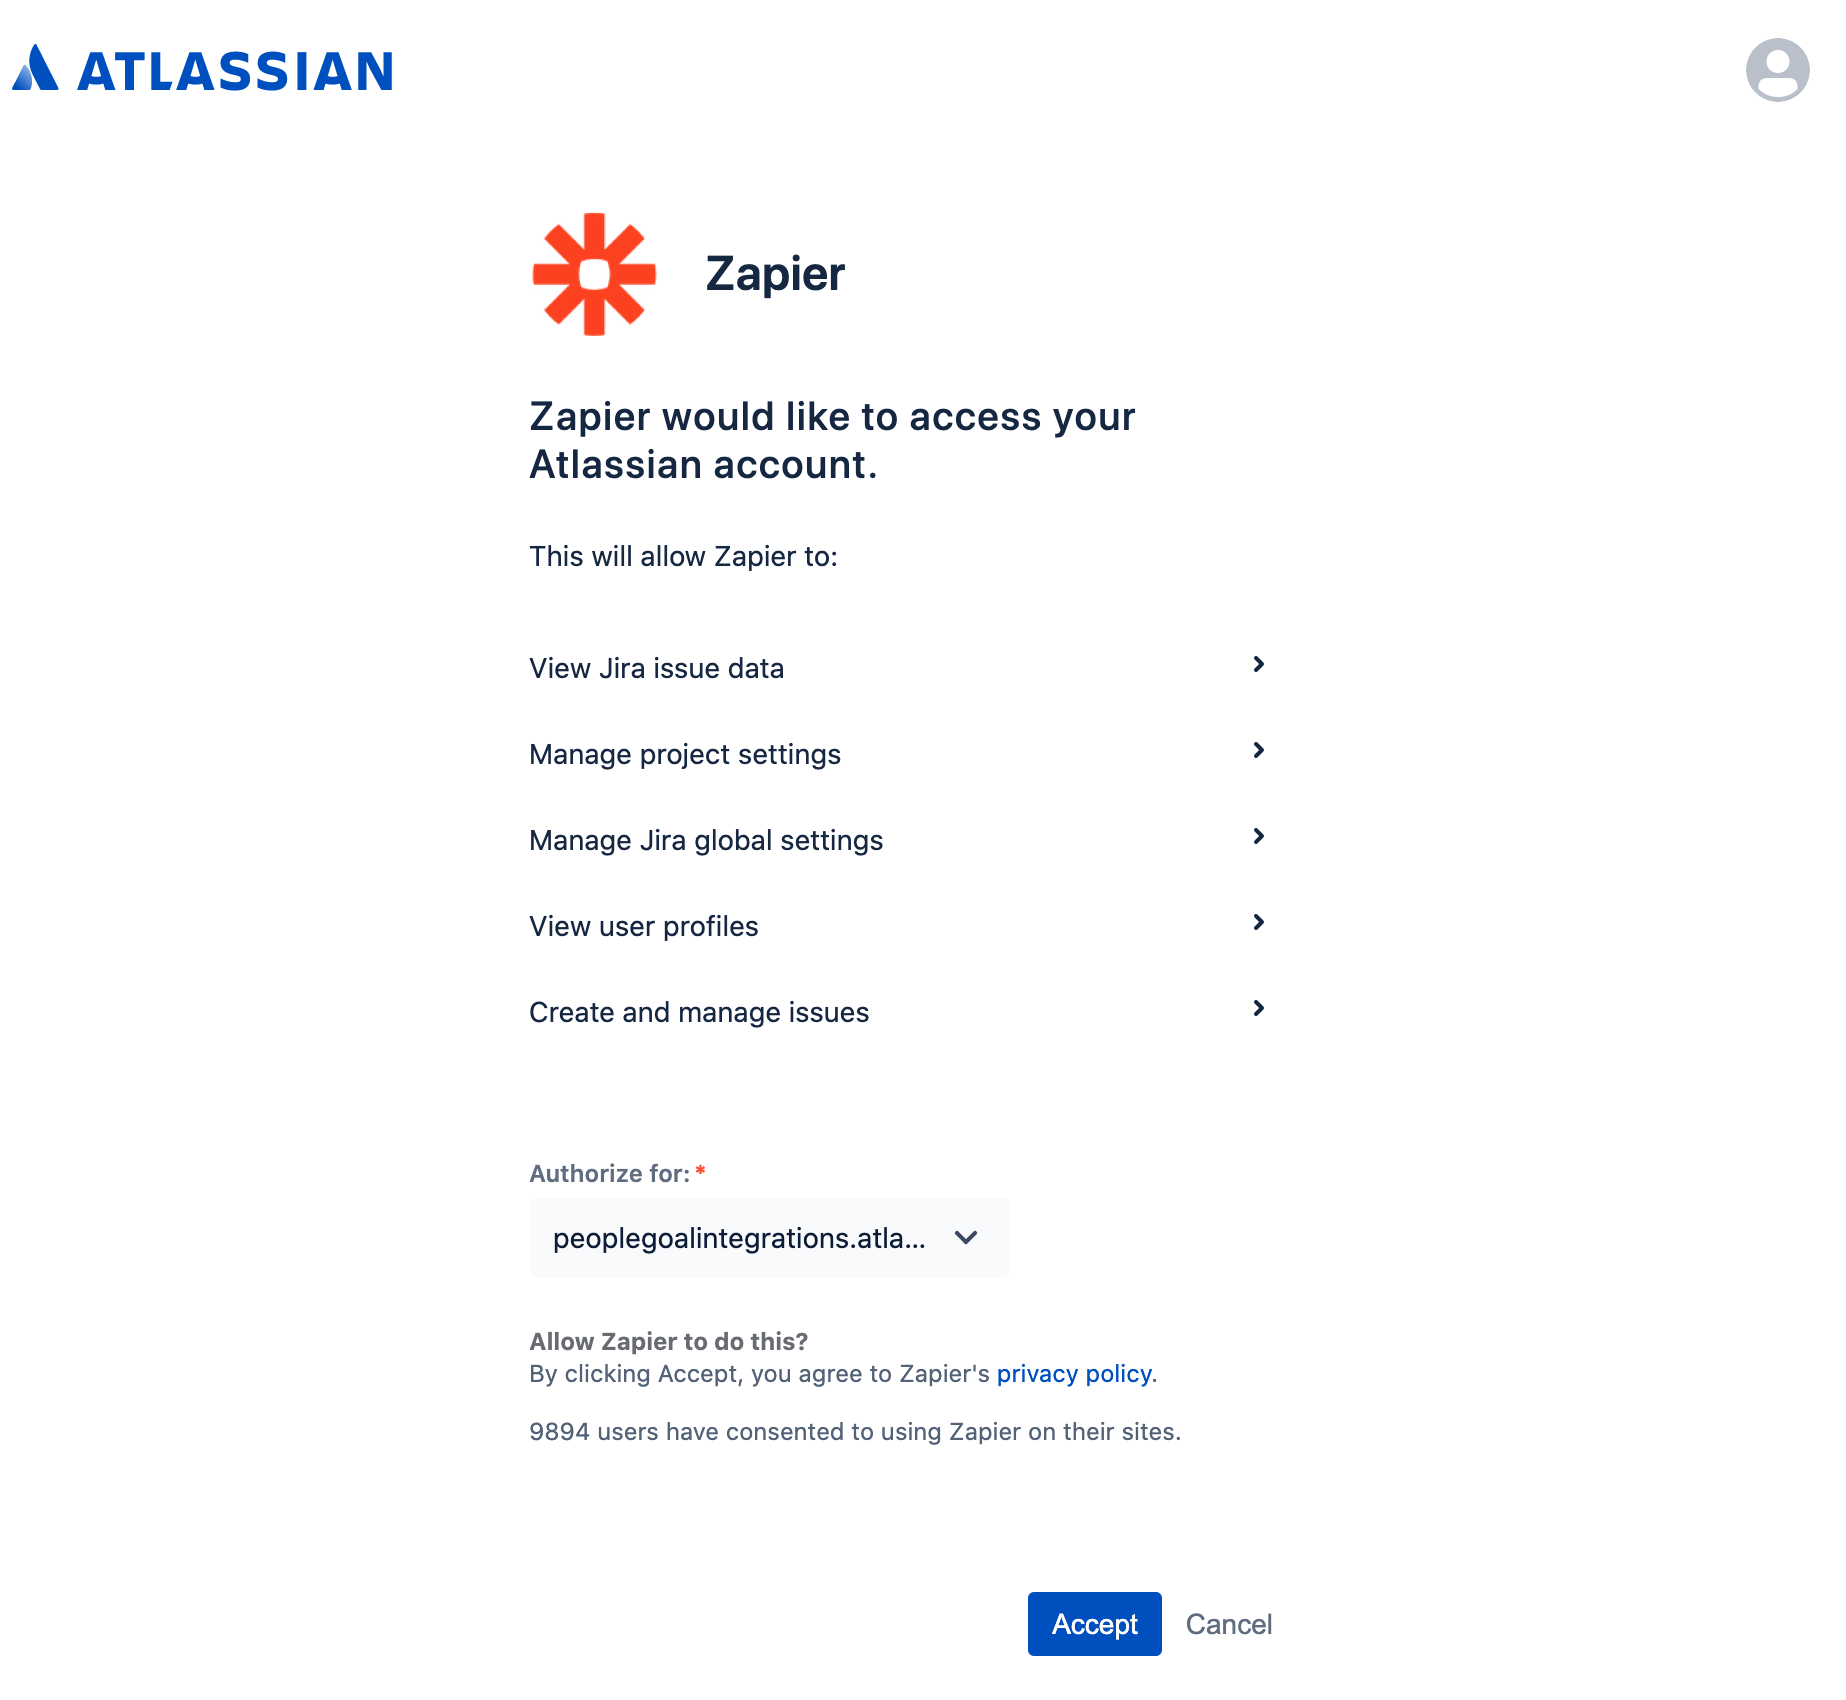
Next it will ask to grant permission to Zapier to access a Jira/Atlassian account, check if the account authorized in correct then click accept to continue.
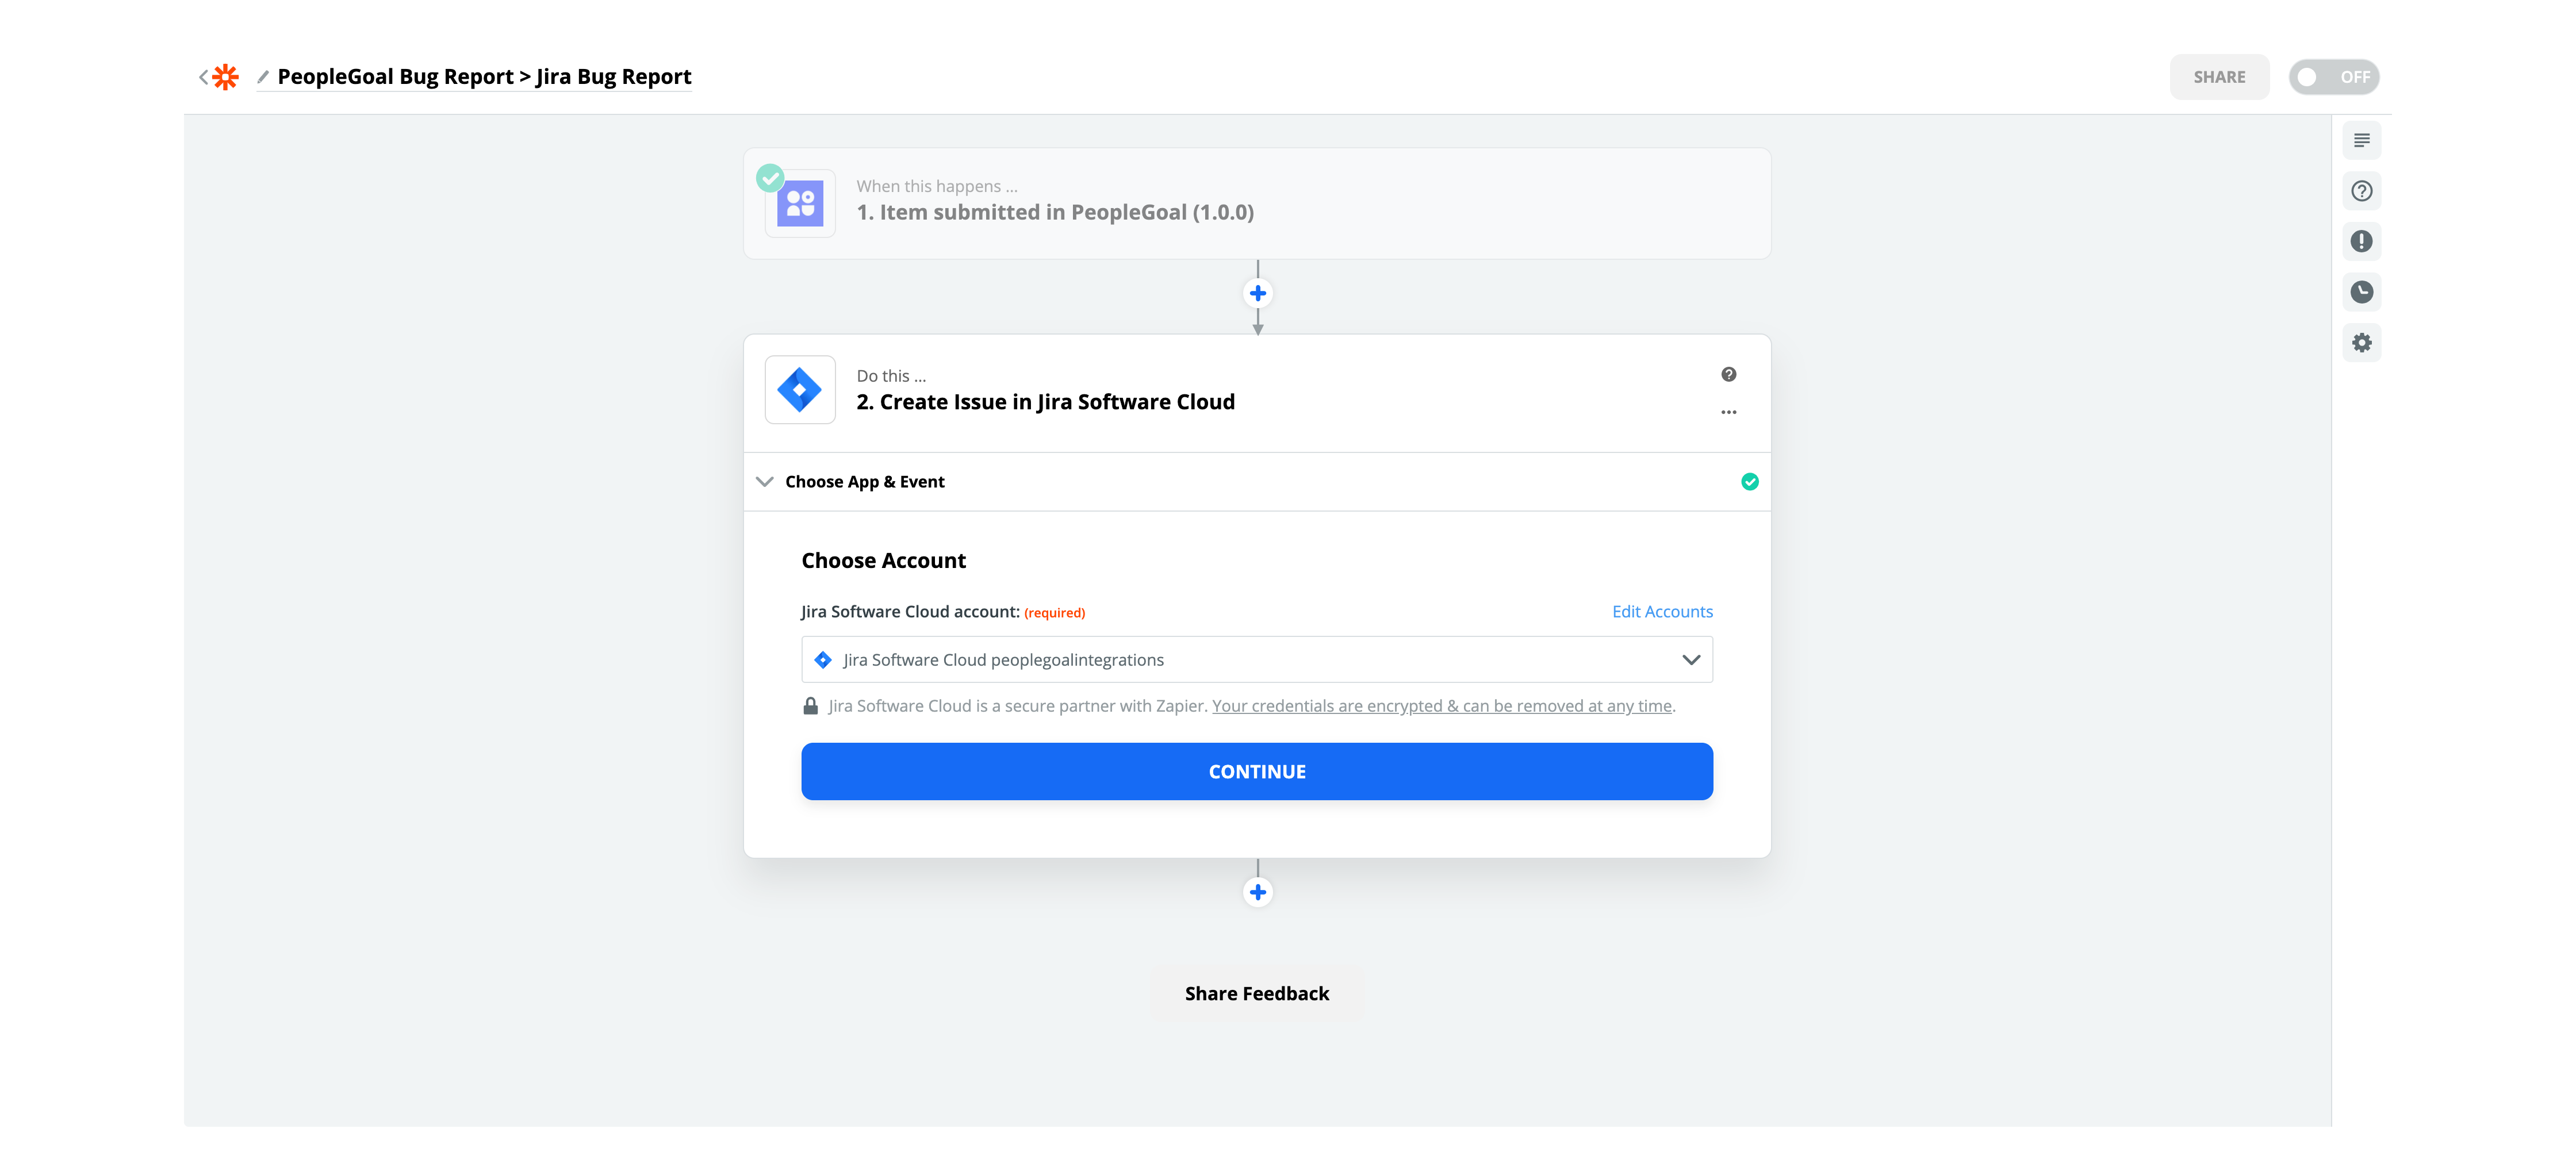
Next step is to customize the Issue data and where its being sent in Jira. First start with the Project. Select which Project is being integratated with PeopleGoal. In this example the Bug Reports Project is being selected.
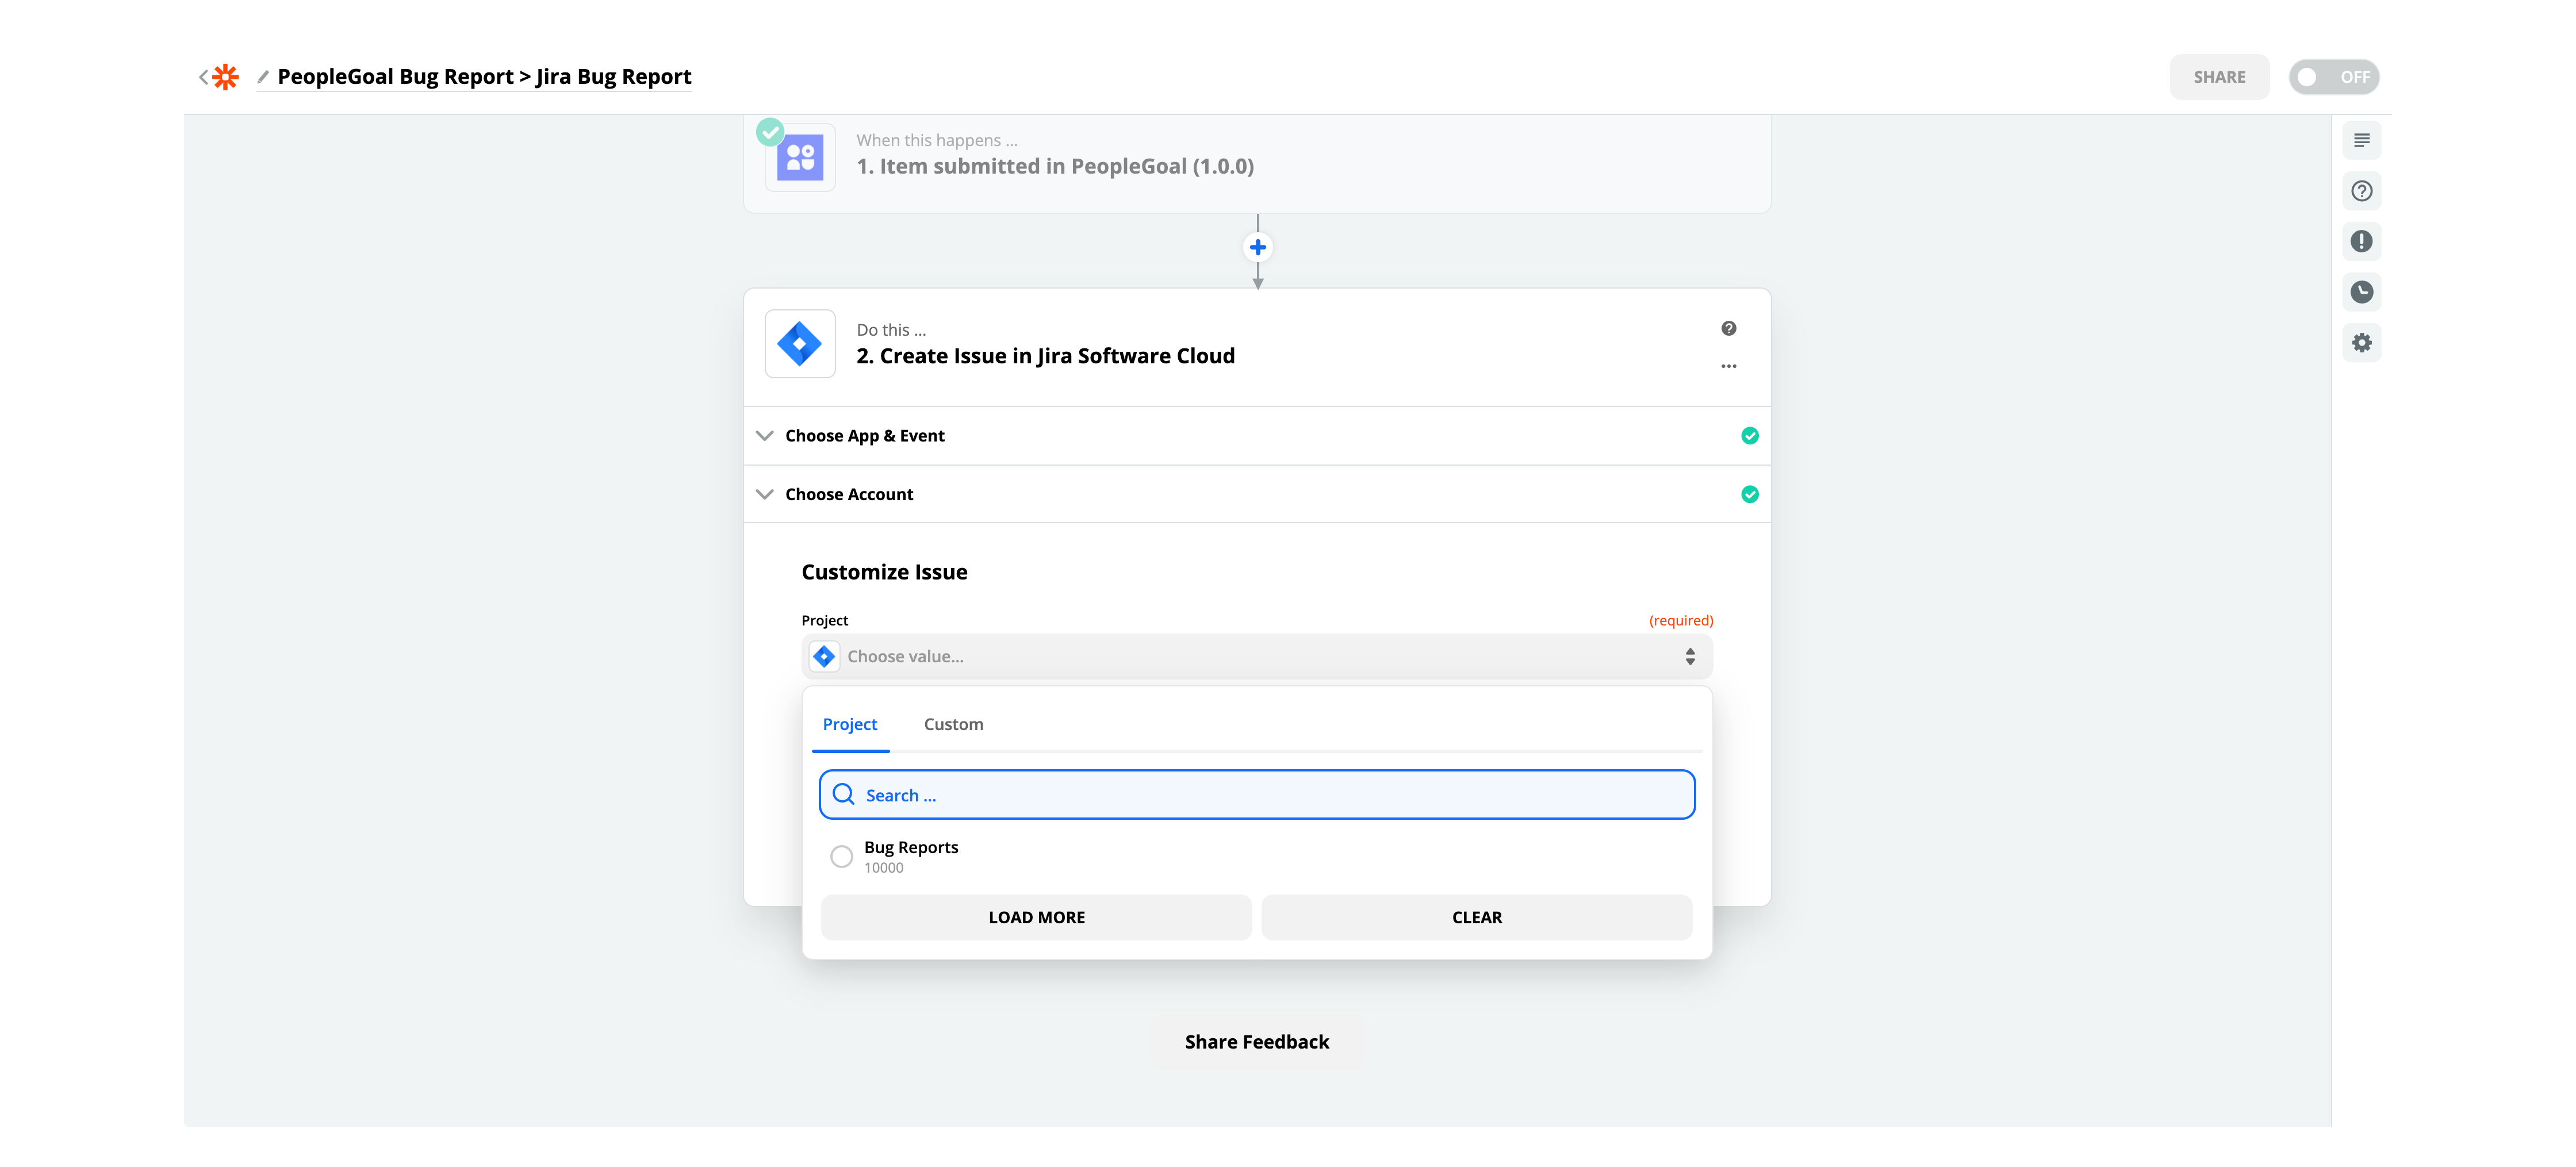
Once Project has been selected next is the Issue Type selection. Here is where the Issue is selected that is being integrated with the PeopleGoal App. As the example app used is a bug reporting app in PeopleGoal the destination for this data would be a new bug report Issue in Jira so the bug report issue type is selected.
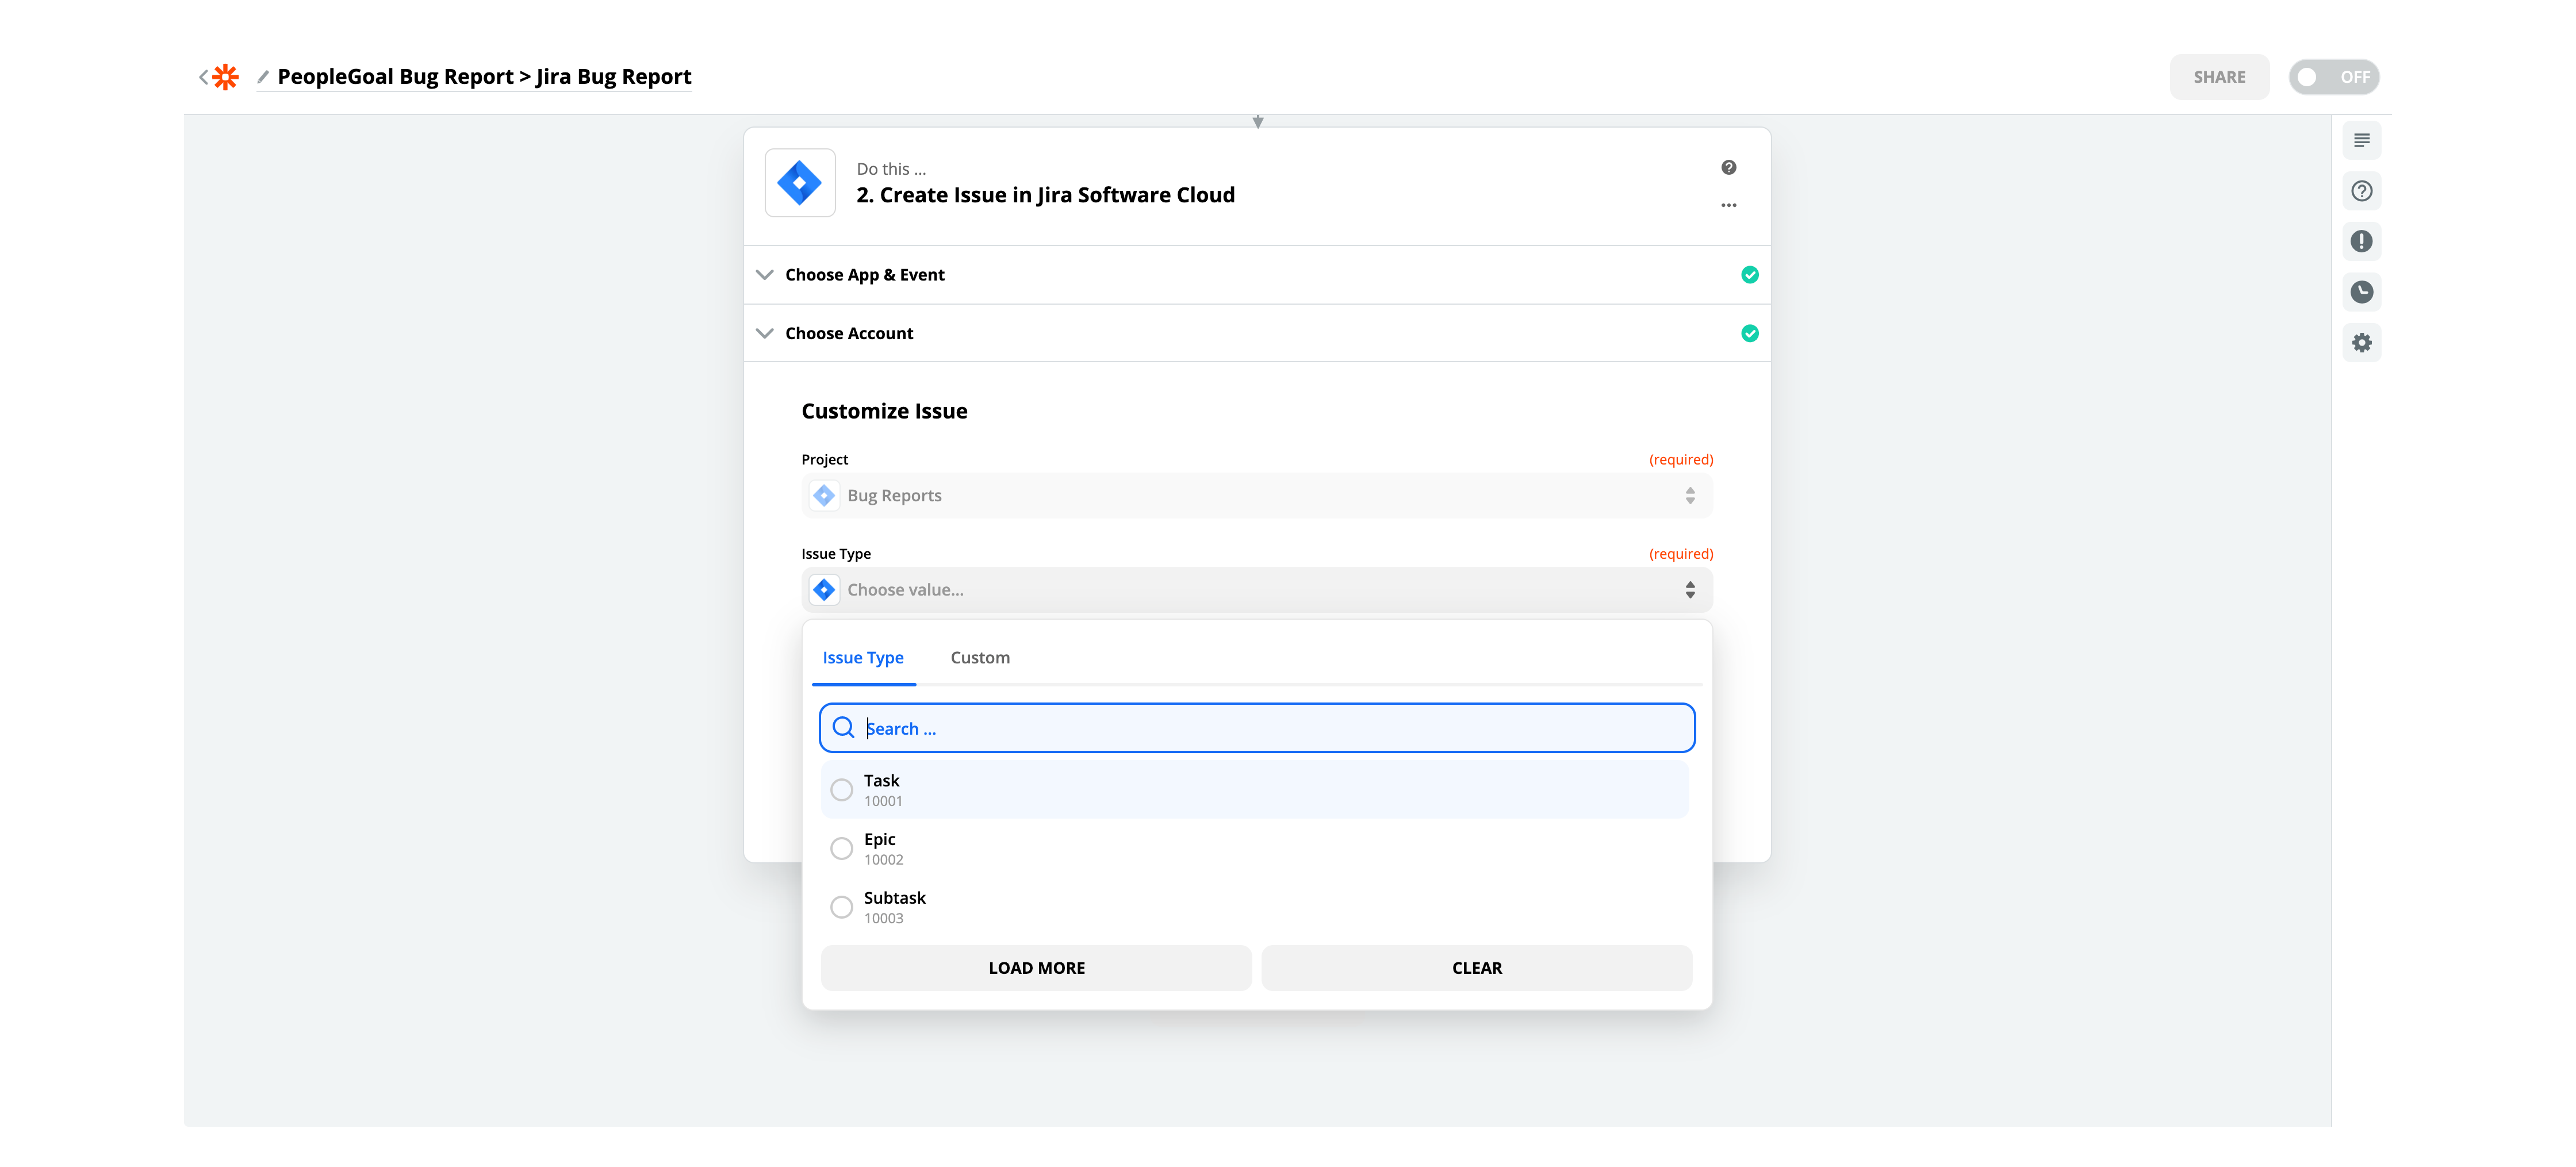
Next Step in the Issue creation is accessing the data shared by the PeopleGoal app. Here we select Summary which provides zapier with a drop down box of all the possible infomation shared from the bug report via the PeopleGoal API. As PeopleGoal offers a highly configurable form builder there is alot of data available for selection but it has been simplified for the selection process.

When searching for the app data needed to attach to this Zap using "Simple Dataview" in the search can help find the data send from the App selected. In the example "Simple Dataview Name" is searched to easily find the name used when the app was created back in the PeopleGoal section. This selection process is the same when selecting any form data from the PeopleGoal app.
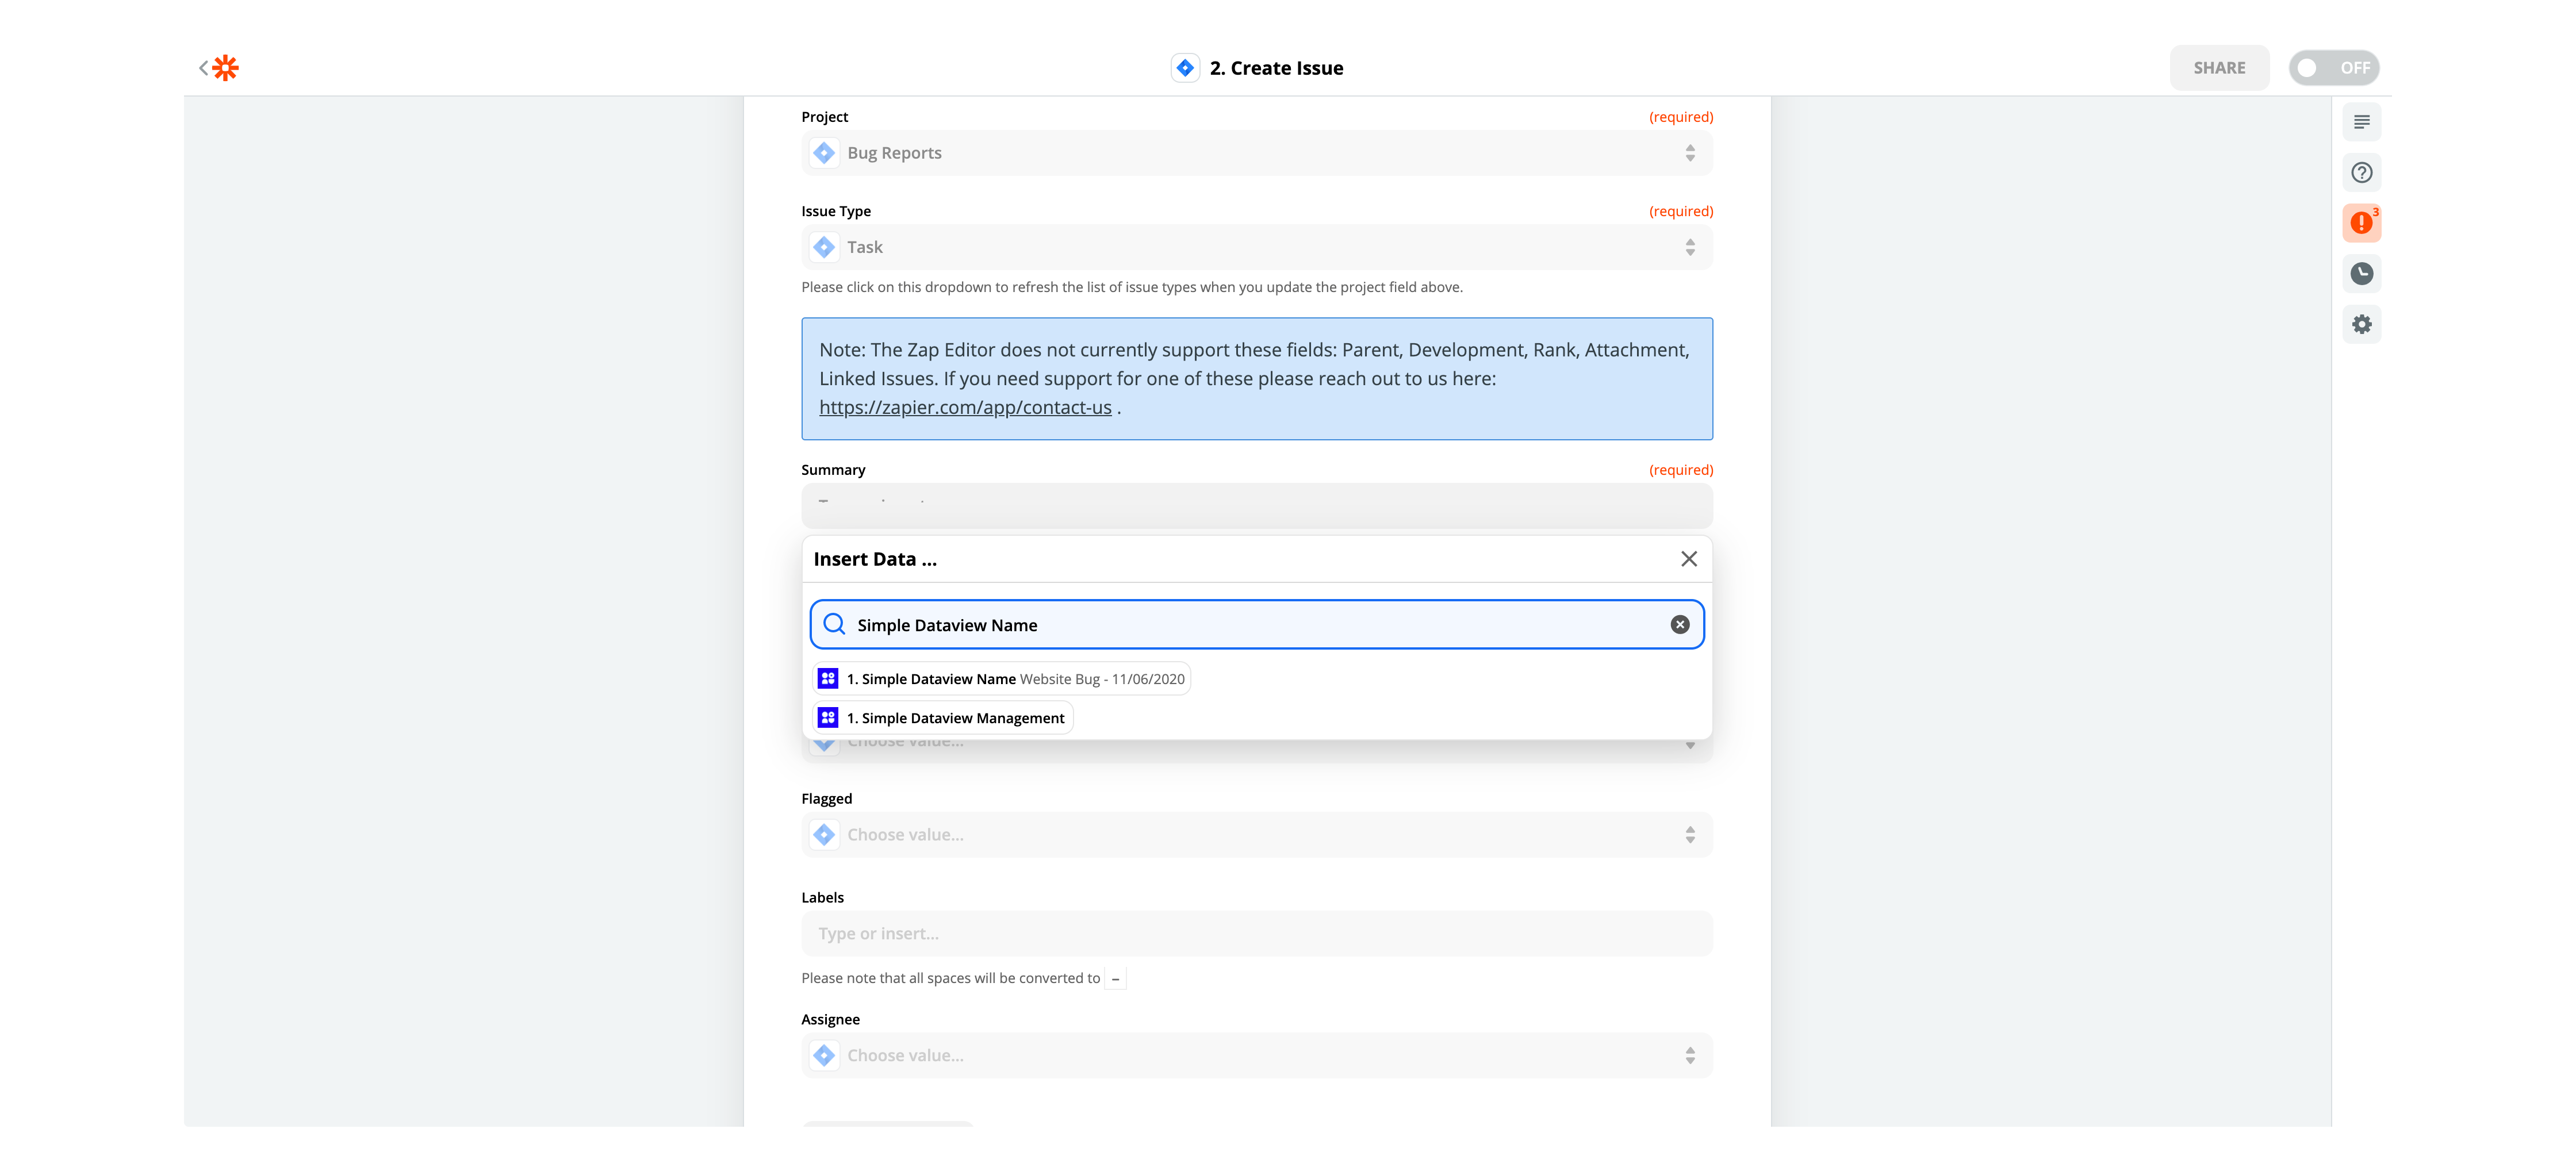
In Description again access is needed to the text input data from PeopleGoal app. Again Simple Dataview is used to find the text input "Enter Bug Details" is that is shown in the list below. This can be added from the list along with other mutiple data inputs that are needed.
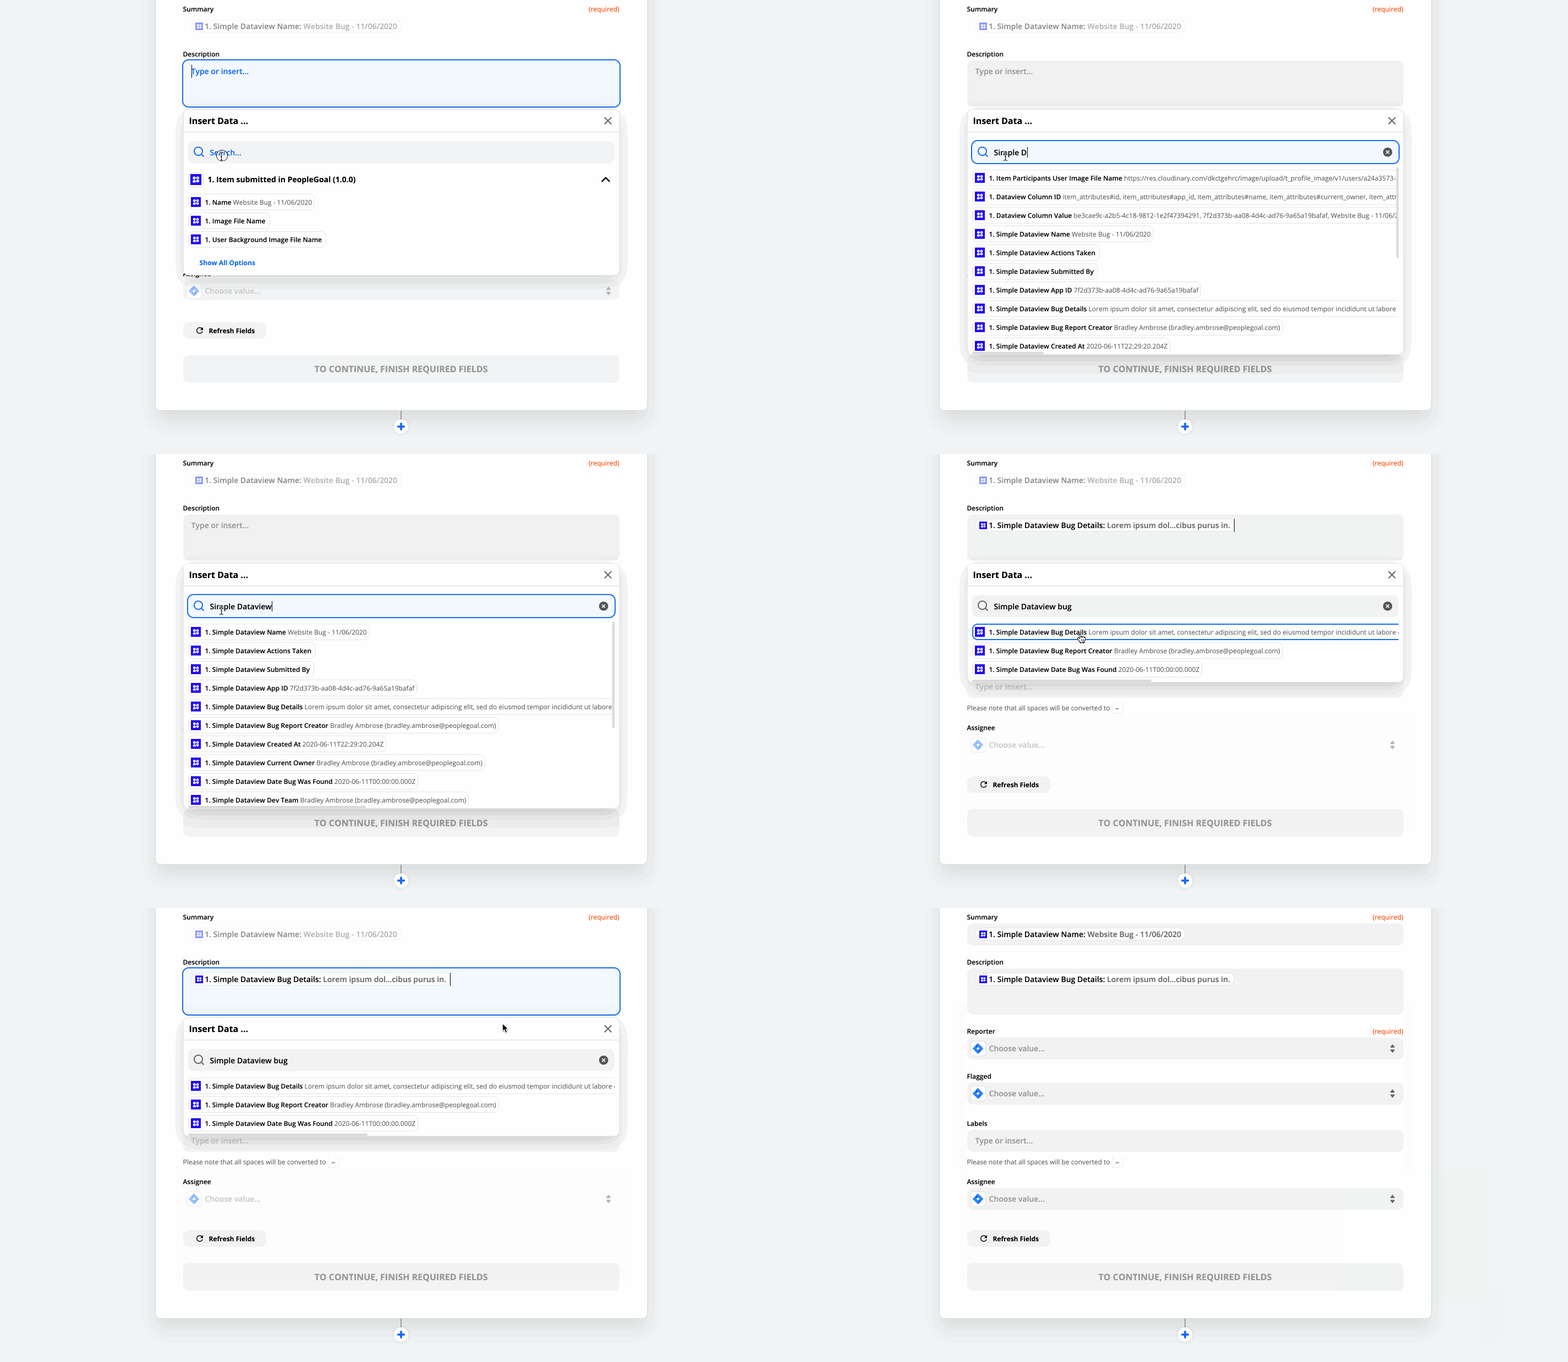
In the next step a Reporter and Assignee are selected for this bug report issue. Once this is done, click continue to finish the Issue Creation step.
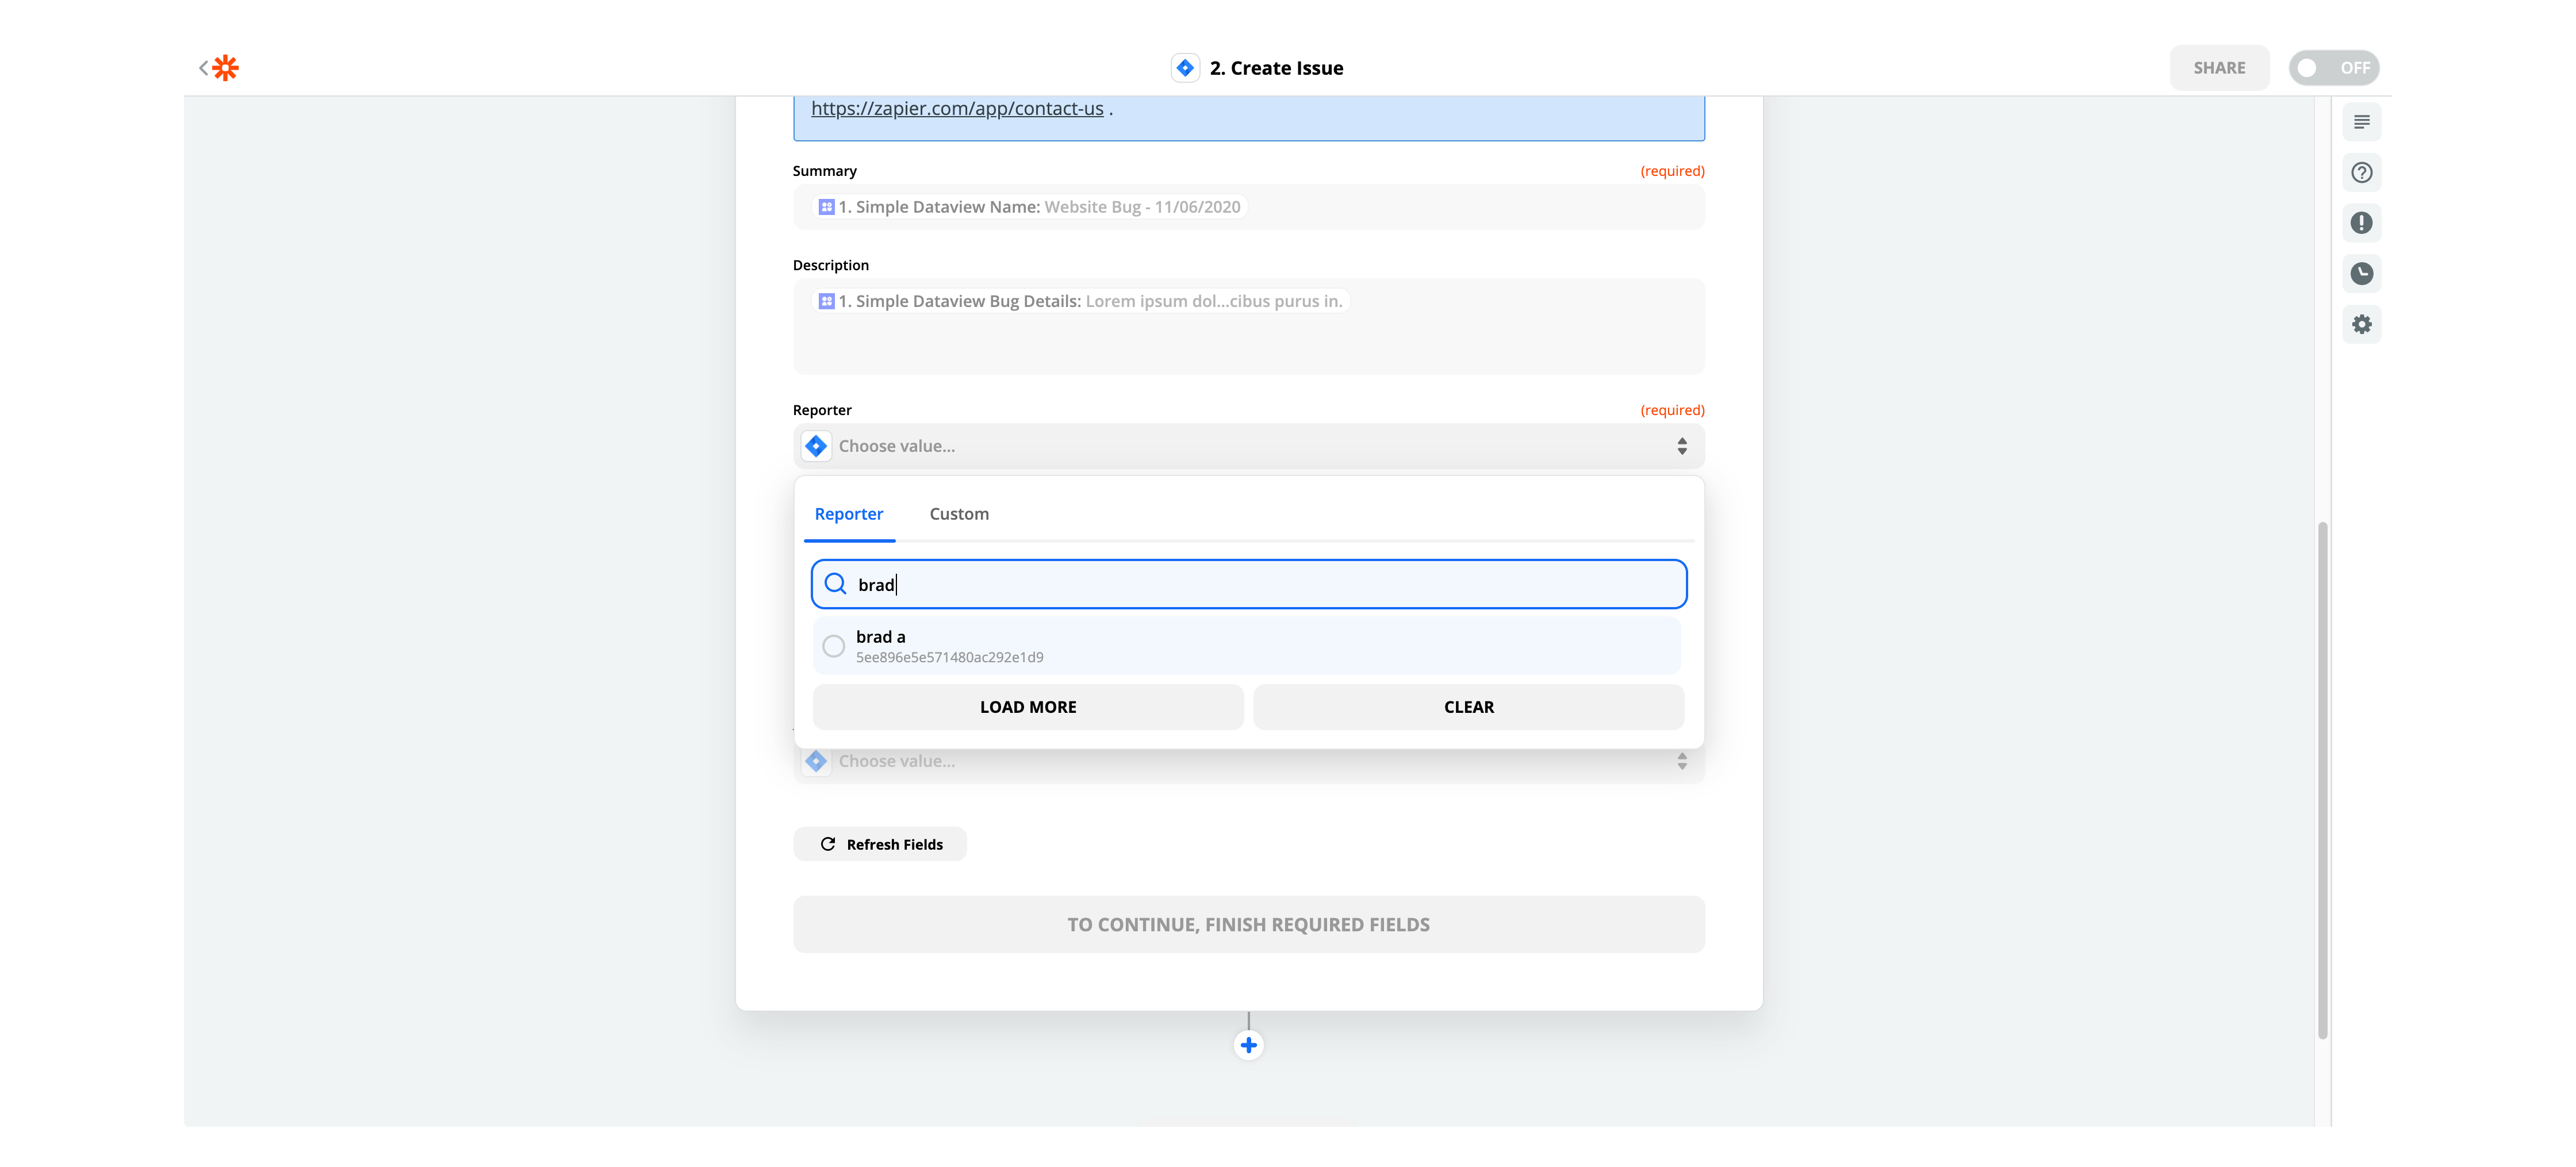
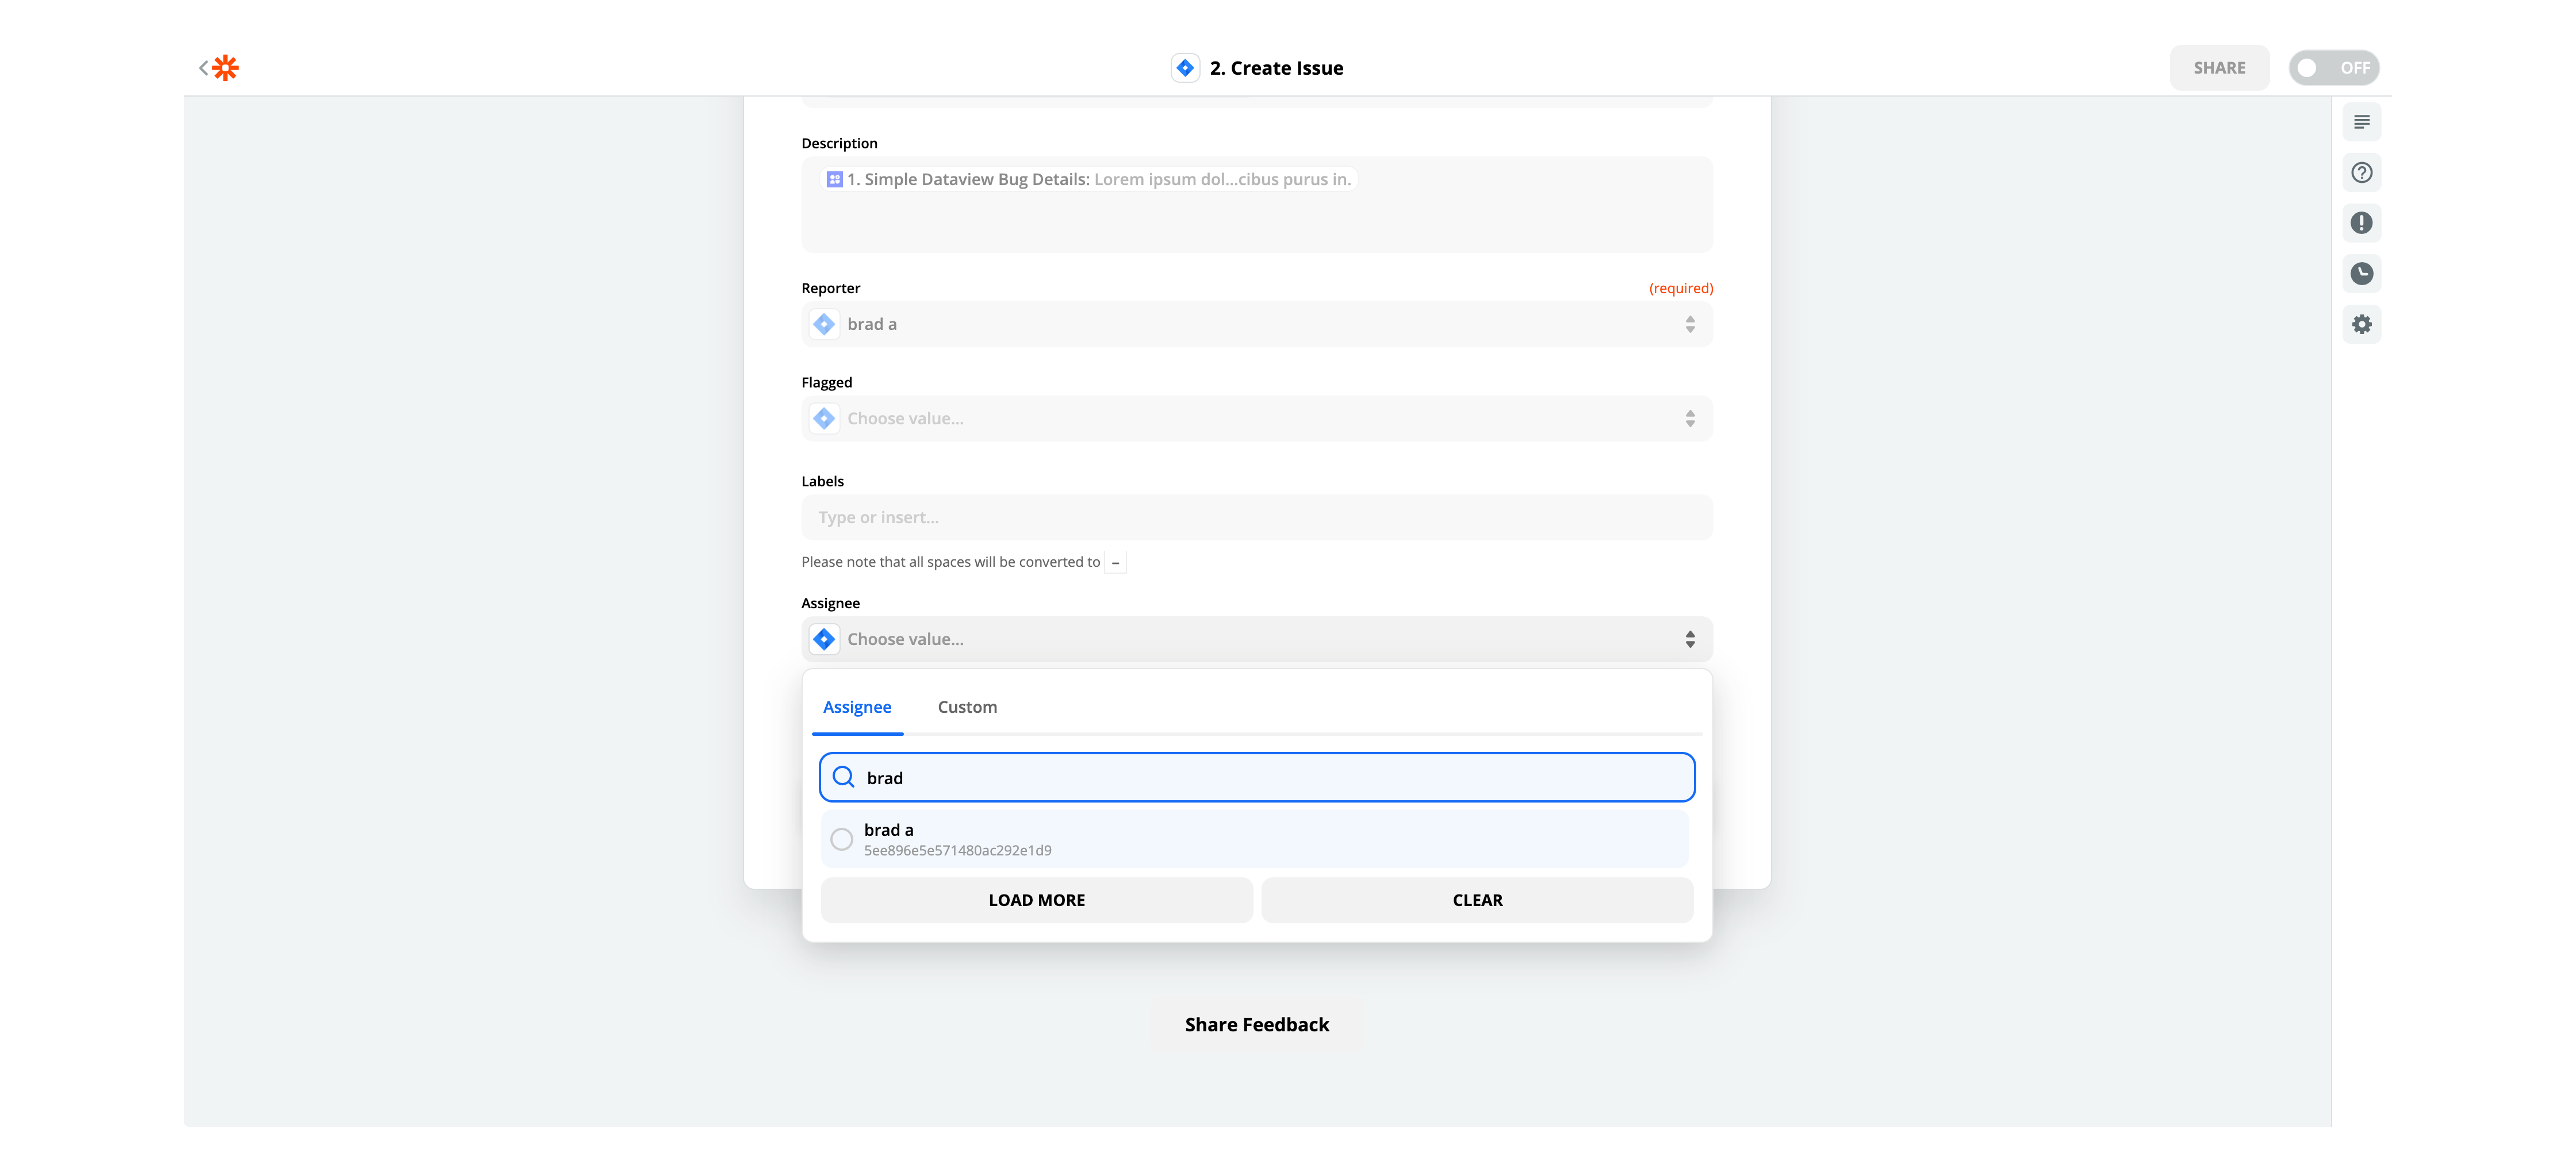
Now in this step a test is run on the data coming through from PeopleGoal through Zapier to Jira. Zapier will give a visualized issue layout to see what infomation is being sent through and if the data is linked correctly. If this all looks correct click test and continue. This process will help troubleshoot if the format of the data being sent matches what is needed by Jira to create the Issue.
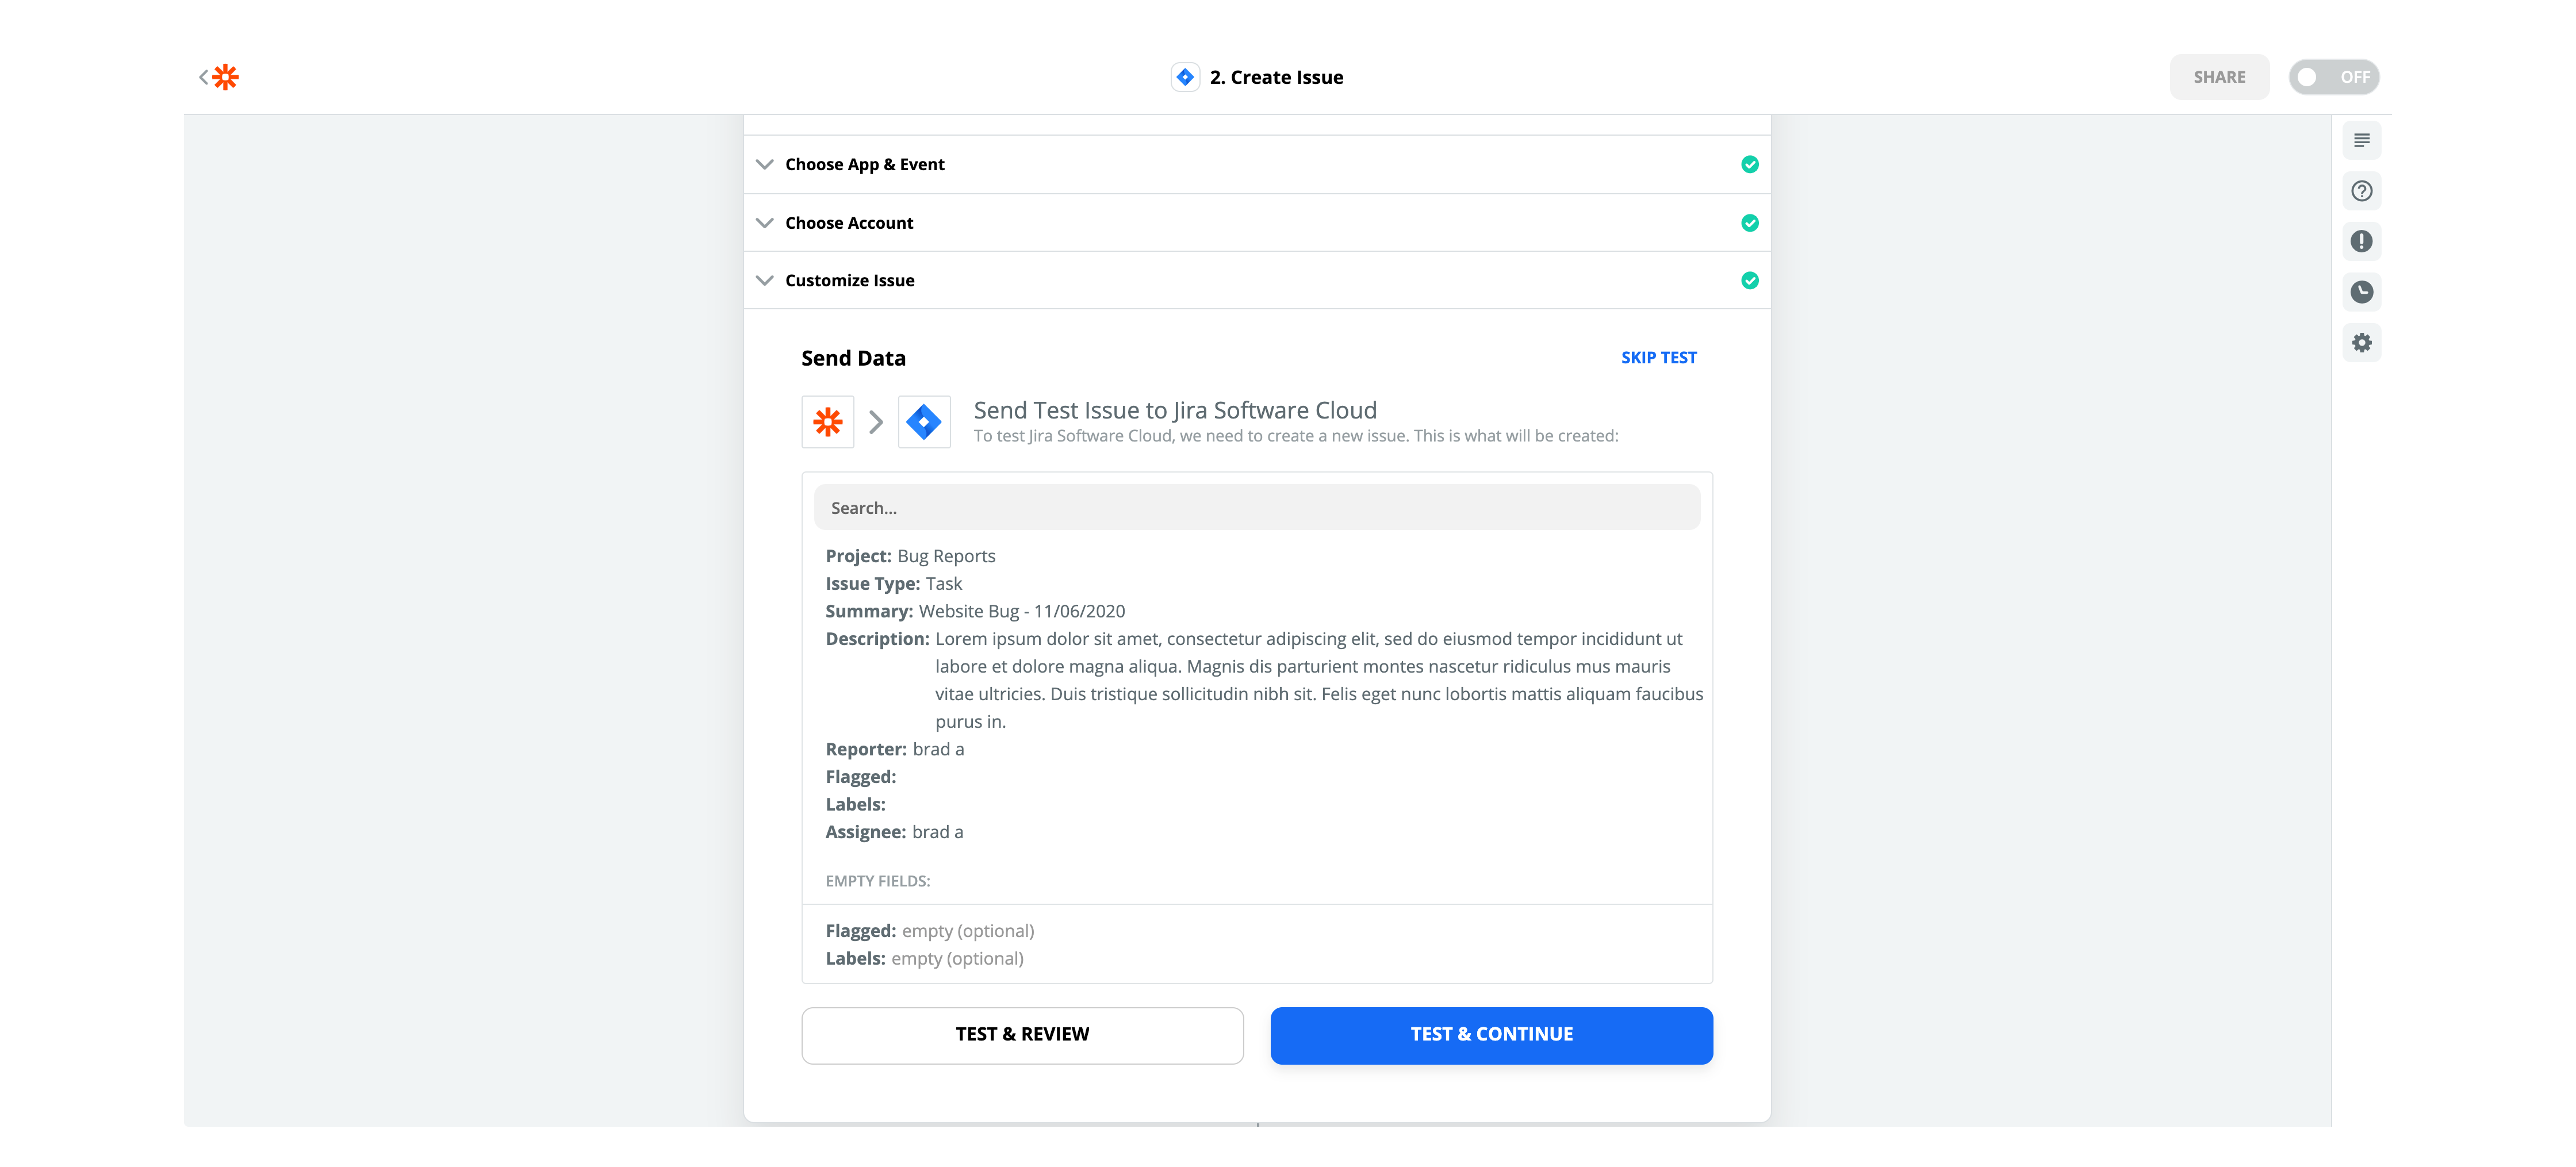
When the test is done a slider at the bottom of the screen will appear to turn on the Zap. Click the slider that is located in black at the bottom of the screen click. This may take a moment to go green but once it does click the back button at the top left of the screen to go back to your Zaps page. If the slider on the Zap is green it will indicate the Zap is up and running.
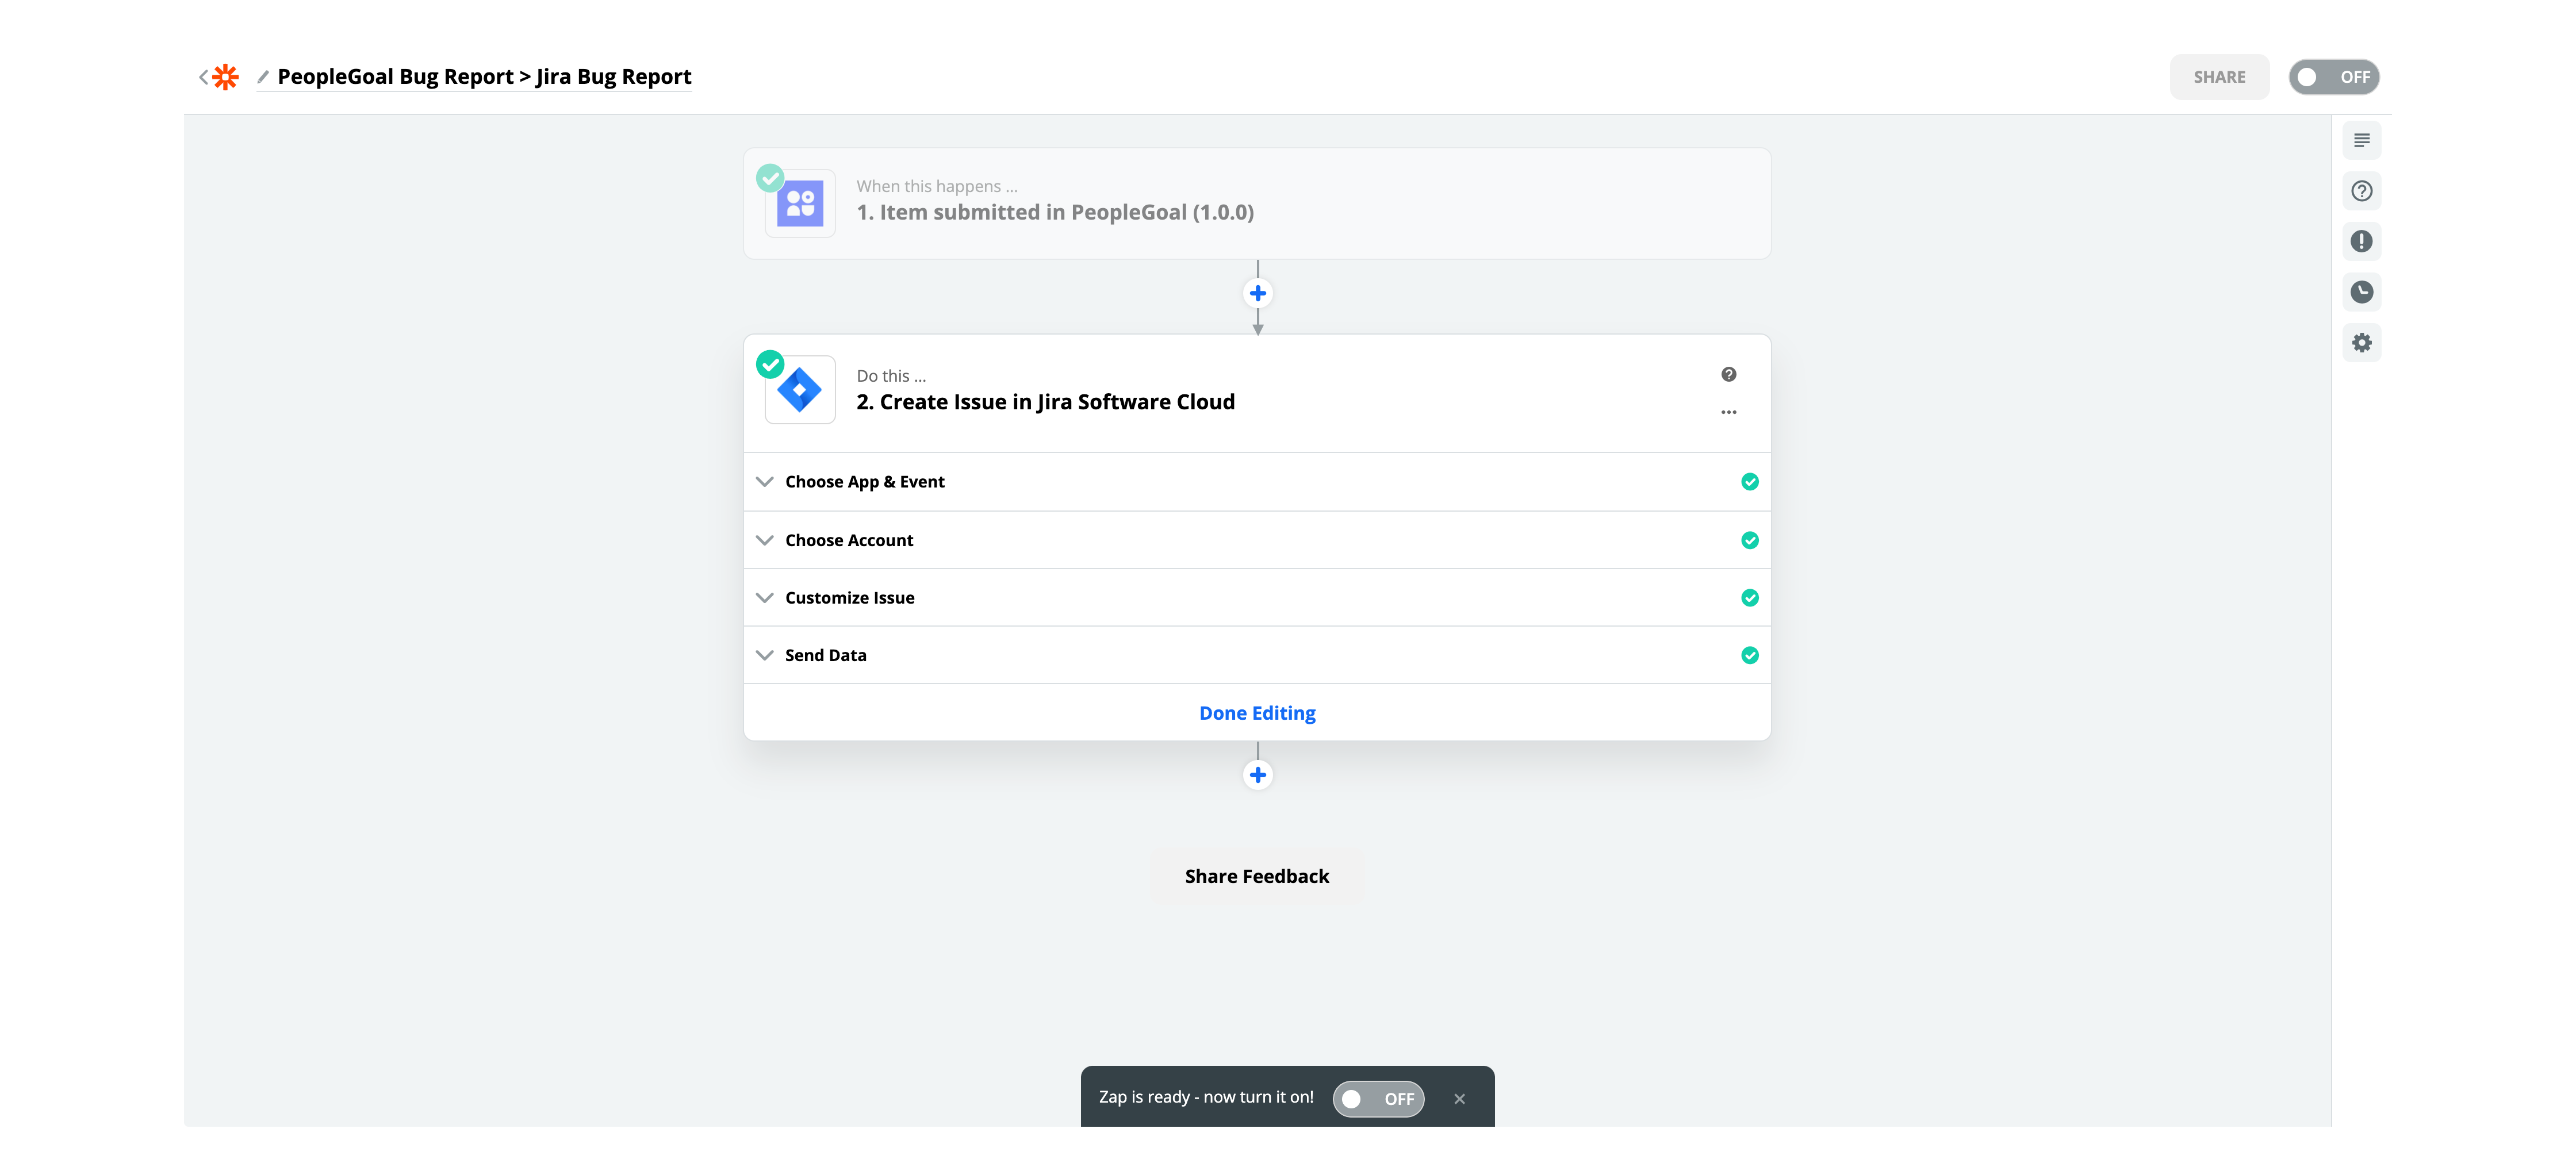
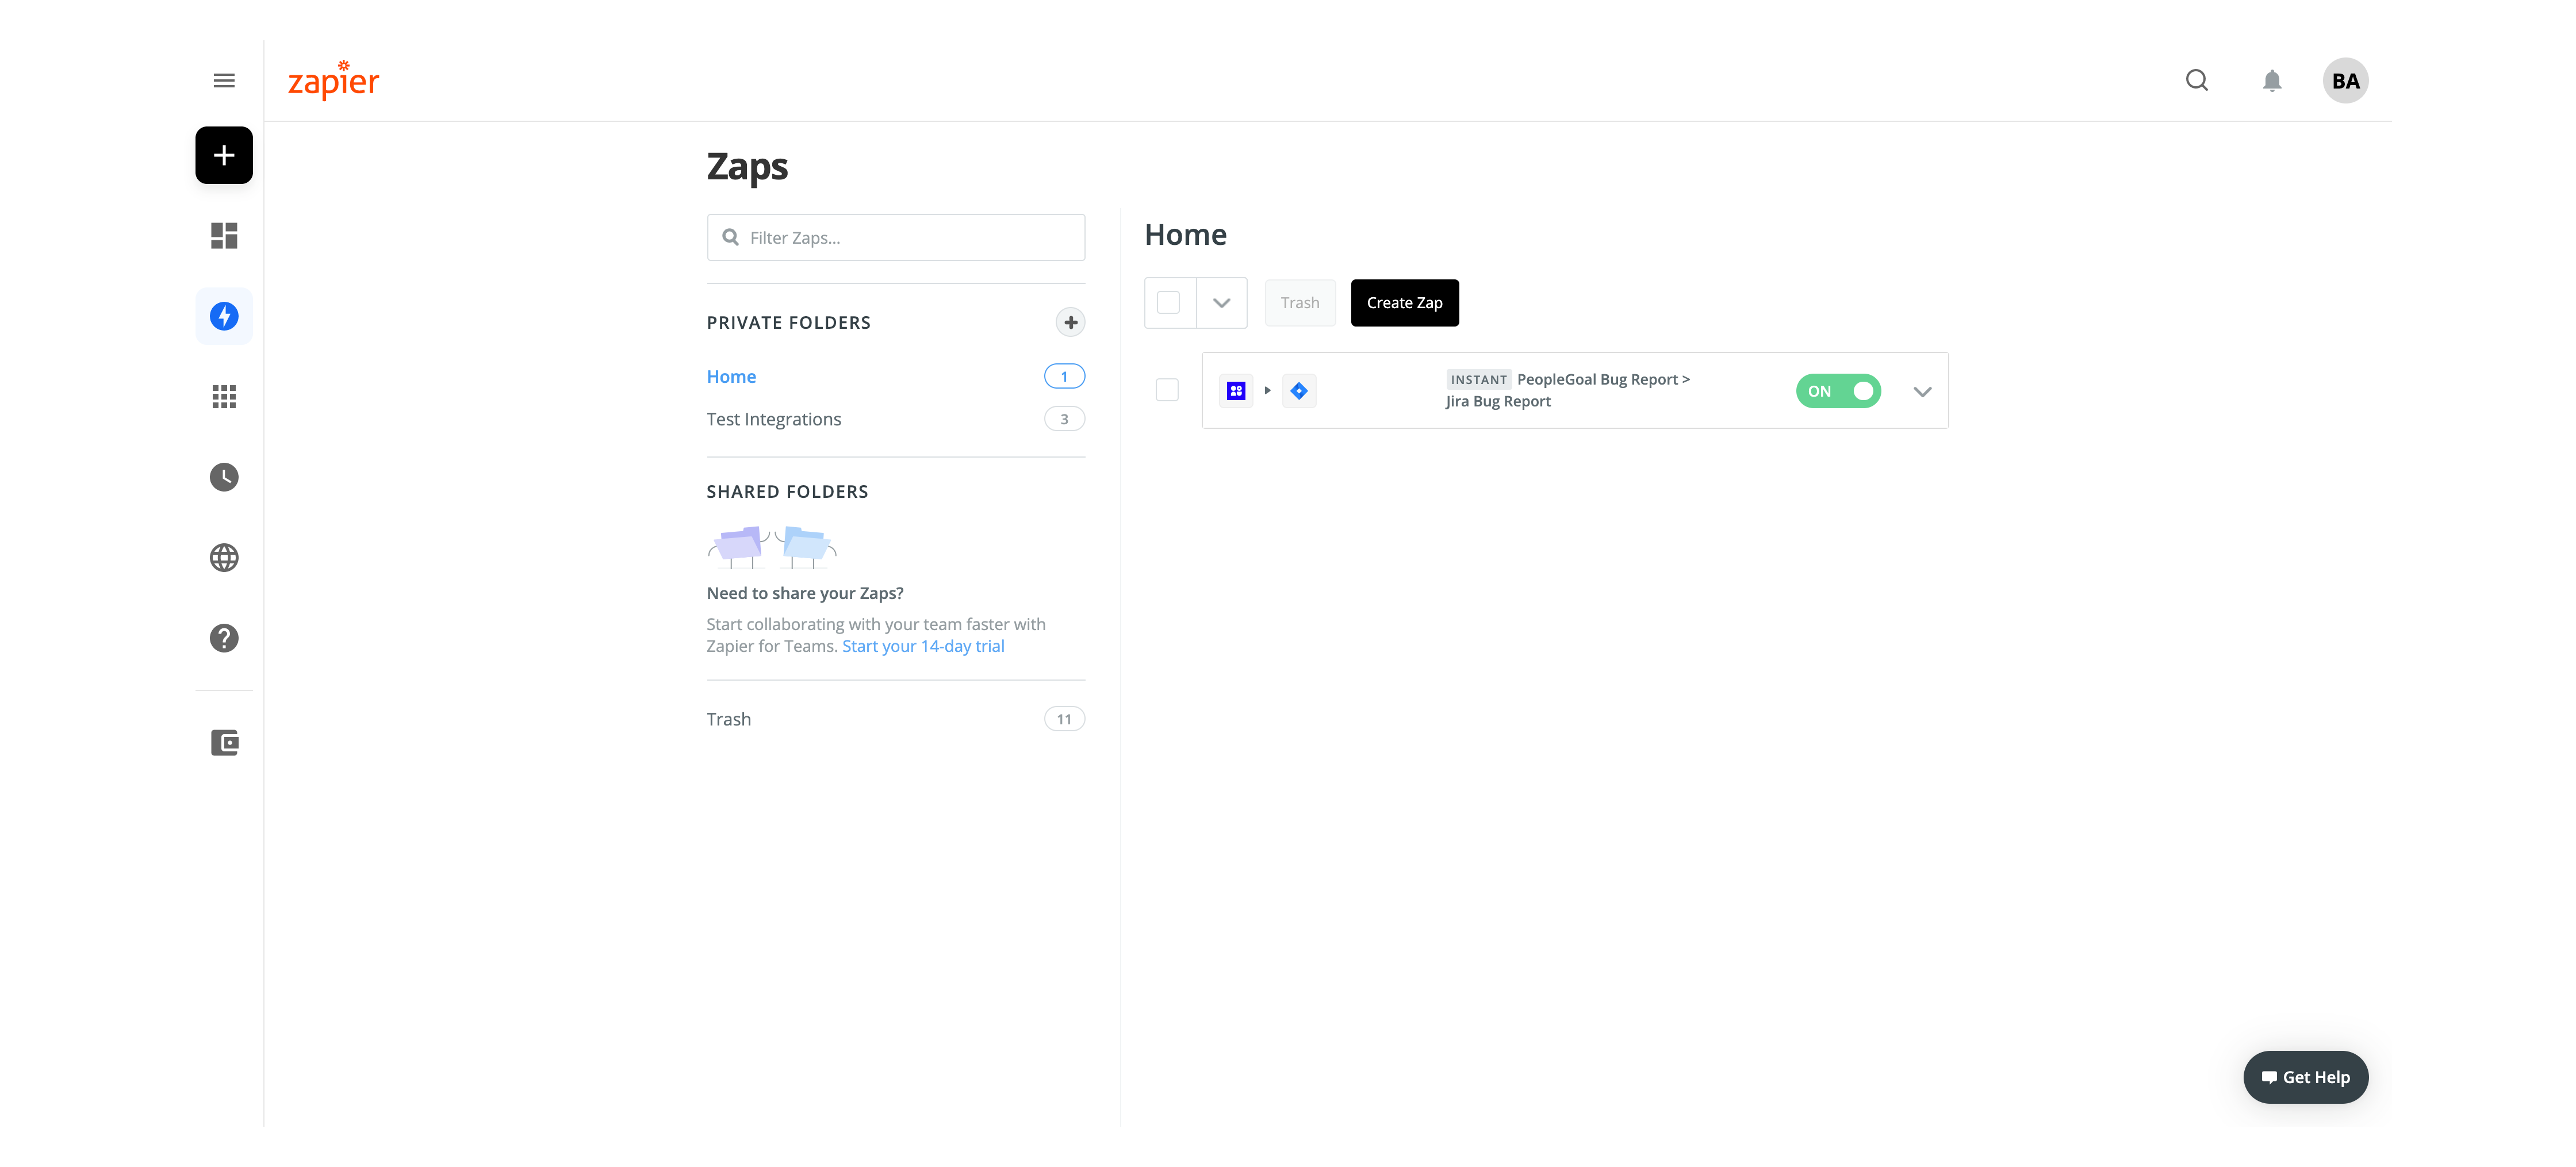
Now the Zap is actice, Open up Jira and check if the data send correctly.
Jira Section
Once the Zapier Integration is up and running and have submitted the PeopleGoal test app, move across to Jira to check if the data sent is correct. Open Jira to either the Your work tab or Projects. Select your Bug Reports project.
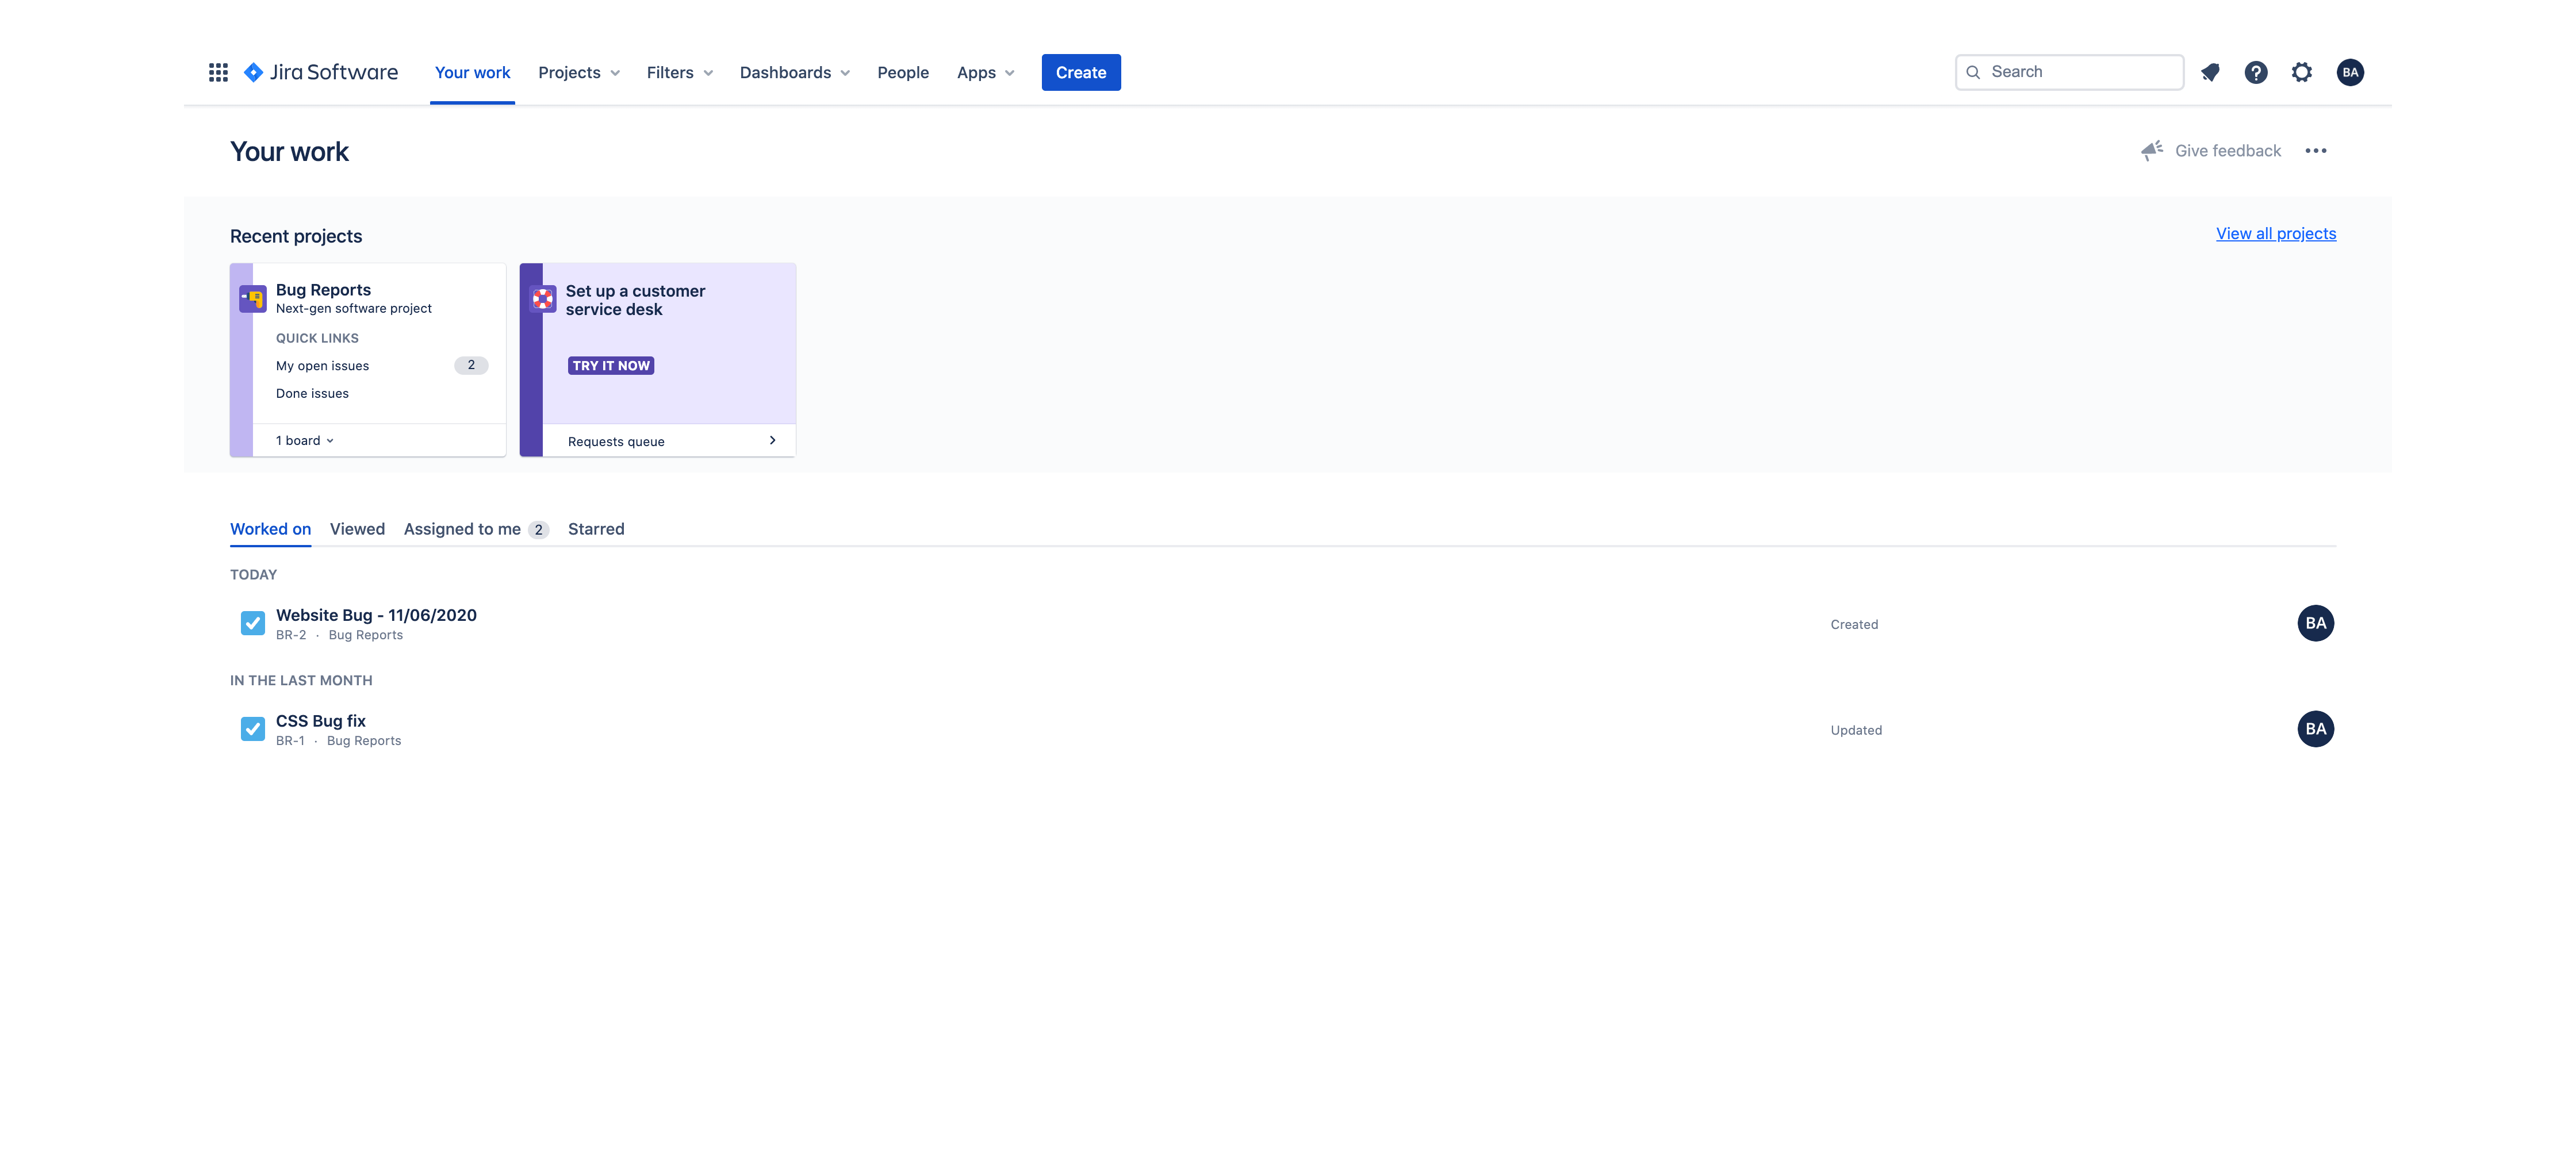
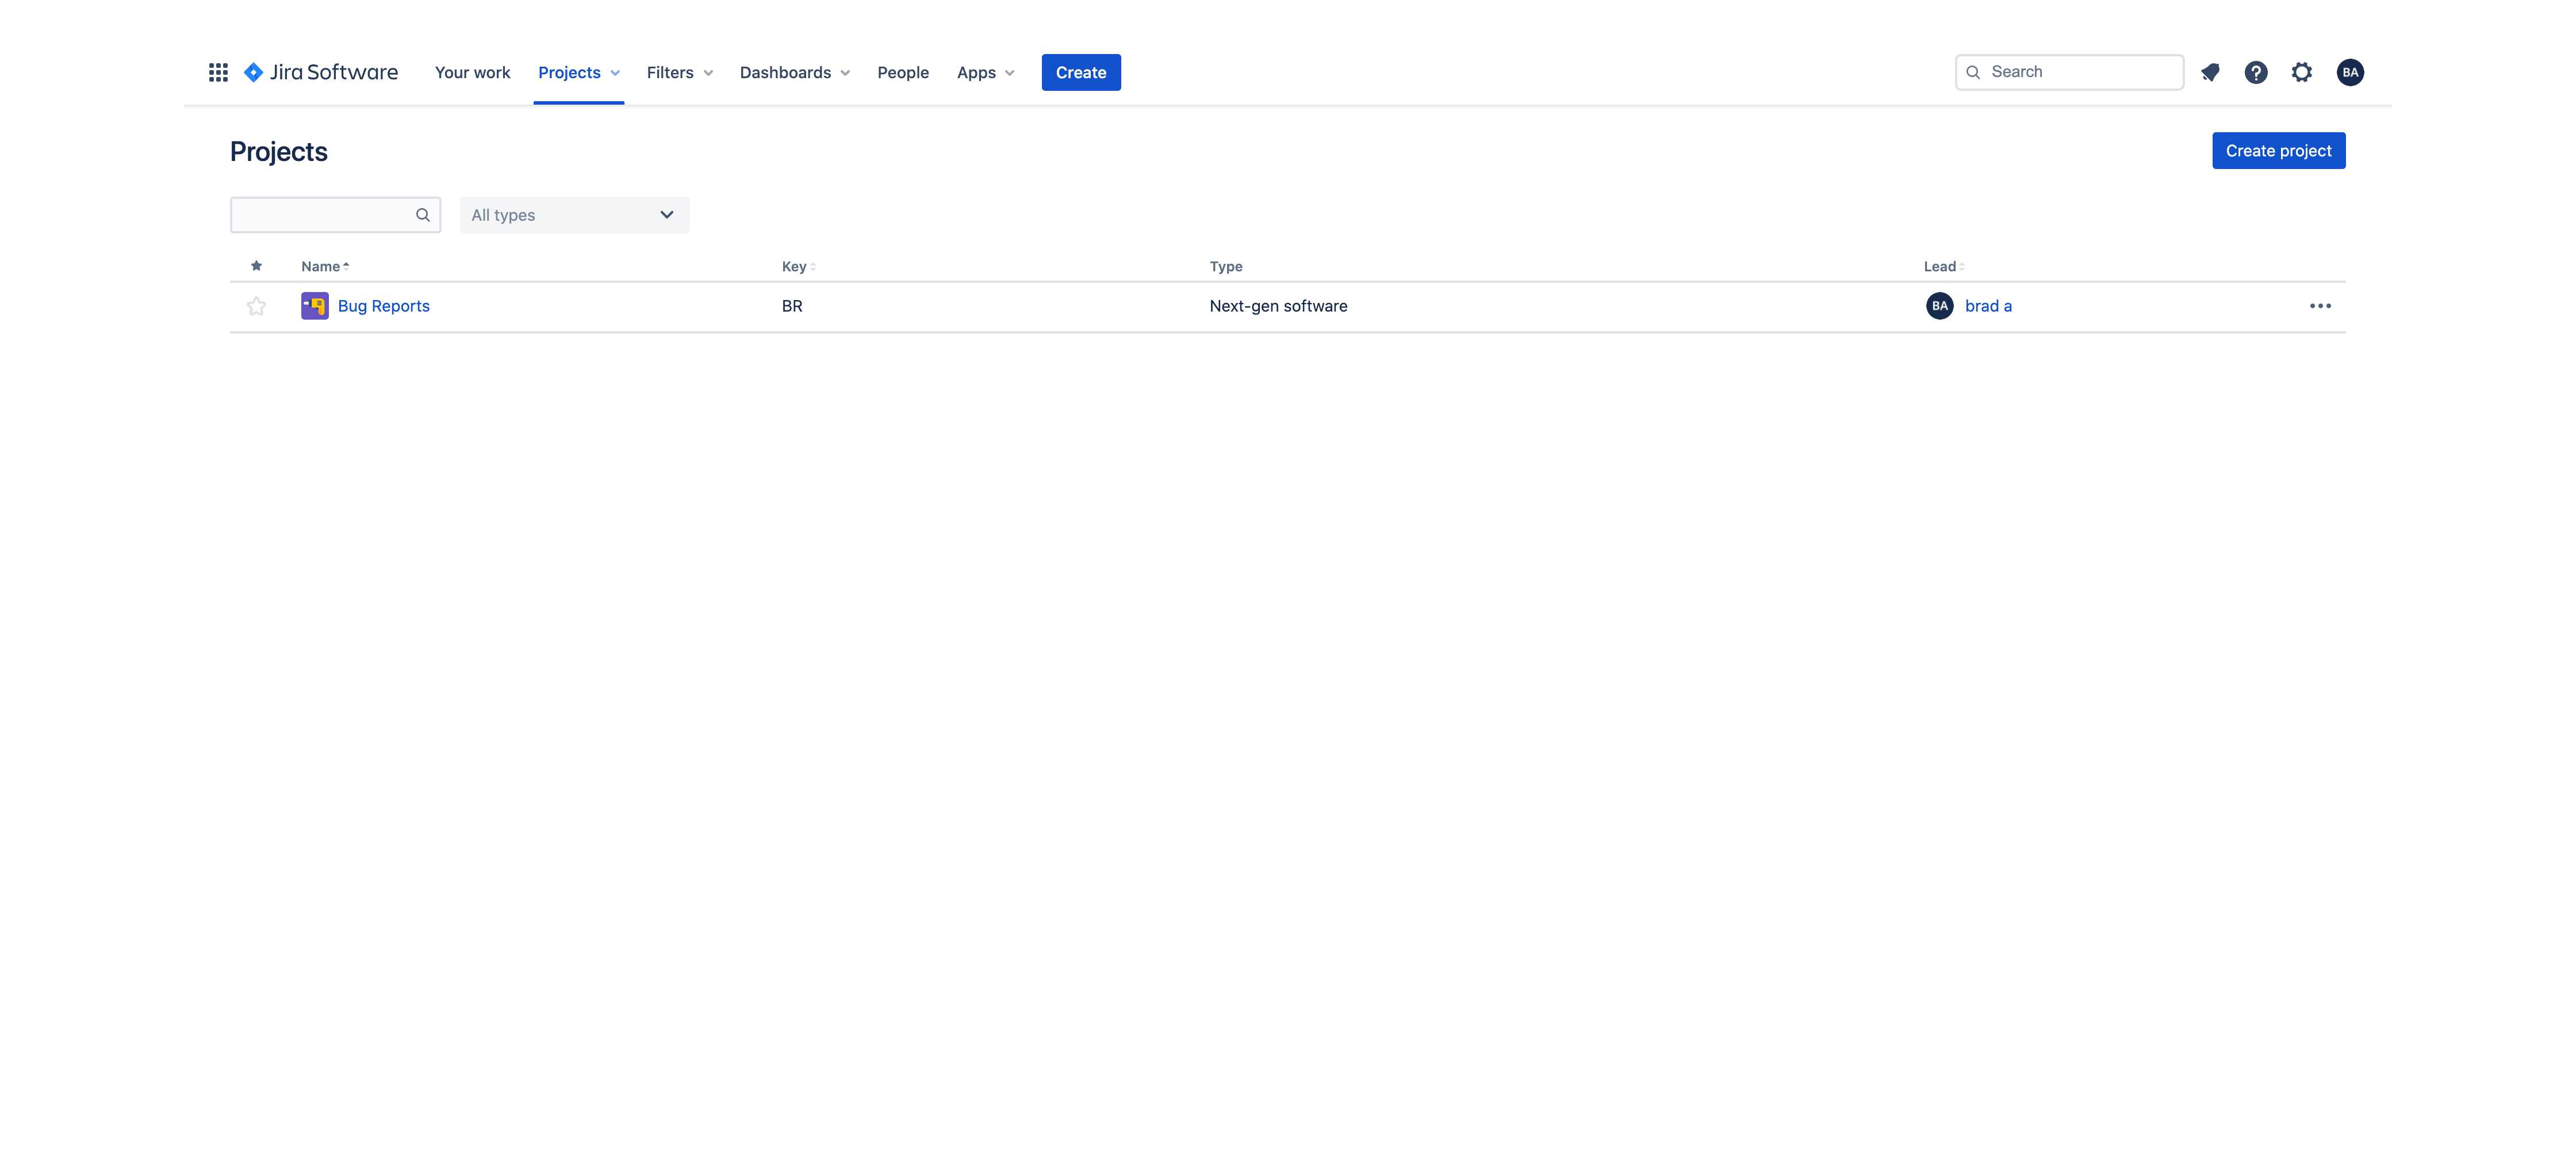
Open the Issue card and check the infomation is matching the content sent via the PeopleGoal App.
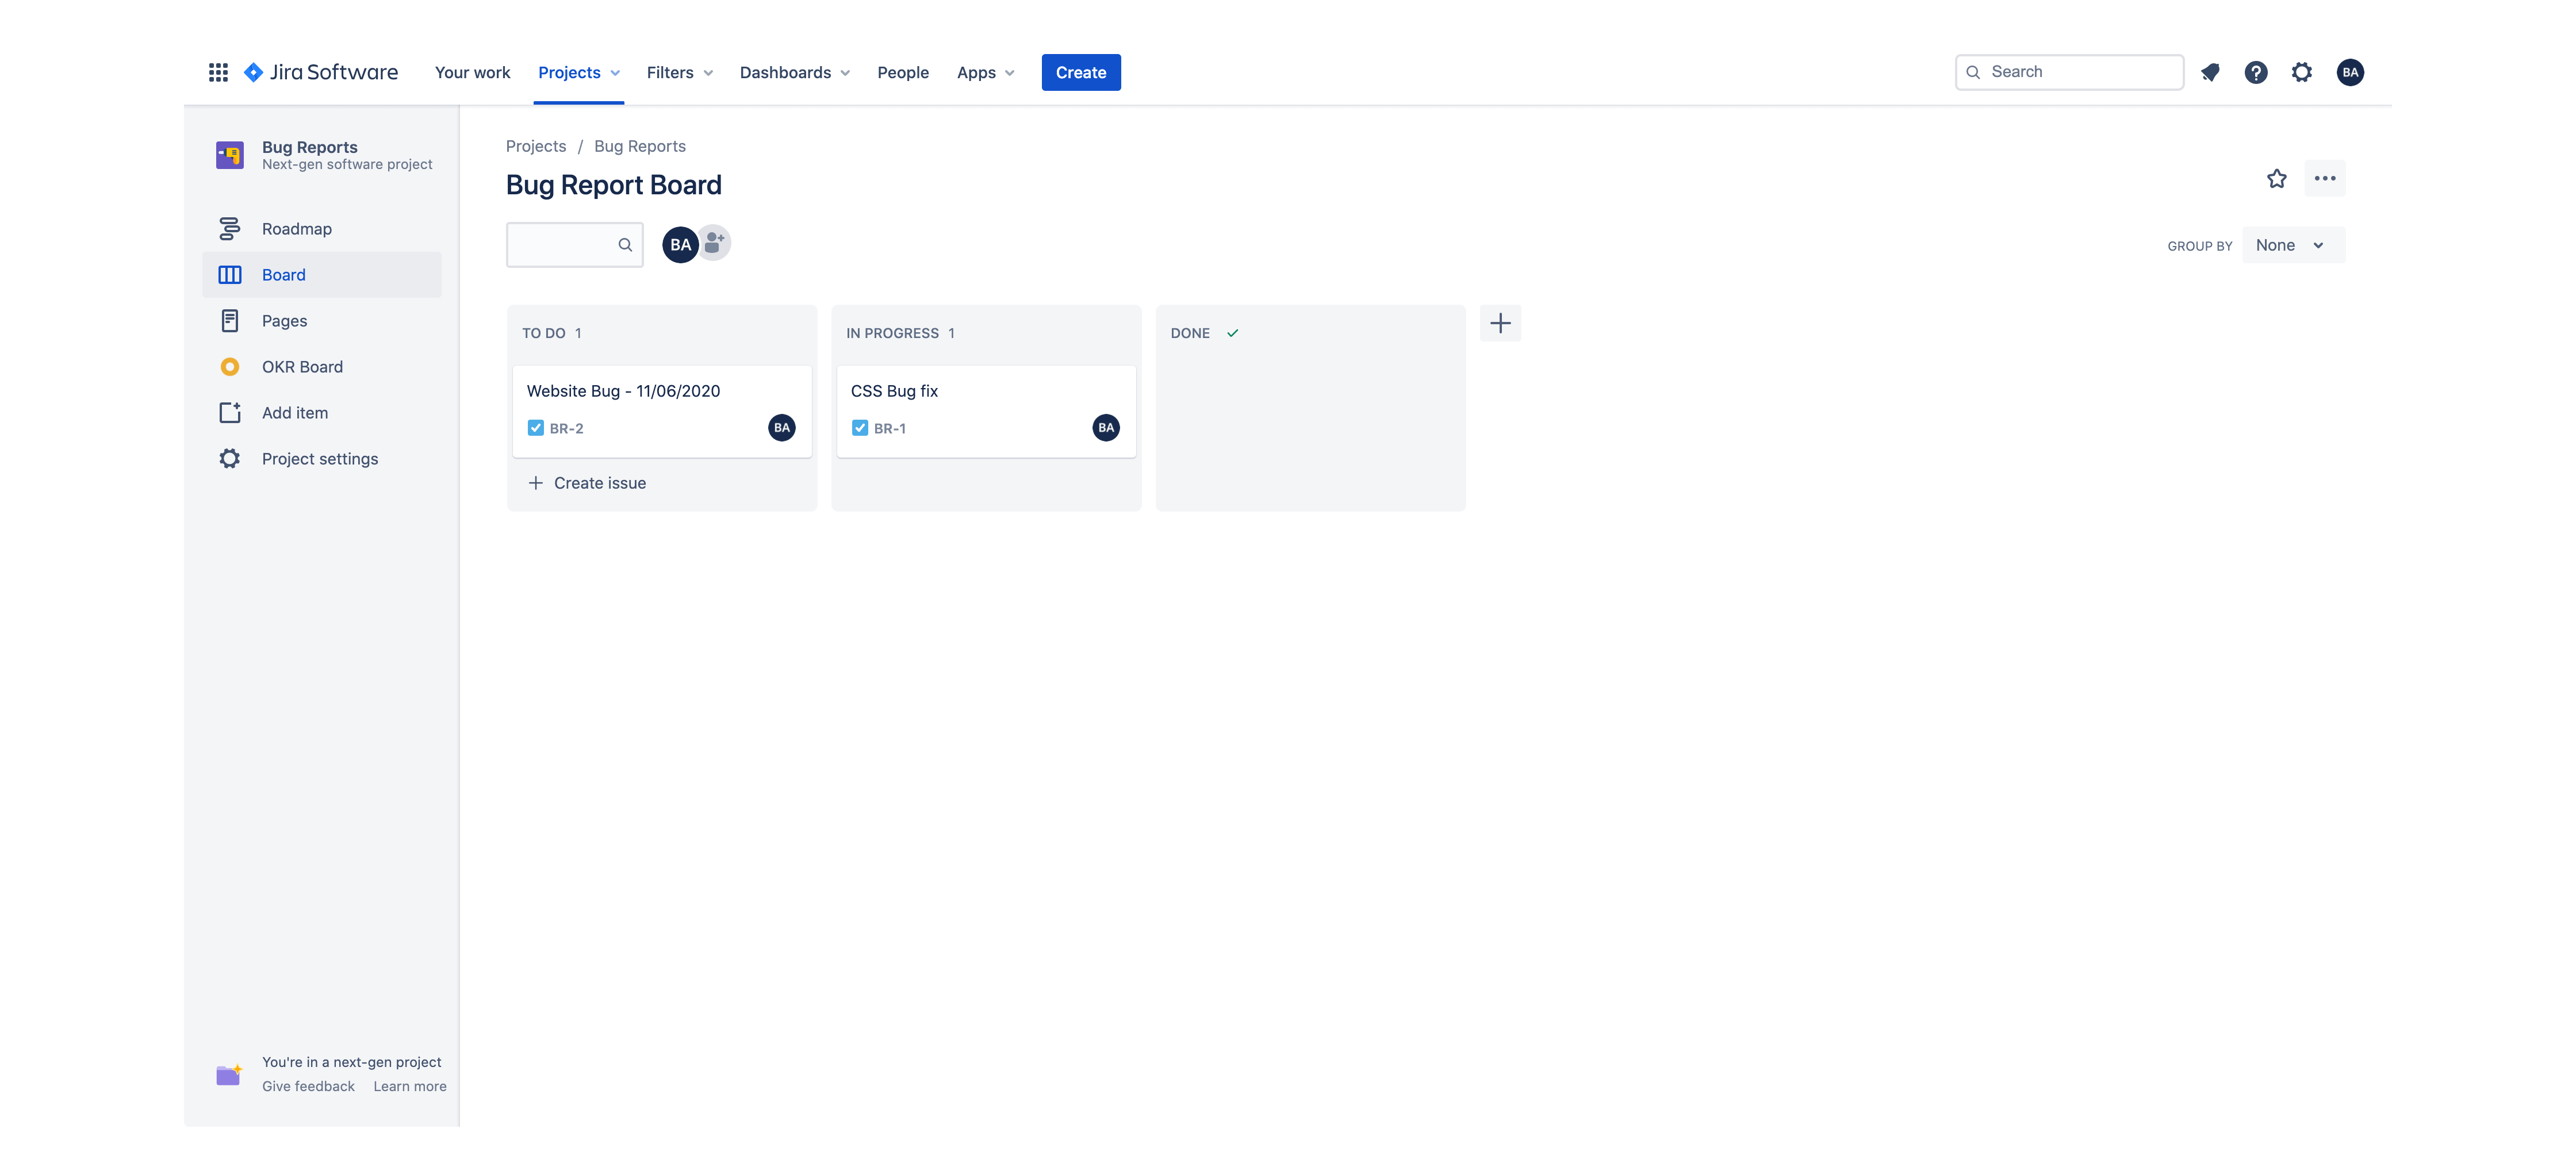
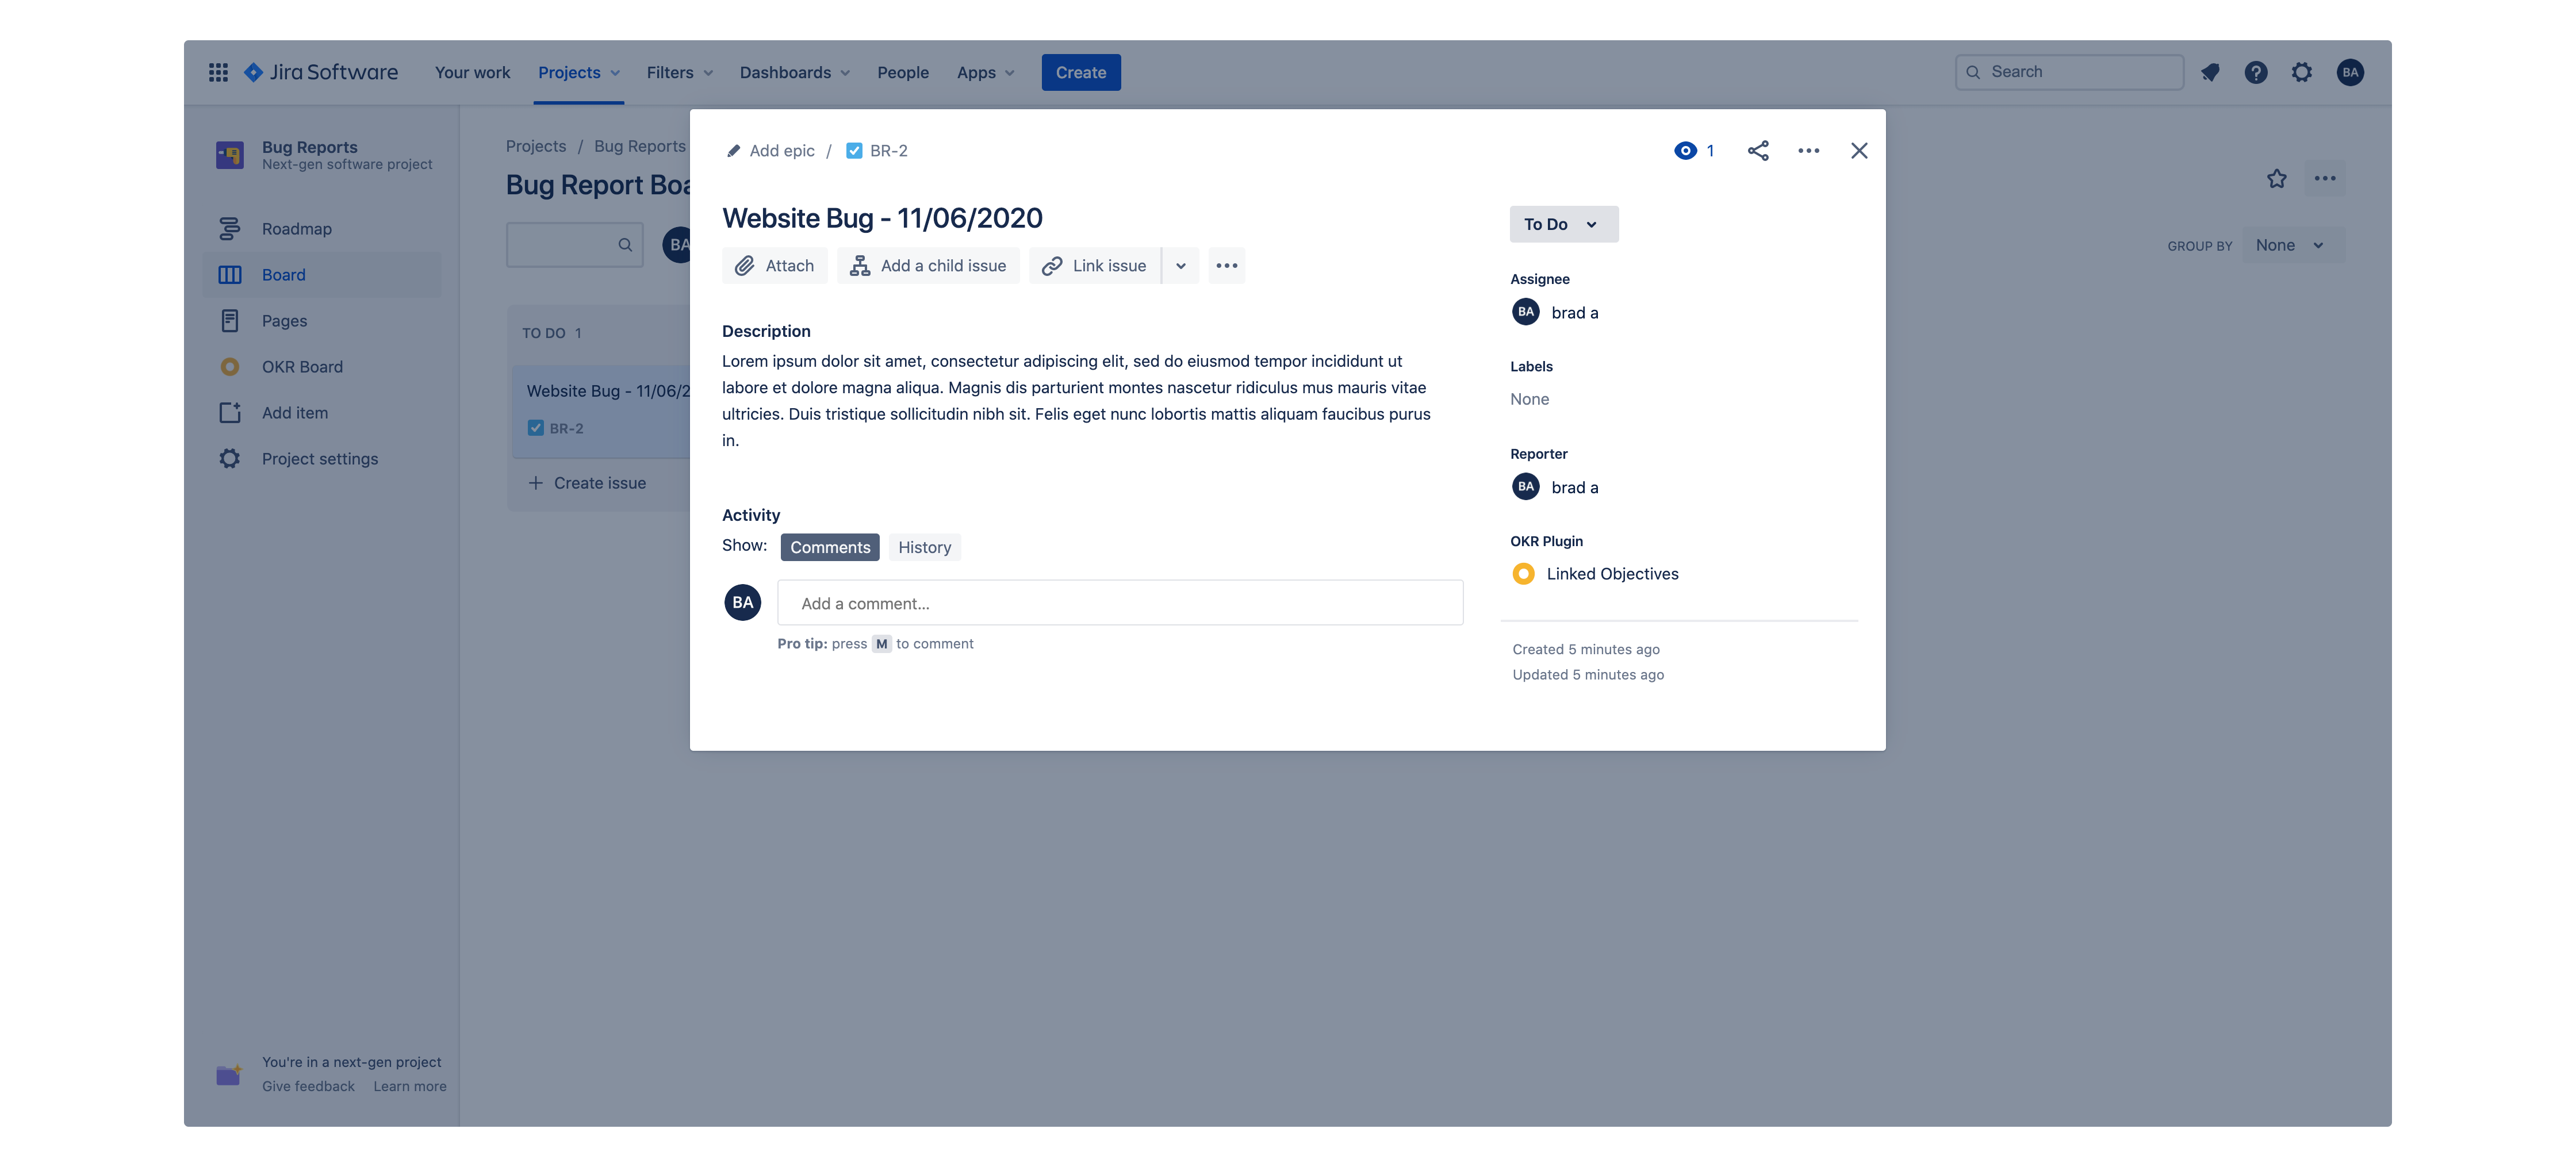
If the infomation is correct then the integration setup is complete. This process can now be used to setup and create more Zaps that allow more integration more data between PeopleGoal and Jira.
PeopleGoal Team
General content from our team

