Support Center.
Get Started or Become a Pro. Browse our support articles to learn how to get the best out of PeopleGoal.
Profile Templates
PeopleGoal allows an account owner to create any number of custom profile templates to capture your important employee data. Profile templates contain multiple fields that you define, that you can then leave to the employee to fill out or add the data yourself. Each field also has different permission types, so you can control who can view and edit every field on the template.
To start building a new profile template, click on your profile image (or default image) in the bottom left corner, then select Profile.
Create a new profile template
- When you open your Profile menu, you'll land on the Profile tab which shows your personal read-only profile.
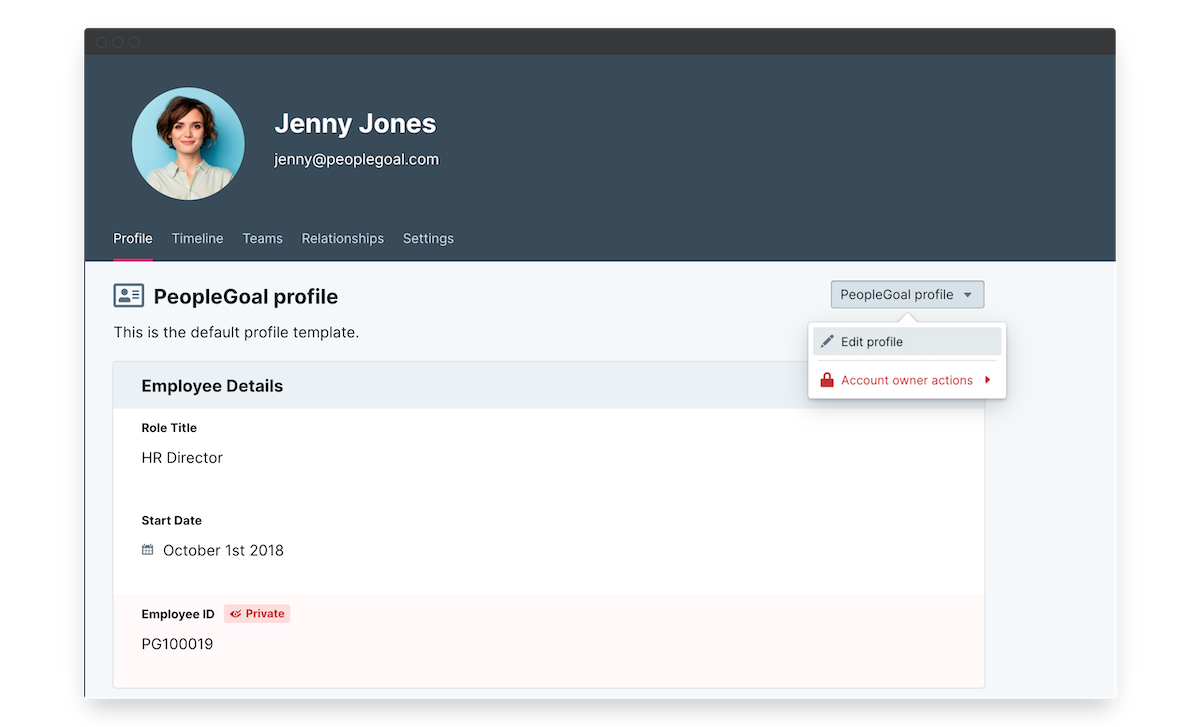
- Click the Company profile button to the right of this view, then select Account owner actions.
- Select Create a new profile template to begin. You'll need to give your template a name and description. Because you're able to create multiple templates, the description will help your colleagues to choose which template best suits their role. For example, you might want to create custom fields just for managers that are not required for an employee who has no direct reports.
- Then select whether you'd like this template to be the default profile template for everyone in the account.
- Click Create profile template and you can start to edit the template fields.

Edit a profile template
Once you've created the profile template details above, you'll be taken back to the Profile profile tab where you need to click the Company profile button in the top right again.
- In this drop-down, select which of the profile templates you want to edit (if you have more than one).
- Click Account owner actions, then select Edit profile template.
- You'll see all of the read-only fields now become editable, and you can start to create your custom template.
1. Create the template structure
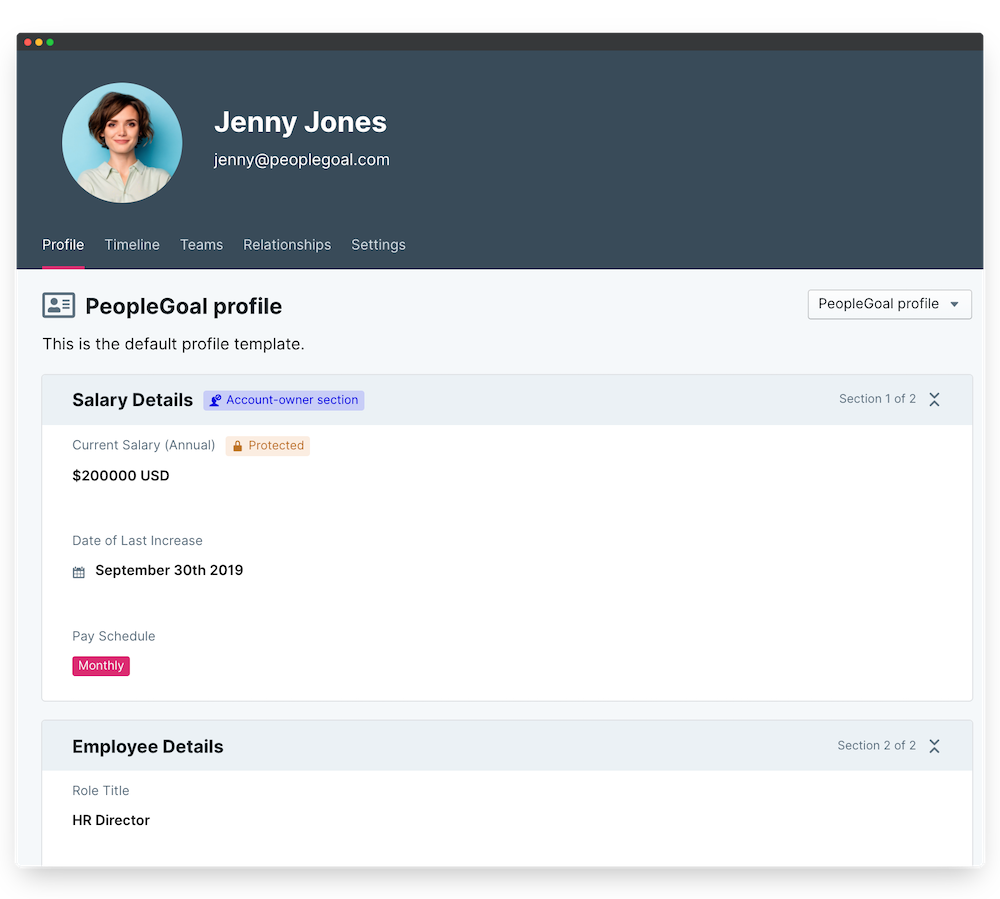
- Profile templates contain Sections and Elements.
- Sections help you to group your data and make the profile easier to read, and Elements are the indiviudal data fields that need to be filled out.
- Click Add section to begin. Double click the New section title to change the Section name - for example, "Employee details".
- Next you're going to start adding your profile elements. Click Add element then select the element type.
2. Configure elements
- Each element is a data field on the profile template that you can customize.
- Hover over the right-hand side of the element until the three dots appear. Click these to open the Element configuration.
- Click Edit element to change the field details.
- Click Duplicate element to create an exact copy of this element. This is a great option to quickly duplicate things like rich-text fields where you've defined character limits, or single select elements where you've defined your drop-down fields.
- Click Change section to move this element into another section of your template.
3. Visibility & control
In addition to the configuration, you can control the visibility of each profile section and each individual element.
- For a section or an element, hover over the right-hand side until the three dots appear.
Under Visibility & Control, select the permission type for your section or element:
No selection: the field is visible to everyone in your account, and editable by the profile owner as well as account owners. This would cover basic details like the employee's name, job title and office location.
- Private: the field is visible only to the profile owner and account owners. Both can edit the response to this field. This would include things like the employee's home address and their emergency contact.
- Protected: the field is visible to the profile owner, but editable only by account owners. You can include salary details and employee ID here.
- Account owners only: the field is not visible to the profile owner, only to the account owners. These would be things like their pay band or job classification for succession planning.
Once you're done, click Finish editing profile template to save all of your changes.

PeopleGoal Team
General content from our team

